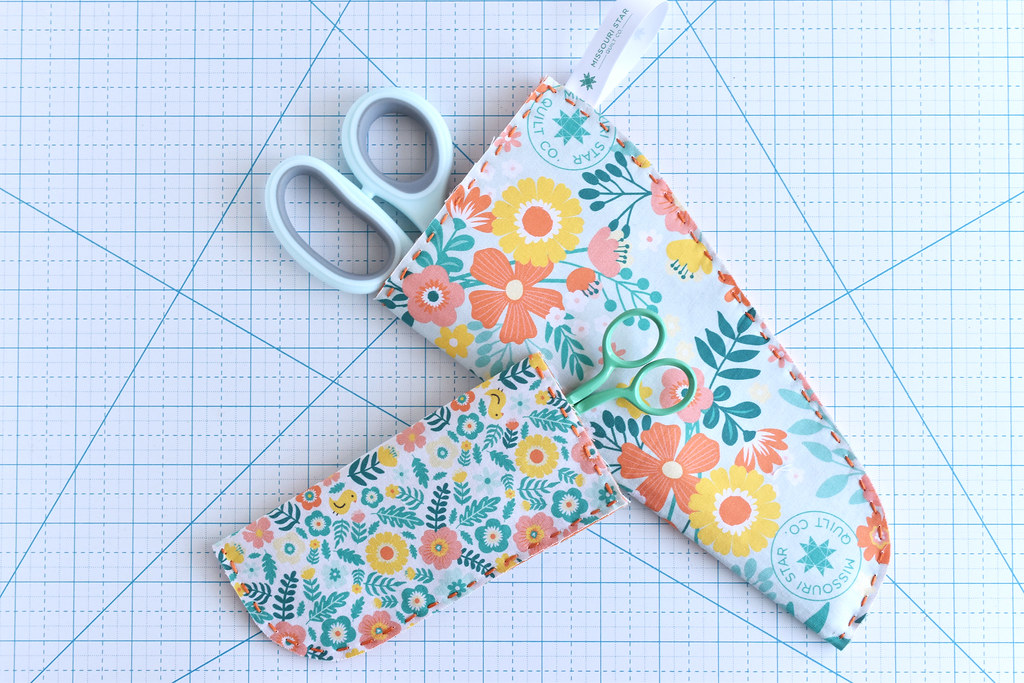
Do you make sure to keep the blades of your sewing and embroidery scissors safe from harm? A simple sheath protects the scissors, along with your stitching (project bags get crowded sometimes!) or even your toes. Yes, those points do hurt when they fall to your feet. Today I'll show you how to make these fast and easy sheaths that keep your scissors in great shape while they look cute too!
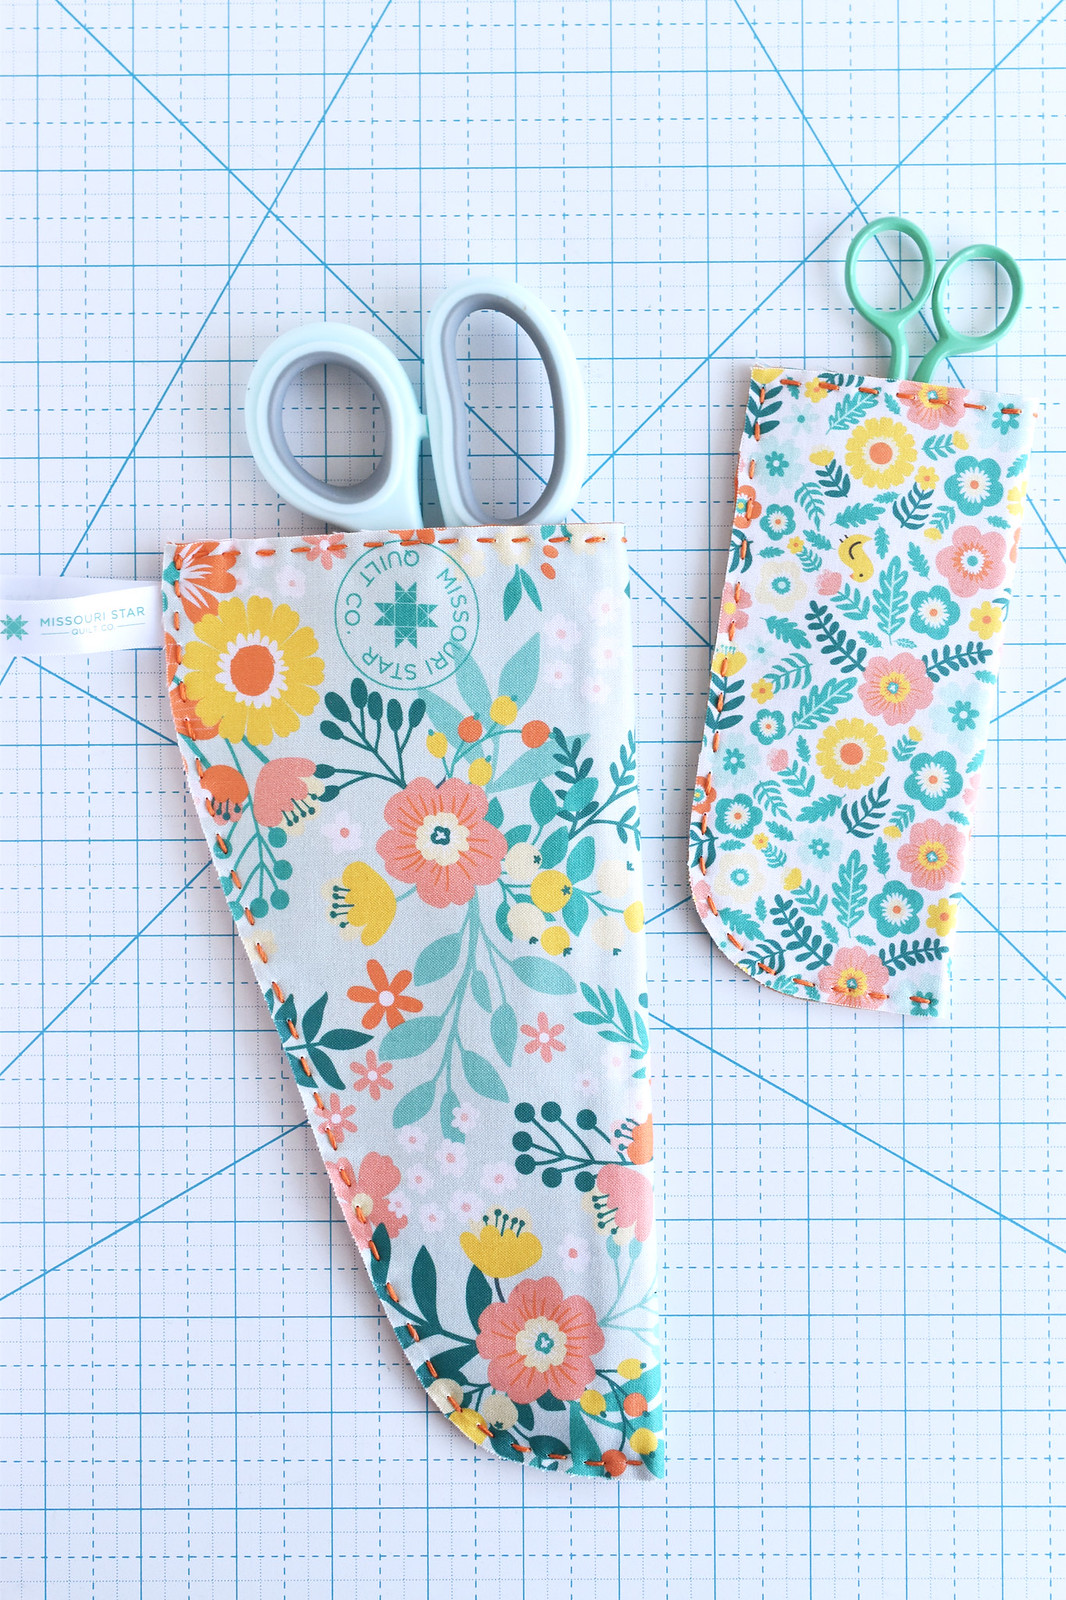
This pattern and tutorial have two sizes and shapes for two new pairs of scissors that I have. Larger shears, and smaller, precision scissors. And while a sheath is usually just something to cover the blade, this has the scissors sliding in so it's more sheath like, and less pouch like. Call it what you will!

I LOVE these scissors. I love most scissors, but when I got my first pair of these little babies, I was smitten. They are simple and cute, but more importantly, they cut like a dream. I HAD to have all the colors. (Sadly, at the time of writing, they are temporarily sold out at Missouri Star Quilt Co., where mine came from).

But this is what happens when you drop your enamel-painted scissors. You see, I tend to carry my work around the house with me and sometimes even when I'm just sitting there working, I drop my scissors. A lot. Multiple times a week. And I've damaged several pair this way.
So I'm hoping to get better about keeping them in a sheath or a little case to minimize this problem of mine.

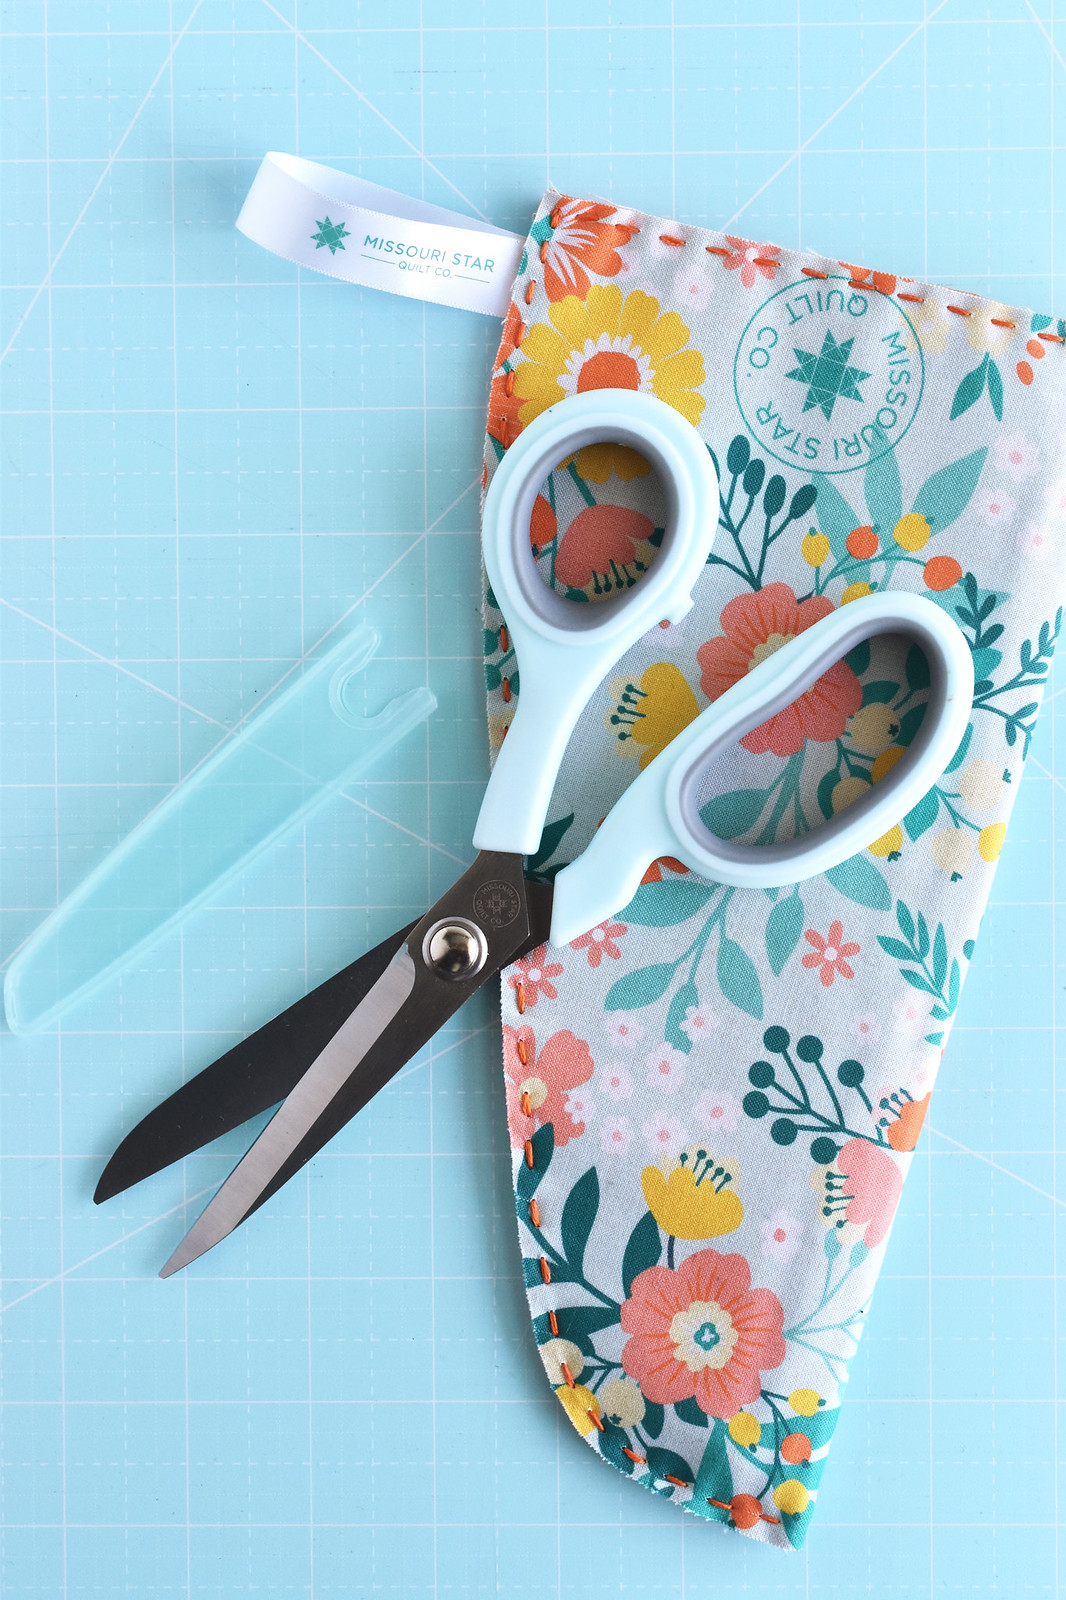
This project expanded when Missouri Star Quilt Co. sent me their 8" Everyday Scissors (affiliate link). And I'm so glad they did! First, it meant I got to make another scissor sheath (technically, I didn't need to...they come with a plastic sheath and a plastic pouch). But they also made cutting out the layers of felt and fabric for this project a lot easier.
While I may not carry these scissors around the house with me the same way I do with those I use for embroidery and hand sewing, I like having them look cute. I went full Missouri Star and used their Quilt Town fabric line, which has their logo and everything.
If you'd like to make a simple scissors sheath, maybe for the MSQC Everyday Scissors or other shears (including pinking or scallop shears!), read on! And I've got the pattern for the smaller sheath too!

Here's what you need:
Fabric (two 10x10 inch squares for the large sheath or two 7x7 inch squares for the small sheath)
Wool or wool blend felt (10x10 inch for large or 7x7 inch for small)
Fusible web (10x10 inch for large or 7x7 inch for small)
Ribbon (optional - I used the ribbon from my fat quarter bundle)
Embroidery floss
Iron and ironing mat
Pencil
Scissors
Chenille needle
DOWNLOAD THE SCISSOR SHEATH PATTERN PDF
The Quilt Town fabric and the Everyday Scissors both were courtesy of Missouri Star Quilt Co. I'm an MSQC partner, which means you can save 20% on most items for purchases over $50 through April 30, 2024 when you shop using this link. (Bonus: using my link also helps support the work I do!)

First, you need to layer the materials as follows:
Fabric wrong side up
Fusible web
Felt
Fusible web
Fabric right side up

Iron the layers to fuse the fabric to the felt. You'll need to iron the fabric on both sides.

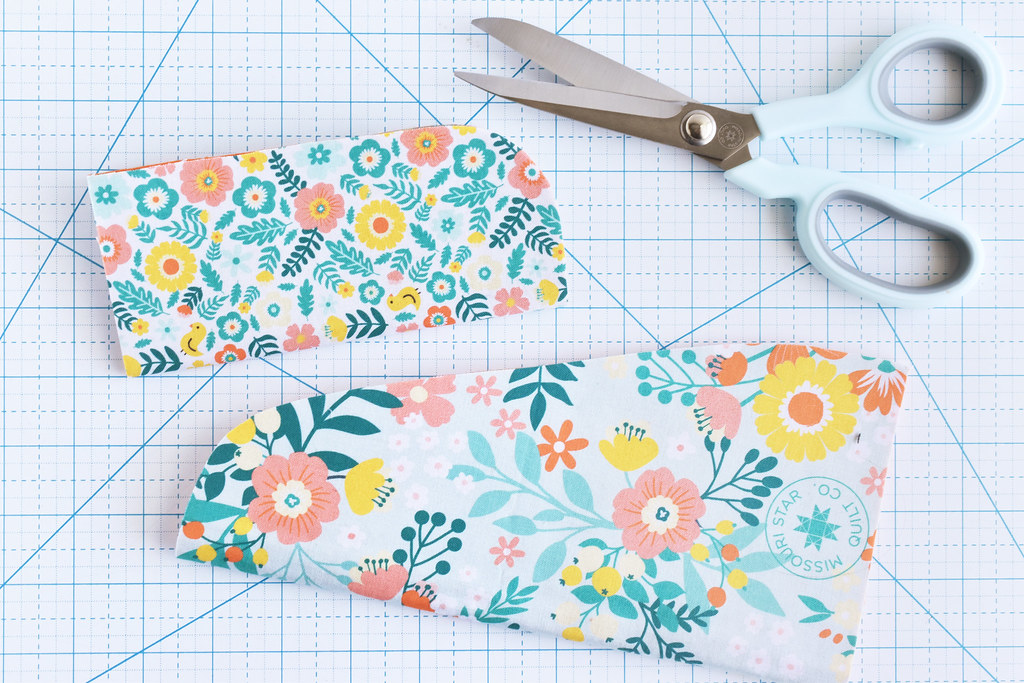
Fold the fused piece in half, with whichever side you want showing on the outside of your sheath.

Cut out the template and place the long straight edge on the fold. Trace the other sides with a pencil.

Cut out the sheath. The Everyday Scissors cut through all these layers with ease!
By the way, the process for both sheath sizes is exactly the same. On the size/shape is different. Er...except for the ribbon in the next two steps, which I left off of the smaller sheath.

Cut a small piece of ribbon and fold it in half. Because my fat quarter pack came with this adorable printed ribbon, I HAD to use it here.

Place the ribbon between the layers. I put mine on the side close to the end that will remain open. The ribbon tab is completely optional, but I thought it was cute.

Stitch along the edge with running stitch, using all six strands of embroidery floss for a nice bold look.
After I stitched my first sheath, I realized that I probably should have added some stitching to the open edge. I went back and did that after I was finished, and I'm glad I did. When I made the second one, I stitched the straight edge that ends up being the opening first, then I stitched the other sides together.


And that's it! I love that the insides of these also have a cute print, and the fabric makes it less likely that the really pointy scissors won't poke the felt.
If you want to, you can also add a snap to prevent the scissors from sliding out. We'll see how I do with mine and if I think I need the snap.

Really I'm just hoping that my new little enamel-handles stay safe and happy now.

At the very least I'm happy seeing these in their lovely fabric homes!
0 comments:
Post a Comment
I often reply to comments in the comments...check back if you have a question!