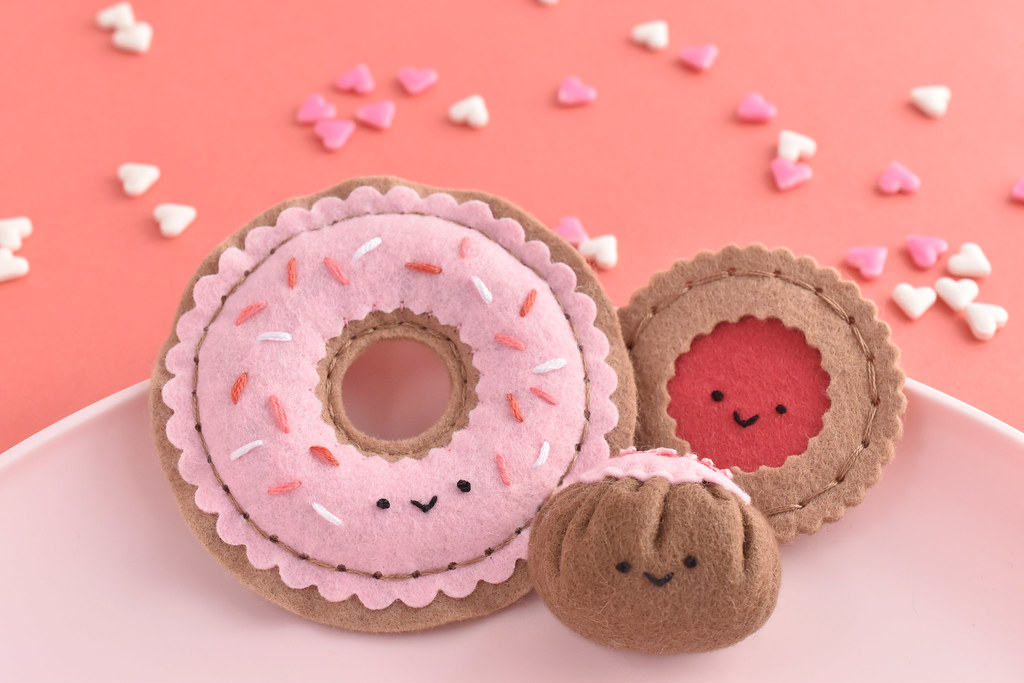
Cook up some felt Valentine's Day treats with me using my Circles and Scallops deep-etch dies from Benzie Design! I used a variety of sizes from just one set of dies to make each of these three sweets. They are perfect for making some soft and oh-so-cute Valentine friends.

The three treats I made are a linzer cookie, a donut, and a truffle. Each one is a littler more advanced than the one before. I think they'd be great as a little ornaments, but I may just leave mine as my own play foods!
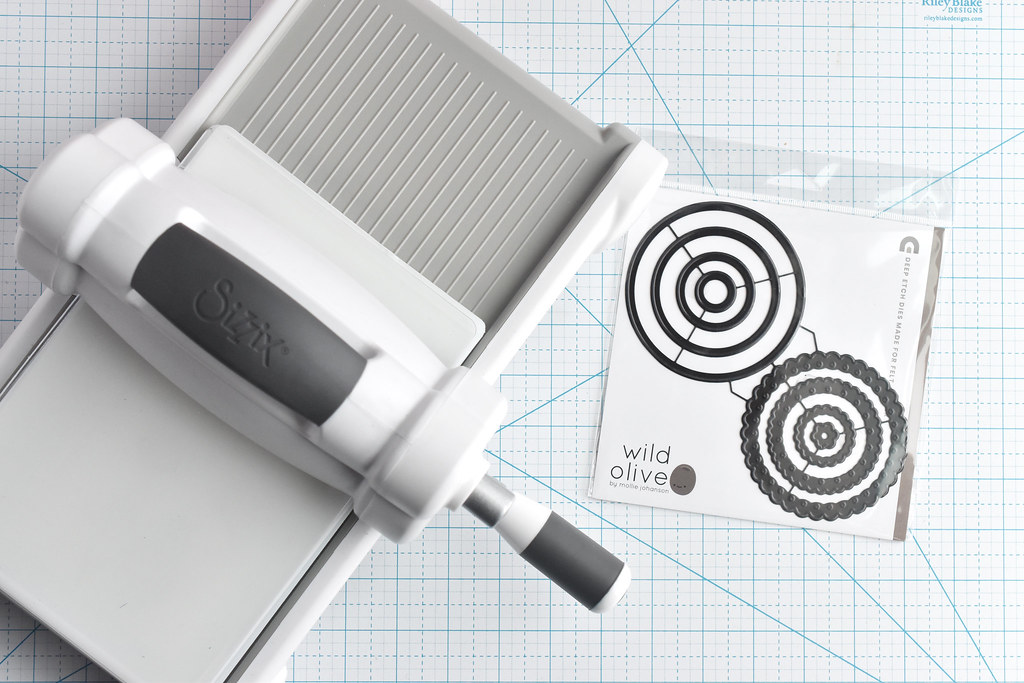
If you aren't familiar with these dies, I designed them last year as a helpful companion tool for the felt ornaments that I make for my shop (and sometimes here on the blog). The set of dies has varying sizes of smooth circles and scalloped circles, some of which have stitching guides. And they work with manual die-cutting machines, like the Sizzix Big Shot you see here.
The dies make cutting the pieces for these and other projects so easy, and I'm thrilled to have them! If you don't have a die-cutting machine, you can still use this project as inspiration, hand cutting circles and using scallop shears.
For the sake of describing how to make each treat, I'll be referring to the circles by size, with the largest size 1 and the smallest size 4. You'll also need felt, embroidery floss, craft glue (optional) sequins, stuffing, and an embroidery needle.
Now, let's get started!

For the linzer, use the scalloped circle 2 and cut out two of those. Then cut a scalloped circle 3 from the middle of one. Finally, cut a smooth circle 3 for the filling.


For the donut, cut two smooth circle 1 pieces and cut out the center with the smooth circle 4. Try to get both of them centered as best as you can!
Then, make the frosting with the scalloped circle 1, cutting out the center with scalloped circle 3. Save the cut out piece!
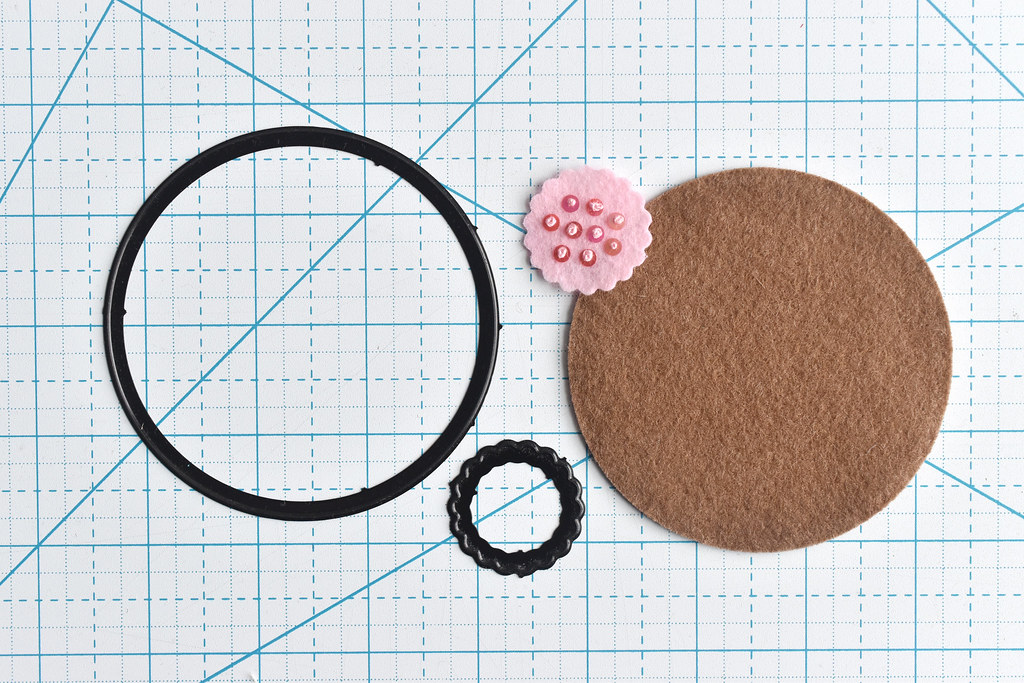
To make the truffle, cut one smooth circle 1 piece and use the center of the donut frosting (or cut a scalloped circle 3).
I got ahead of myself and added the sequins to the top of my truffle. To add these, use three strands of embroidery floss and stitch the sequins in place with french knots.

If you want faces on yours (and why wouldn't you?), embroider them now with three strands of black embroidery floss. Stitch the face on the linzer in the middle of the filling, stitch the face on the lower part of the donut frosting, and stitch the truffle face centered about 1 inch down from the top of the large circle.

Glue the linzer filling to the middle of the solid cookie piece (you can skip the glue and hold it in place if you prefer).

Layer the cut-out cookie piece on top, aligning the scallops and stitch holes. Stitch around the cookie with running stitch, then go back in the other direction and fill in the gaps (this is called holbein stitch). I used three strands of matching embroidery floss.

Add sprinkles to the donut frosting with six strands of several colors of embroidery floss.
I was originally going to do my sprinkles with beads but had a beading needle situation. And you know what? I'm glad because I love the Valentine's Day sprinkles I stitched.
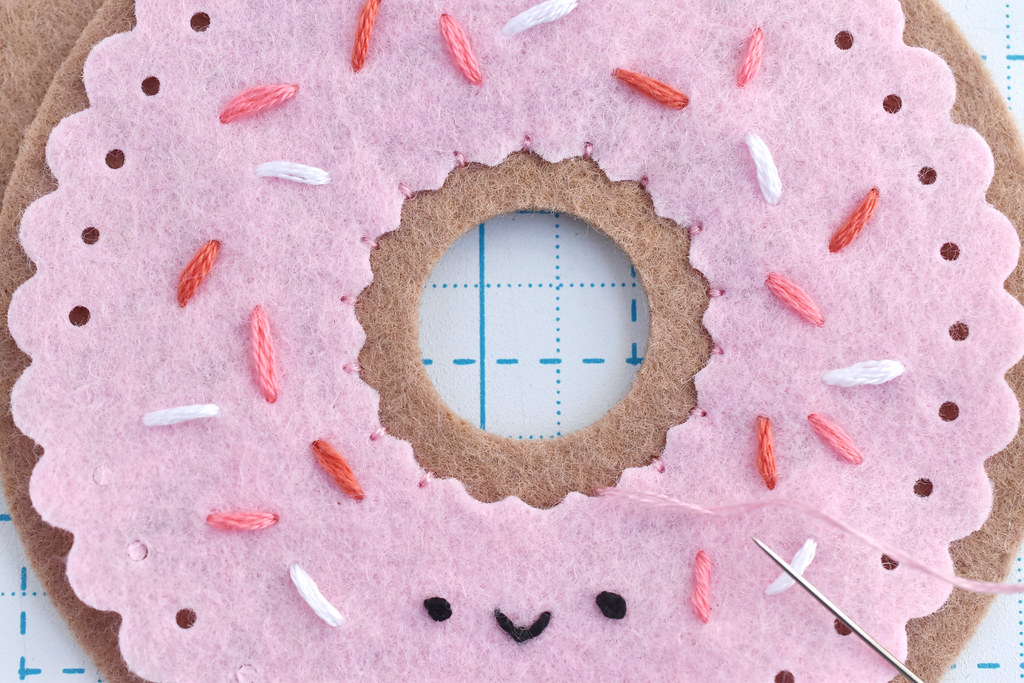
Place the frosting on one of the donut pieces and stitch it down at the center. I used two strands of pink floss and whip stitch in the curves.
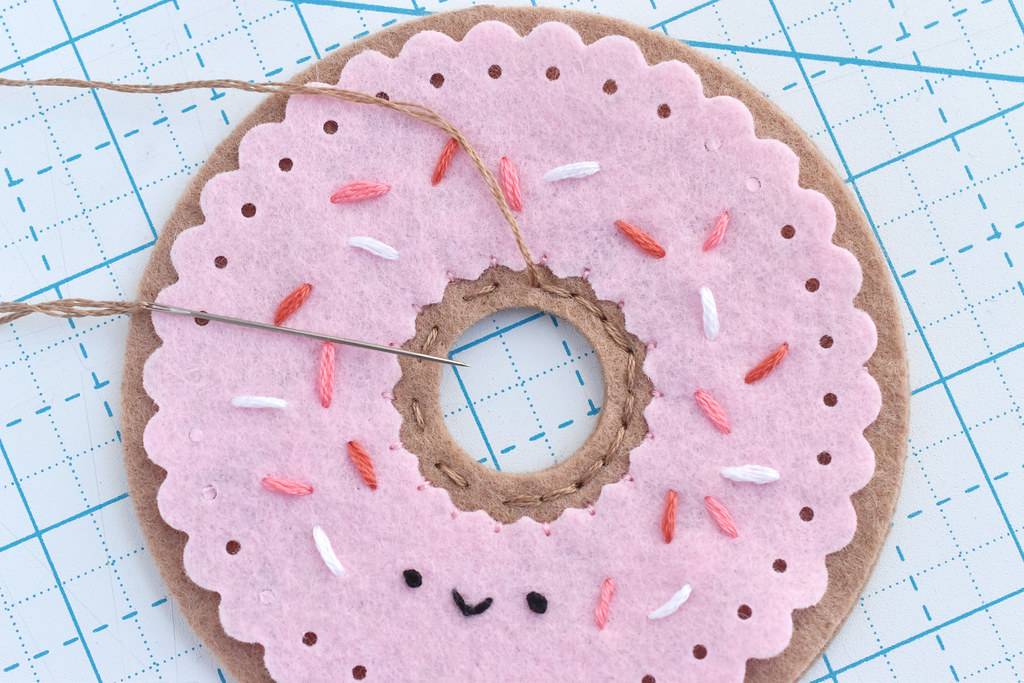
Next, layer the second donut piece behind and make sure the holes are aligned. Stitch around the inside circle with holbein stitch and three strands of matching thread (that's running stitch, then going back to fill in).
Stitch around the about half of the outside of the donut with running stitch first. I used the same tan thread, but in hindsight I'd probably go with pink.
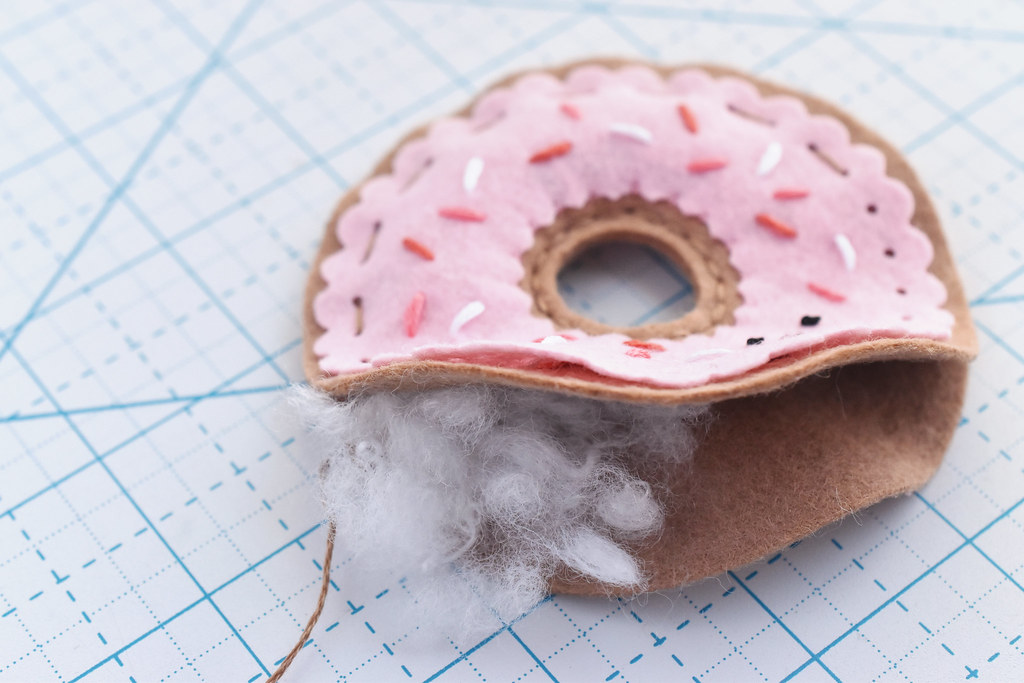
Add stuffing to the section of donut that's stitched. Then stitch a little farther and add more stuffing. Continue around the donut until it's all stuffed and stitched.

Finish off the donut by filling in the running stitch to complete the holbein stitch.
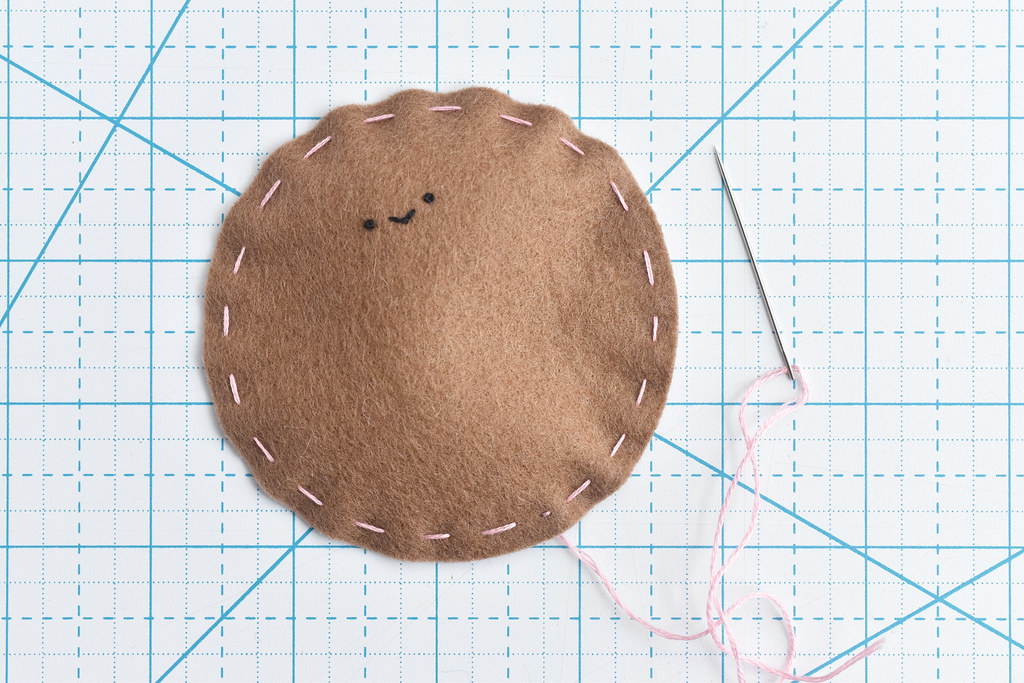
Start the main part of the truffle by stitching around the edge of the large circle with running stitch.

Pull the working thread to gather the edges in, forming a little pouch. Fill the center with stuffing.
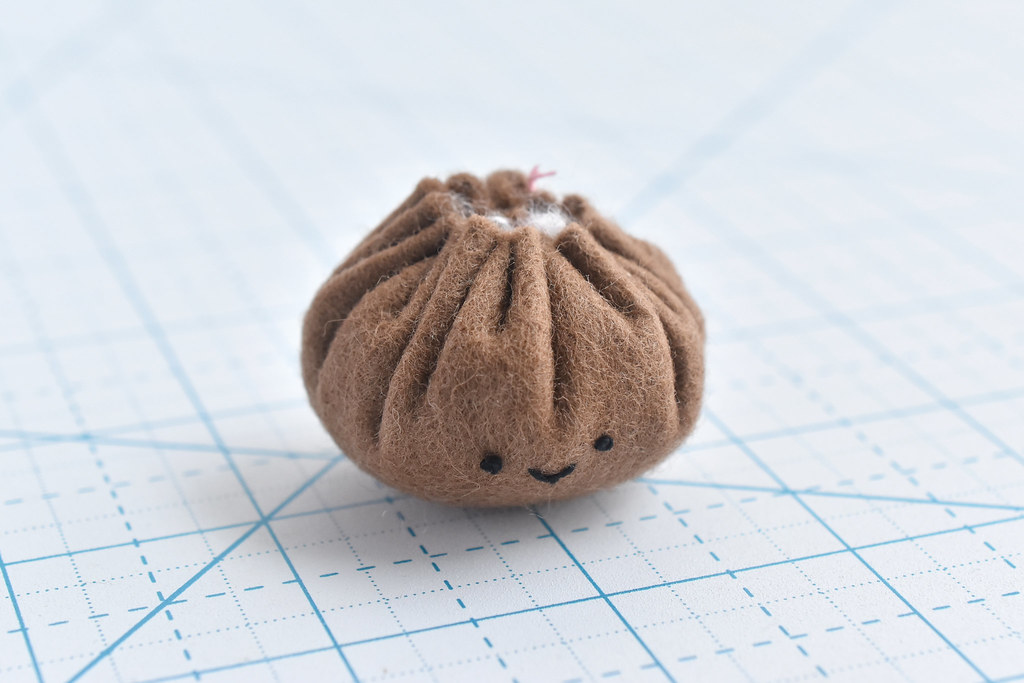
Pull the thread to fully close the top, then secure the thread.
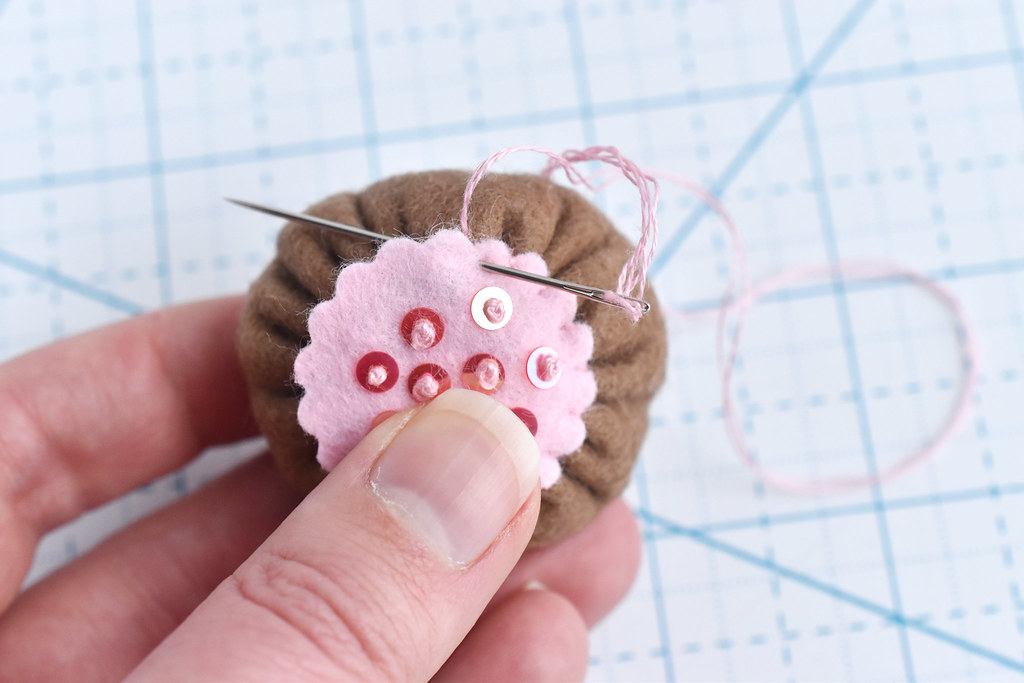
Place the small scalloped circle over the opening. Use two strands of pink embroidery floss and whip stitch to attach it to the top of the truffle.

Three treats all stitched up! I made these in Valentine's Day colors, but you could easily make these in flavors for any time of year. They're just so cute!


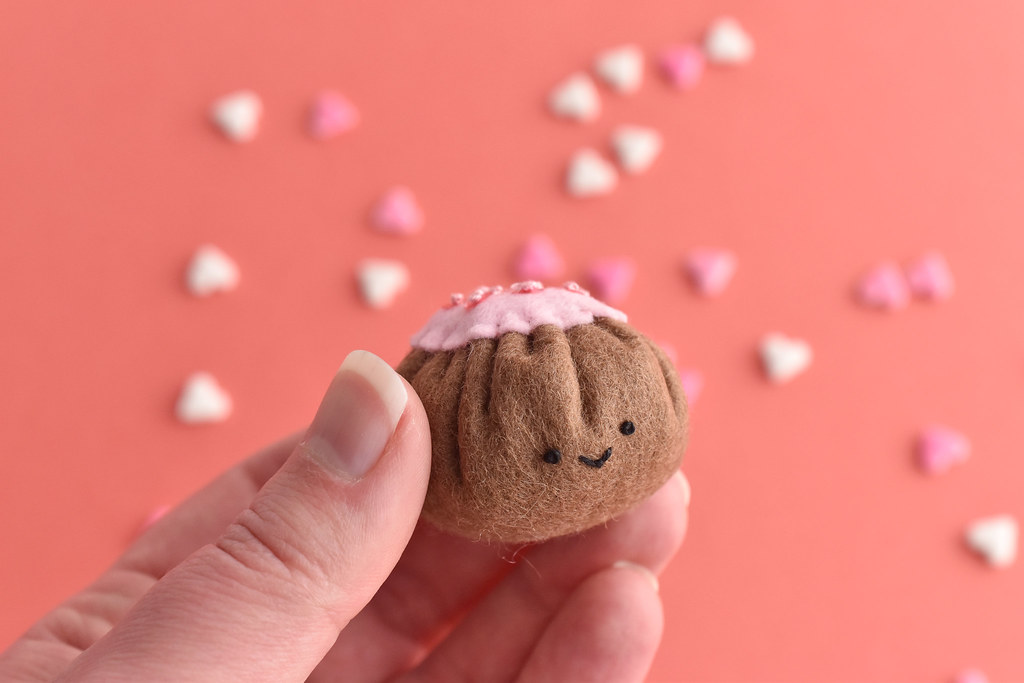
I was so excited to use the deep-etch dies to make such different kinds of items! Any time you can get creative with tools and supplies is a good day by me.
Speaking again of the dies I designed, I also created a set that is called Stamp of Approval, which has stamps, hearts, and an X and O you can use in different ways!
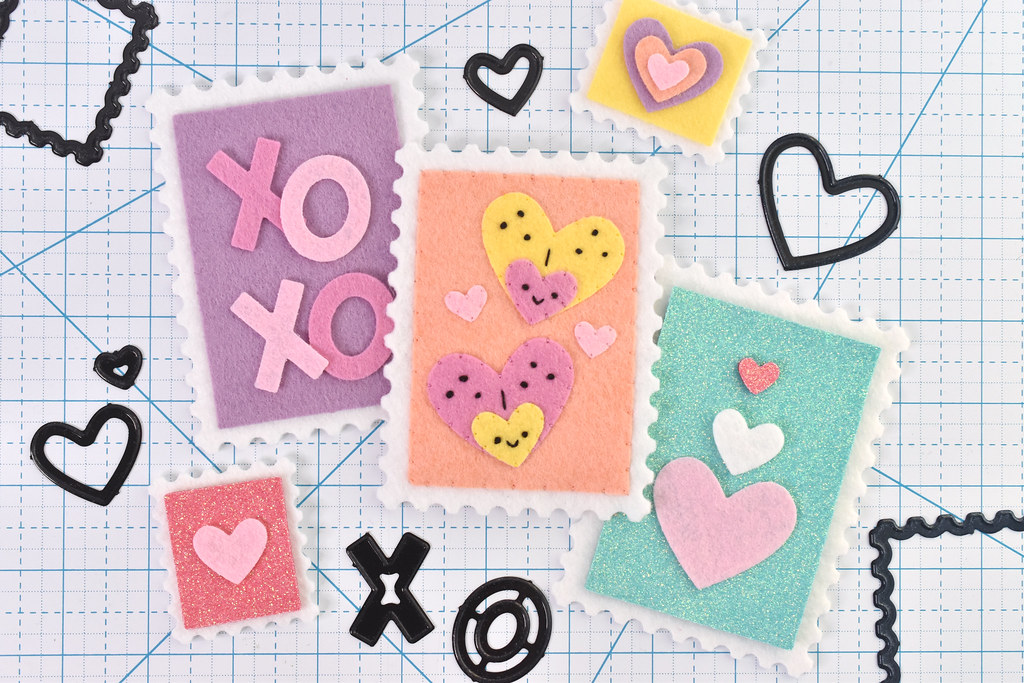

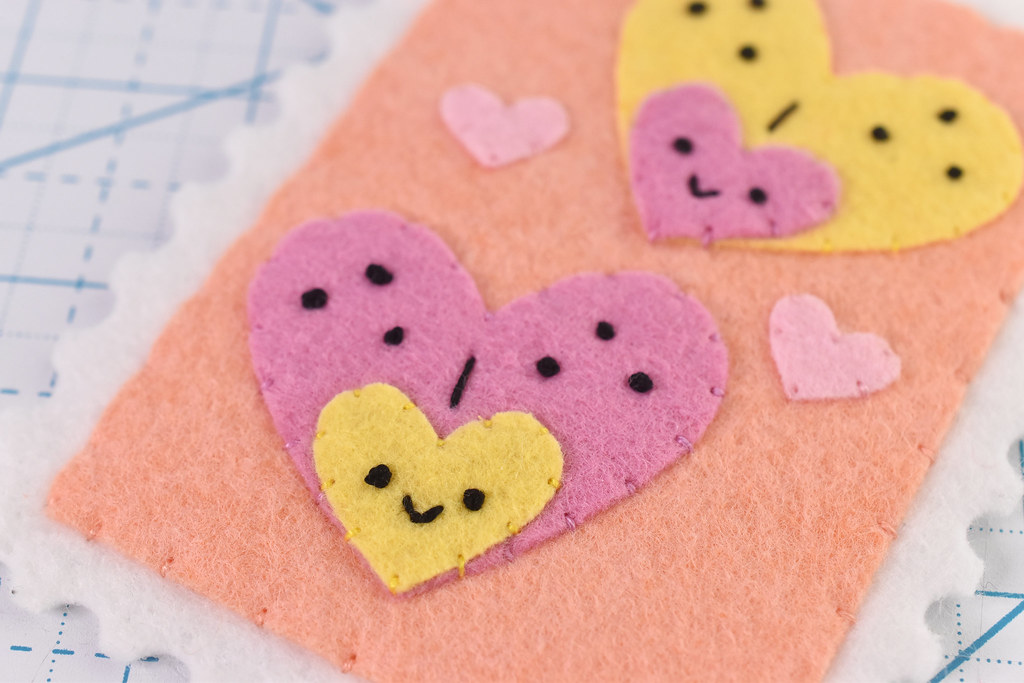
The stamp backing pieces have two sizes, plus lots of heart sizes. I used them to layer and make things you might expect, but also to make some "love bugs" by adding a bit of stitching.
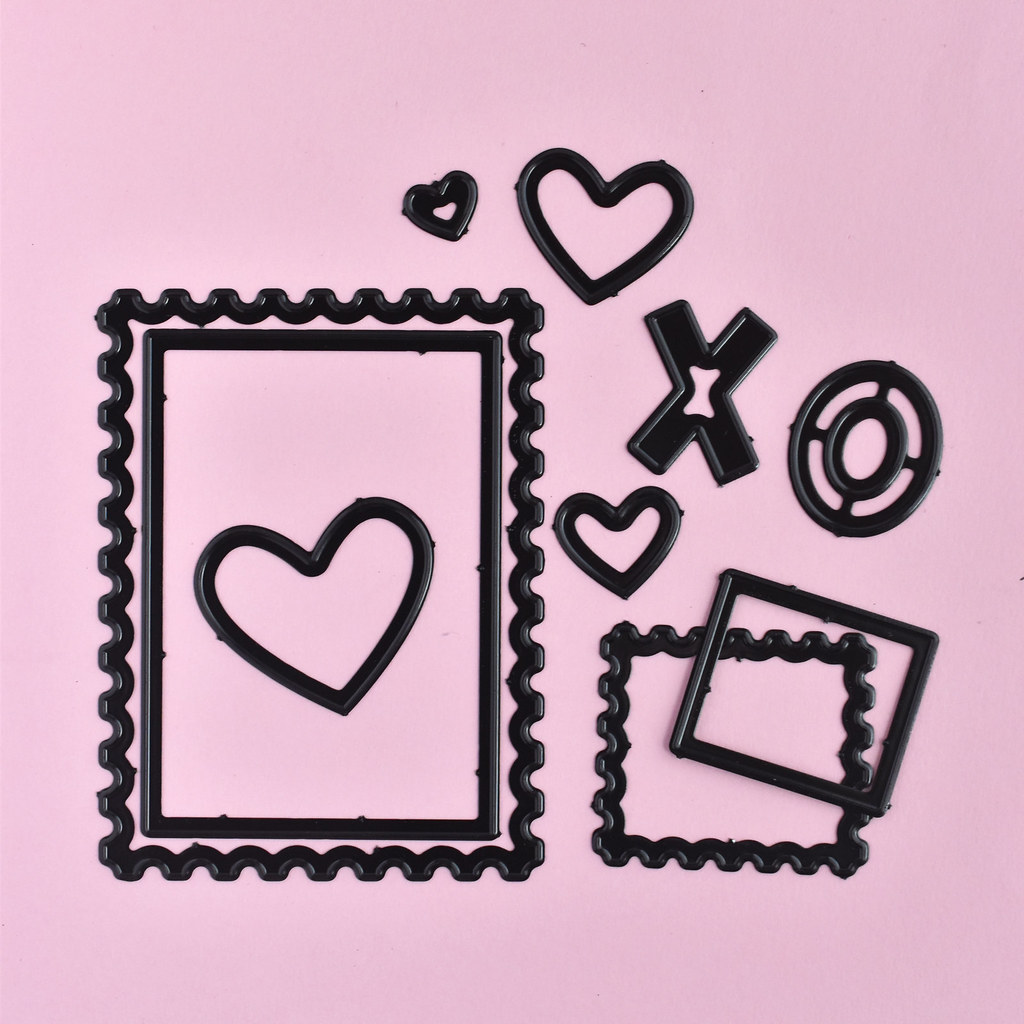
I'm working on another felt Valentine right now that uses the small rectangle to be a little envelope. I think it's going to be cute!
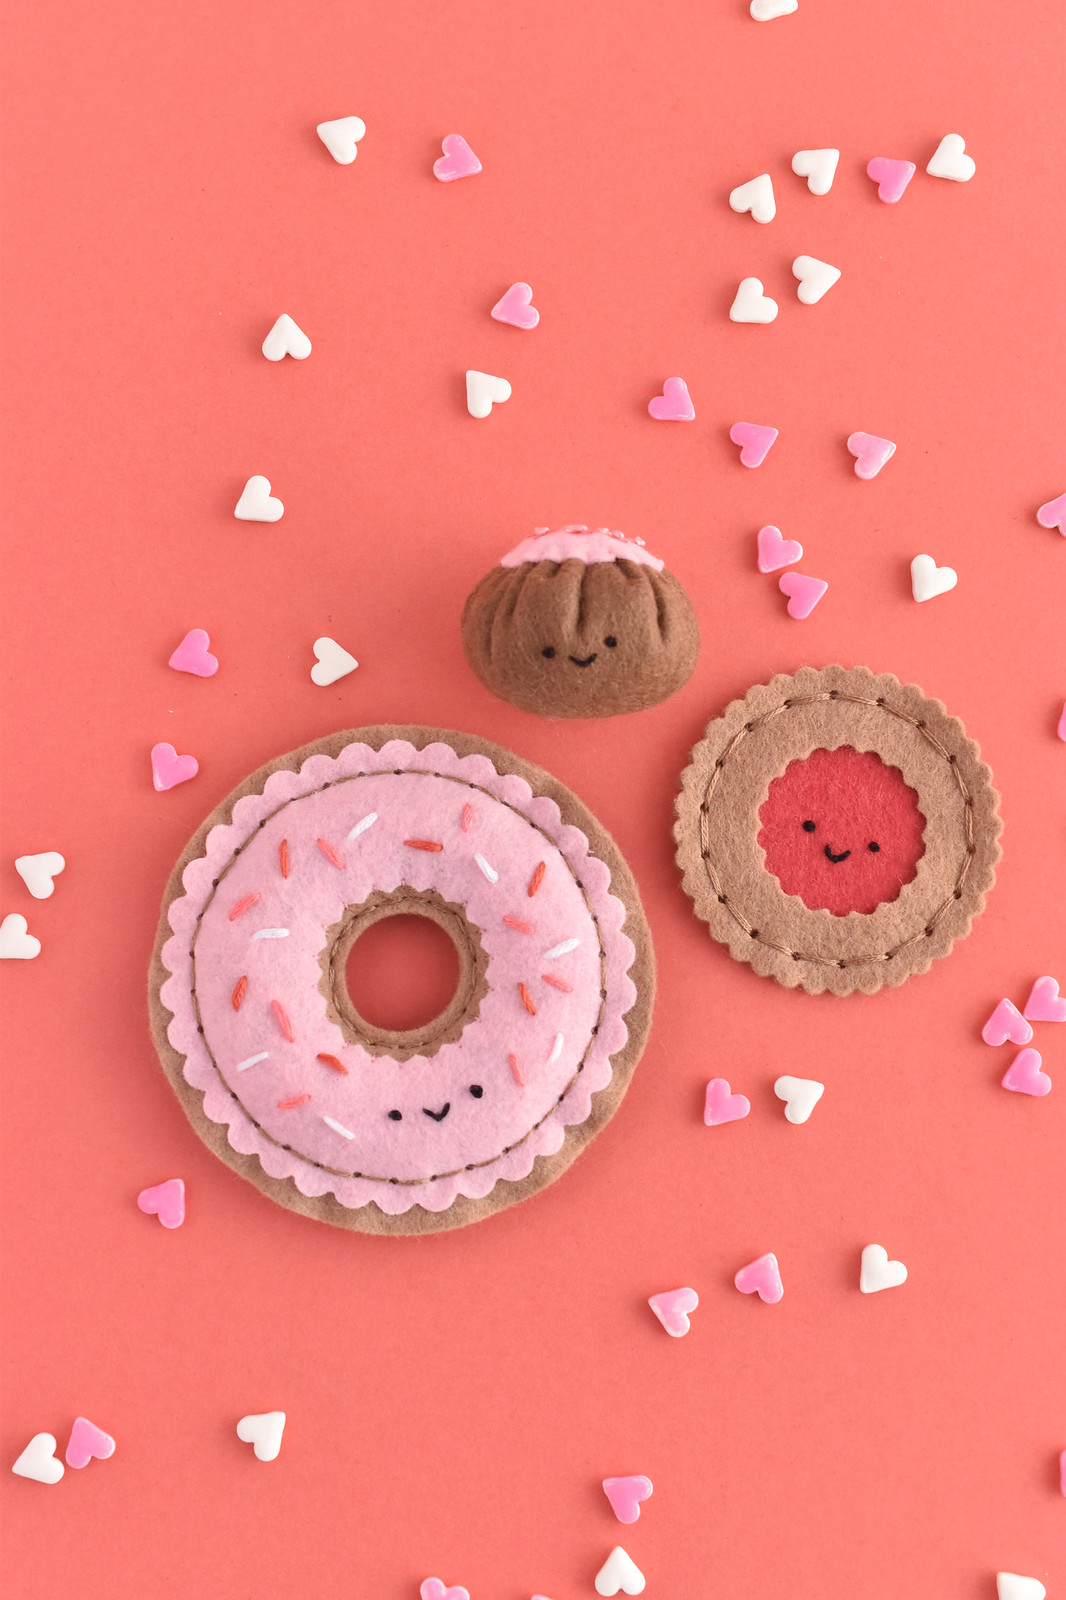
Whether you already have a set of Circles and Scallops dies or maybe this is the nudge that leads you to get them, I hope you enjoy making trio of felt treats!
I've made these felt doughnuts before but I didn't have a die which can make them hard to make (especially for the littles) so seeing this die set is amazing and one that I need to have and will use for many many times, I have to admit it was the dumpling that sold me :-)
ReplyDeleteThank you for always sharing such detailed instructions and now I will unpatiently (j/k) wait for my order :-)