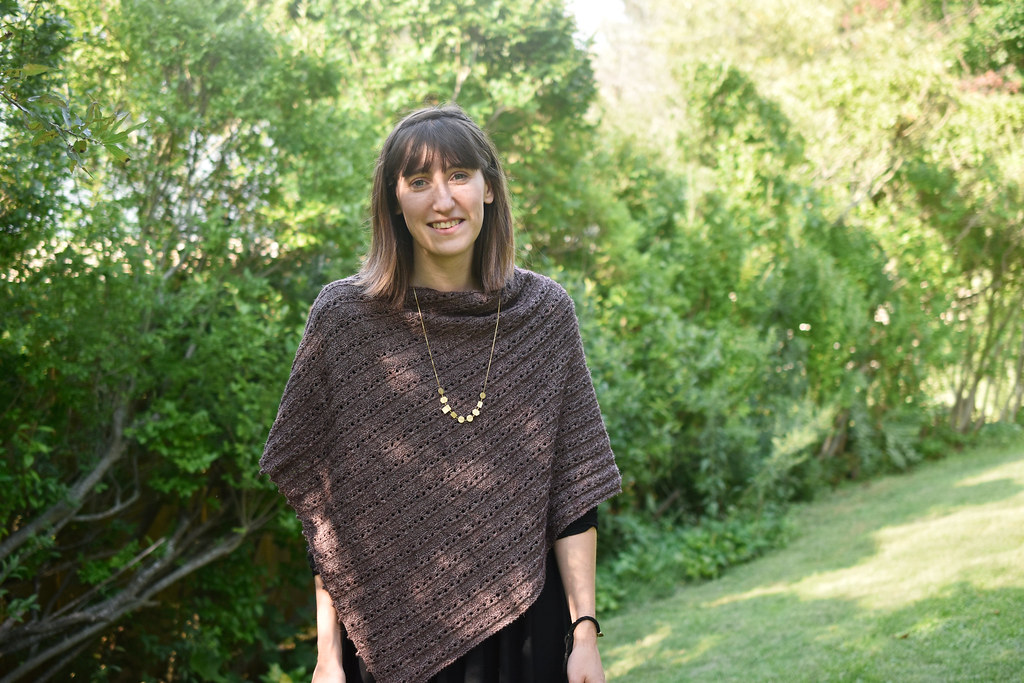
A thing that I love about crafting of almost all kinds is that once you learn how to do something and follow instructions, you can learn how to design your own things. This is true for me with embroidery, English paper piecing, kids crafts, and more. But one craft medium I never imagined designing for is knitting (and crochet, but we'll get to that another time).
Most of the time I felt good if I could just follow a simple pattern, and I considered myself to be a novice knitter. In some ways, I probably still am. There are plenty of techniques that I've never tried, let alone mastered. But the more I knit and followed a pattern, the more confident I became.
So when The Spruce Crafts asked me to design a new poncho knitting pattern, I started to think that maybe, just maybe, I could do it. Spoiler alert (as if the photo above didn't give it away just yet...): I did it.
Along the way, I documented some of the process and I thought it might be interesting for you to peek into the process of what it looked like for me to design my first knitting pattern. (You can also hear me talking about this is episode 11 of the Very Serious Crafts Podcast!)
The first step was deciding on the shape. I saw a few examples of ponchos that were basically a large rectangle, folded, and then stitched. The shape was simple, so for a first go at this, that was my choice.
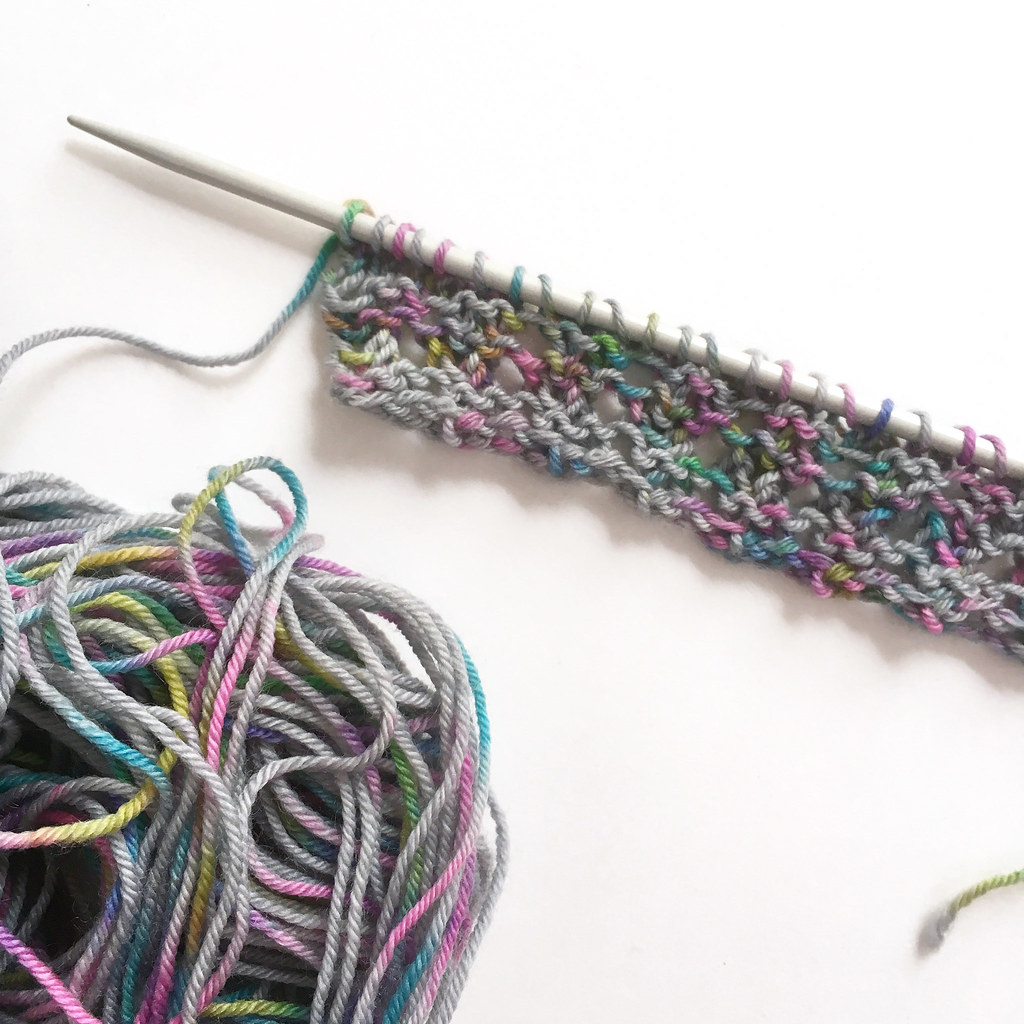
Next, I knew I wanted it to have a few lace elements because I've enjoyed knitting slightly lacy shawl patterns. In fact, I started really playing with the design by using some leftover yarn from a shawl I made. (It's Unicorn Battle sock yarn from The Lemonade Shop)
To figure out the design for this, I just started knitting. I added some yarn overs and K2Togs, and looked at my mini swatch. And then I started again and again.
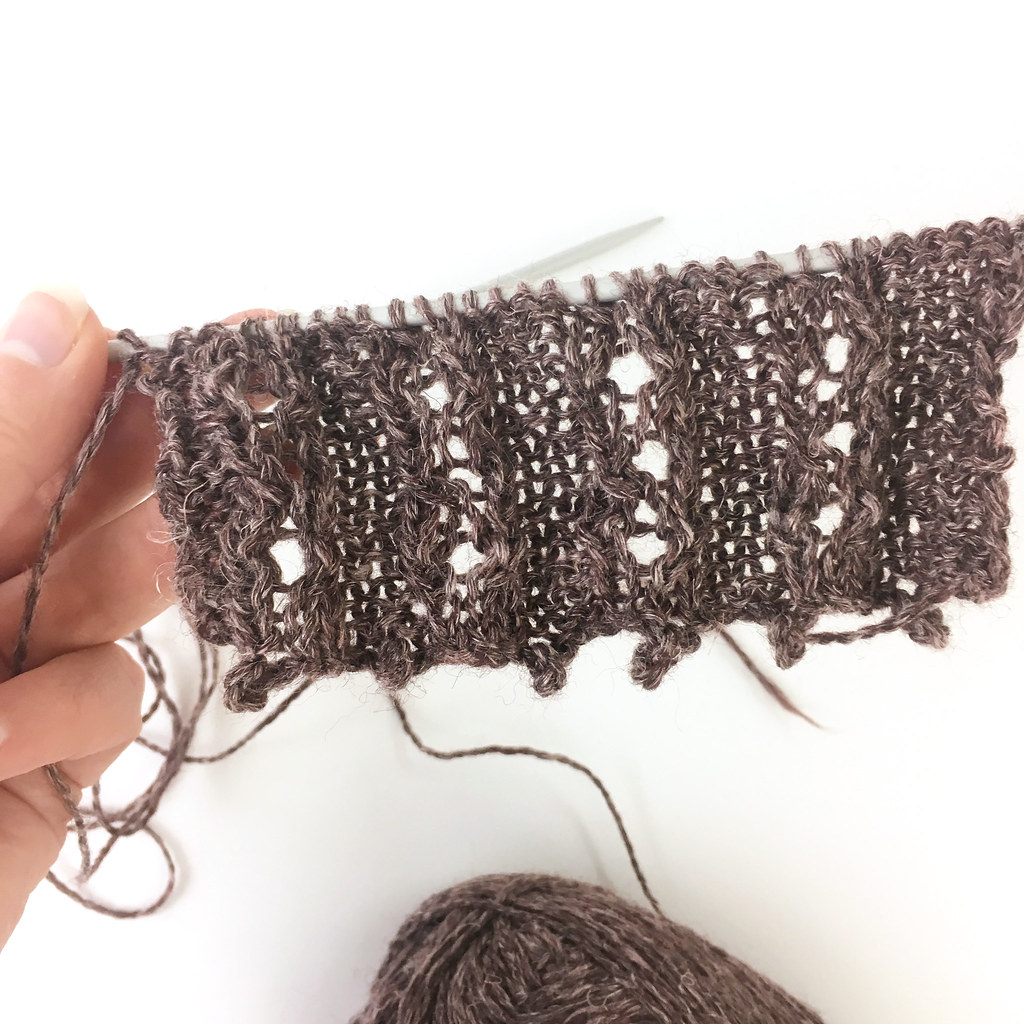
I also started researching some different kinds of stitch combinations I liked, and found a lace rib that was a nice combination of the lacy style I was thinking, as well as some lines of stitching that I was drawn to.
Around that time, I received some Lyonesse yarn from Blacker Yarns. One of the things I learned through the design process is that knitting designers often receive "yarn support" from companies who provide them with product to work with. Using yarn that a yarn company sends helps a TON when it comes to designing a pattern. Not only does it save designers some money, but knitters come out with a finished project that matches the sample.
So by this point I started making swatches with the actual yarn I would use for the poncho. And after several attempts, I got a swatch I was happy with.
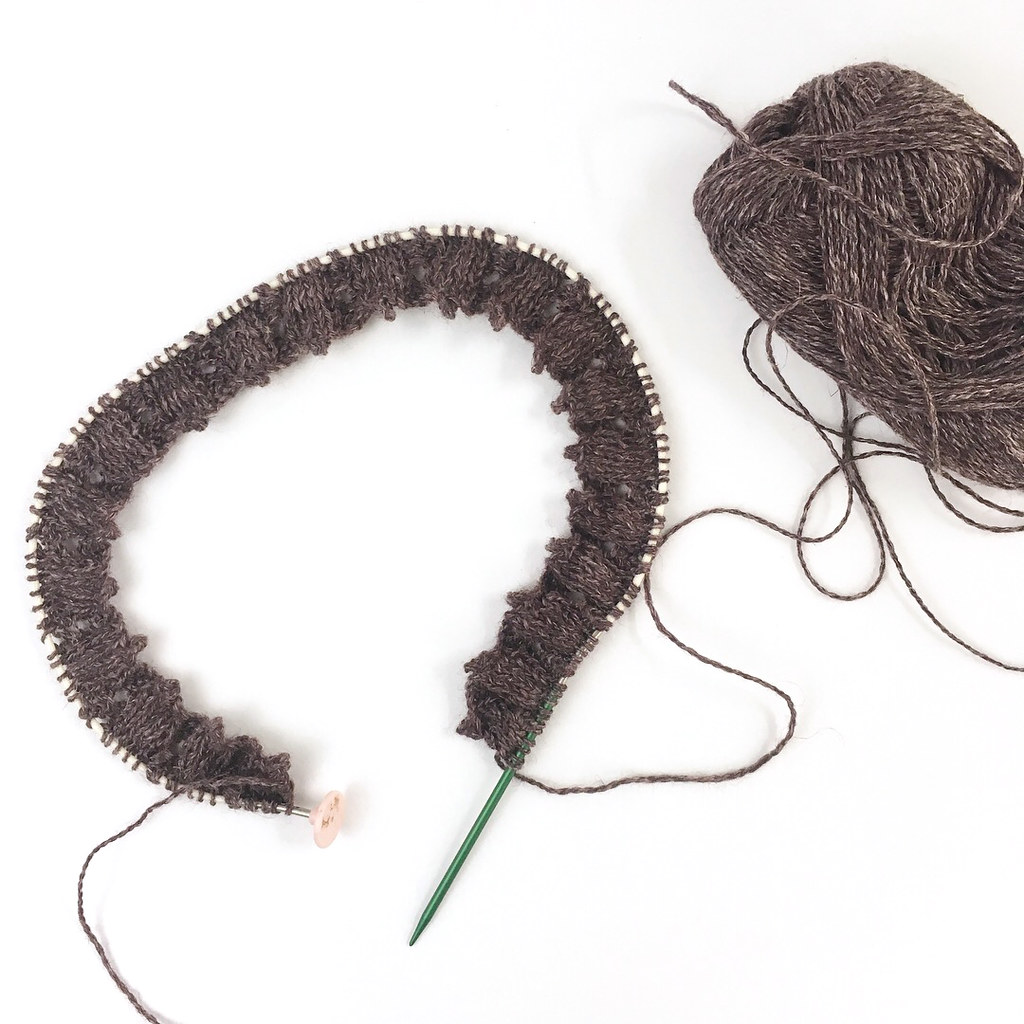
So I started knitting! Wheeeeeee!!!!
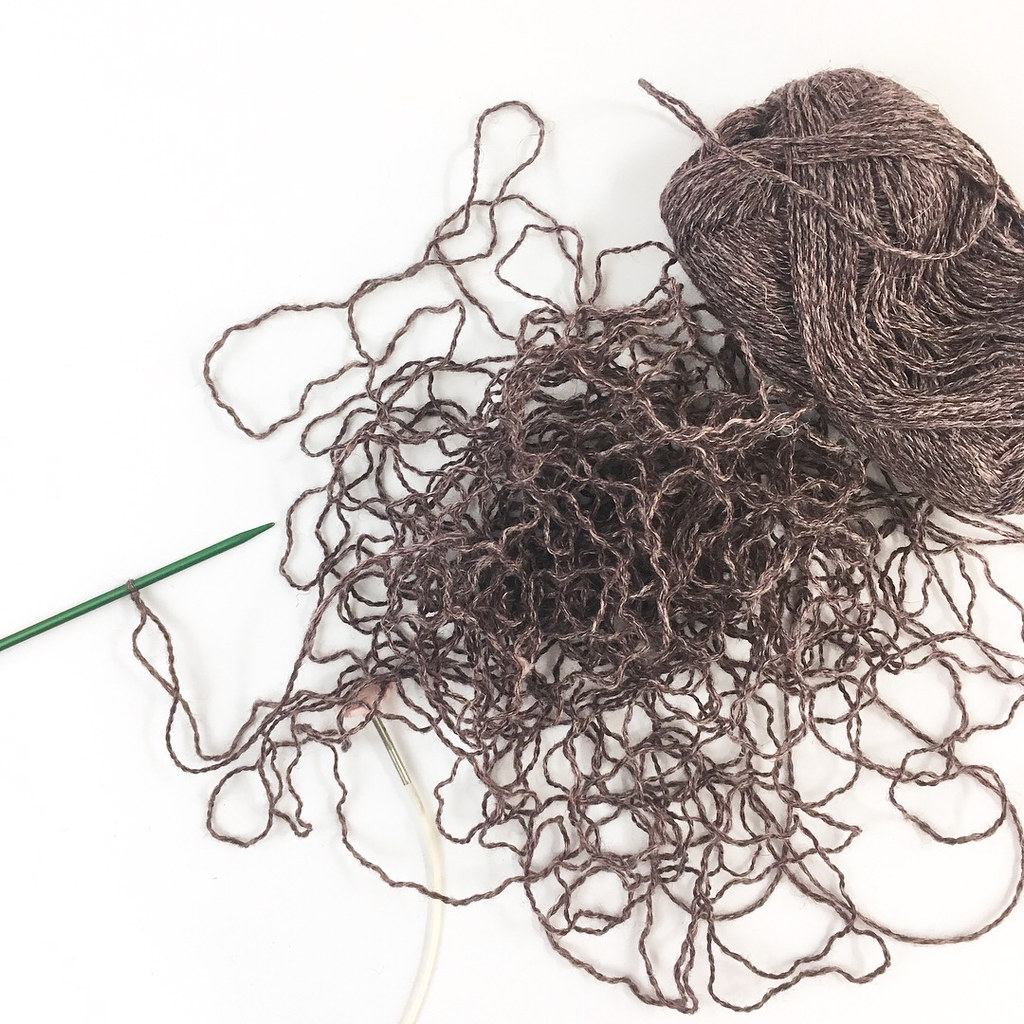
Aaaaannnnnddddd then I realized that I wasn't doing this right. So I undid all that I had just done.
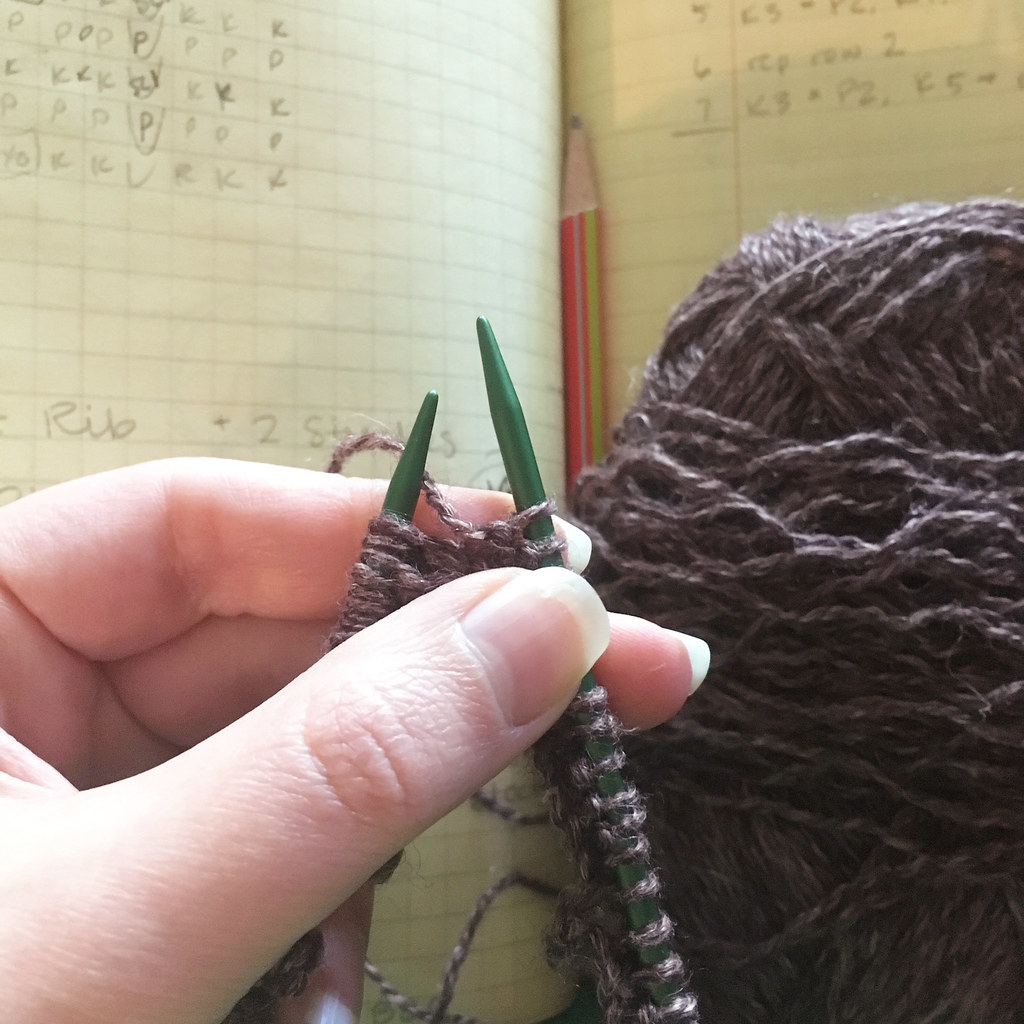
I went back to my notes, which were starting to get really messy. I had at least three versions of the pattern written out on two pages, some as a chart, some as abbreviations, all with extra scribbles around. For the record, there are better ways to organize this process! Ha!
But I knit again and took more notes found the problems.
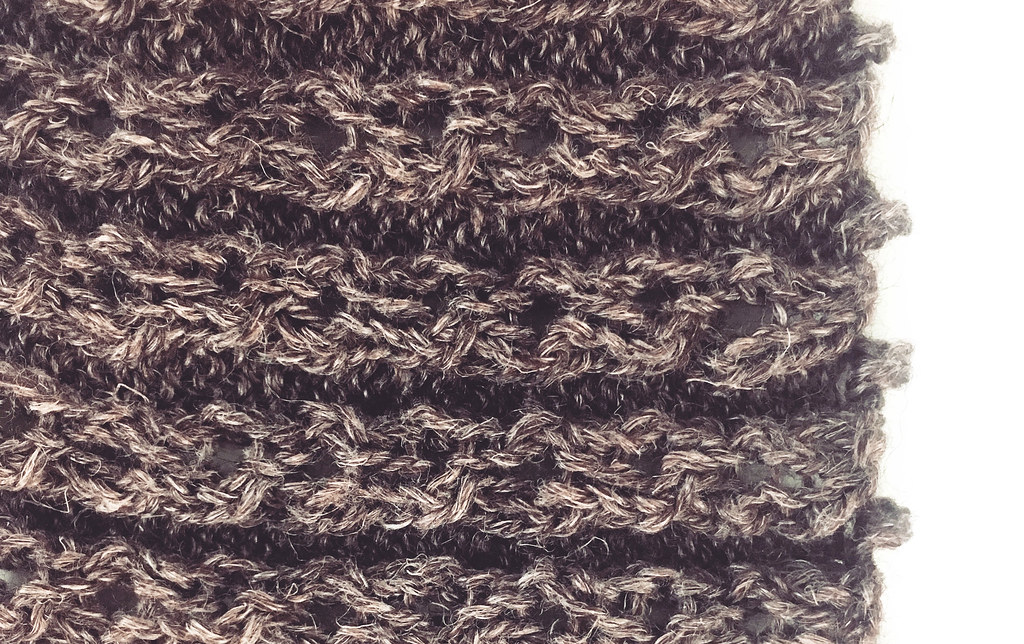
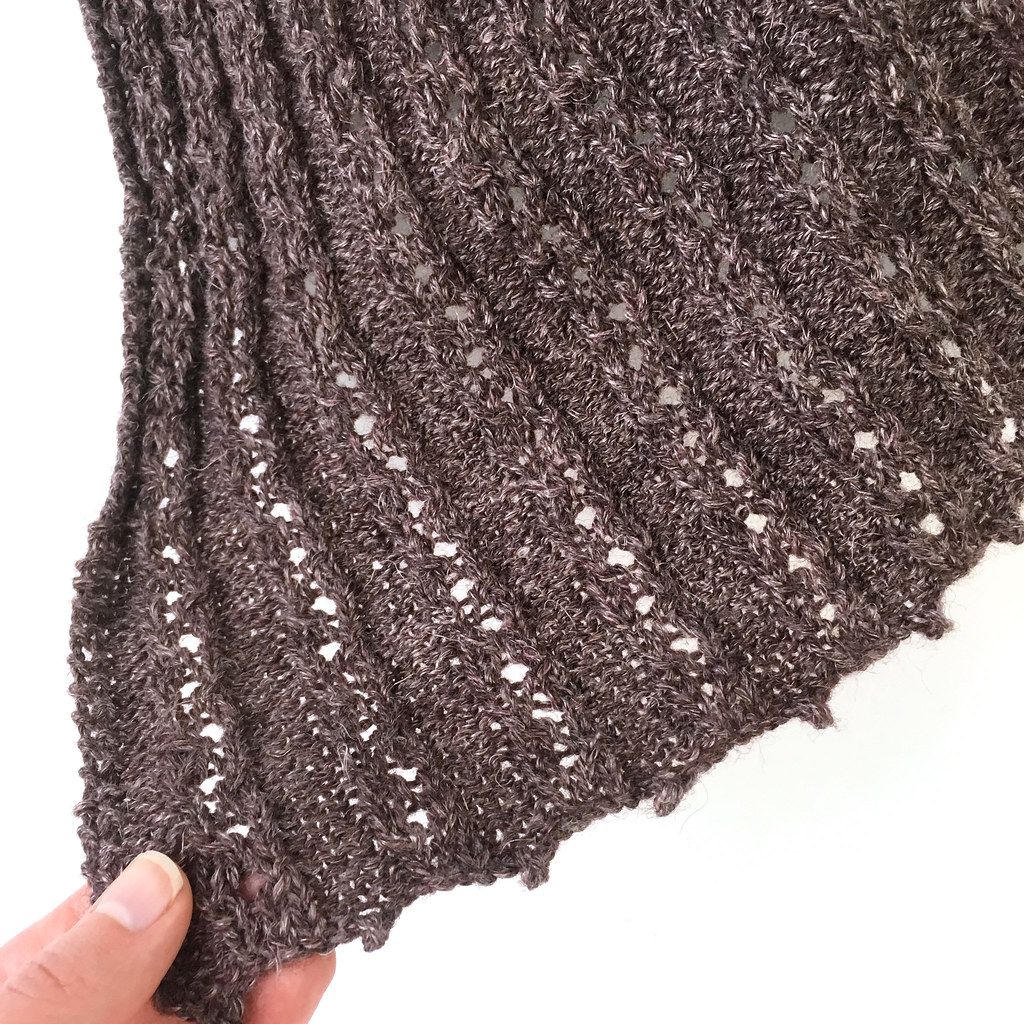
Eventually, it looked right enough for me to really jump into this. But because this is knit in a ribbing-type stitch (which I modified a little), the knitting was just looking really tight. The needles for this are a large enough size to make the knit fabric lightly lacy when it opens up after blocking, but I got nervous as the piece grew.
So I partially blocked the end. To my great relief, it looked like it was supposed to! There was nothing left to do but knit.
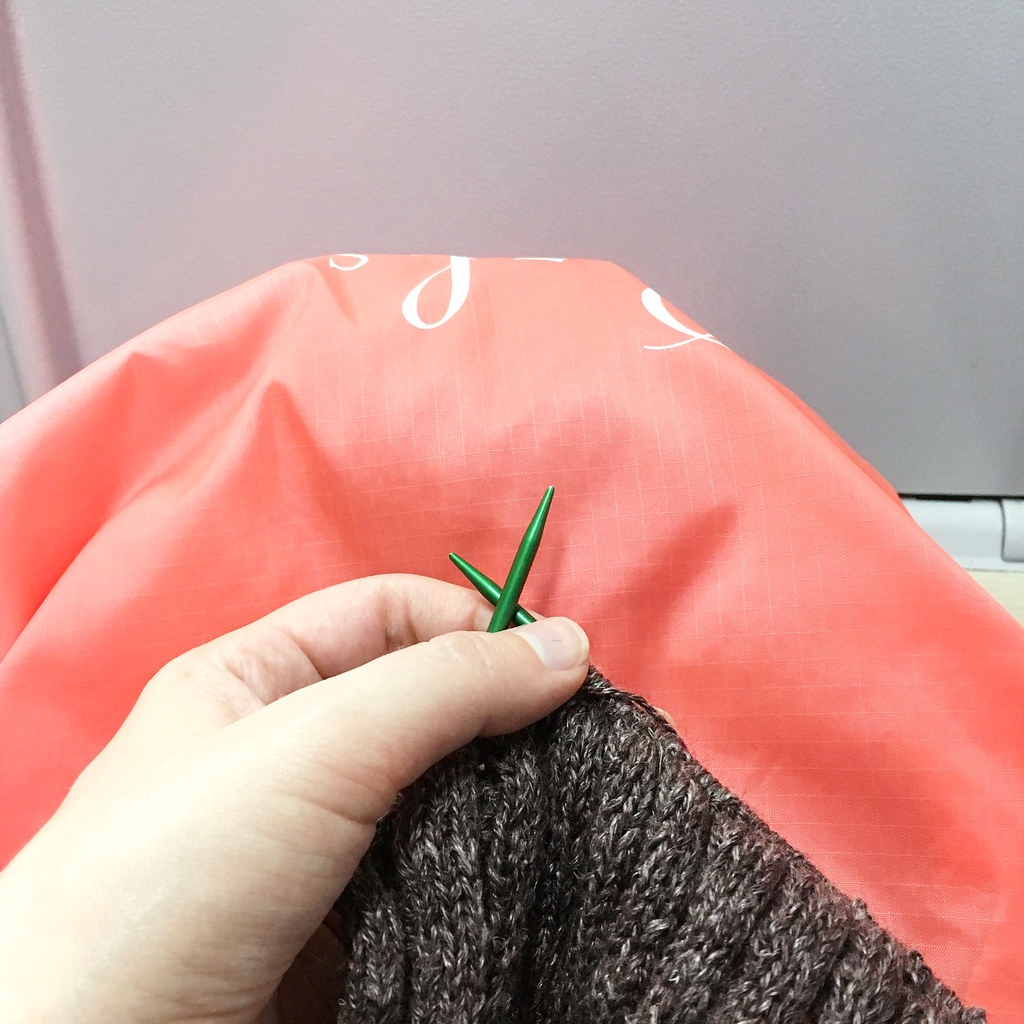
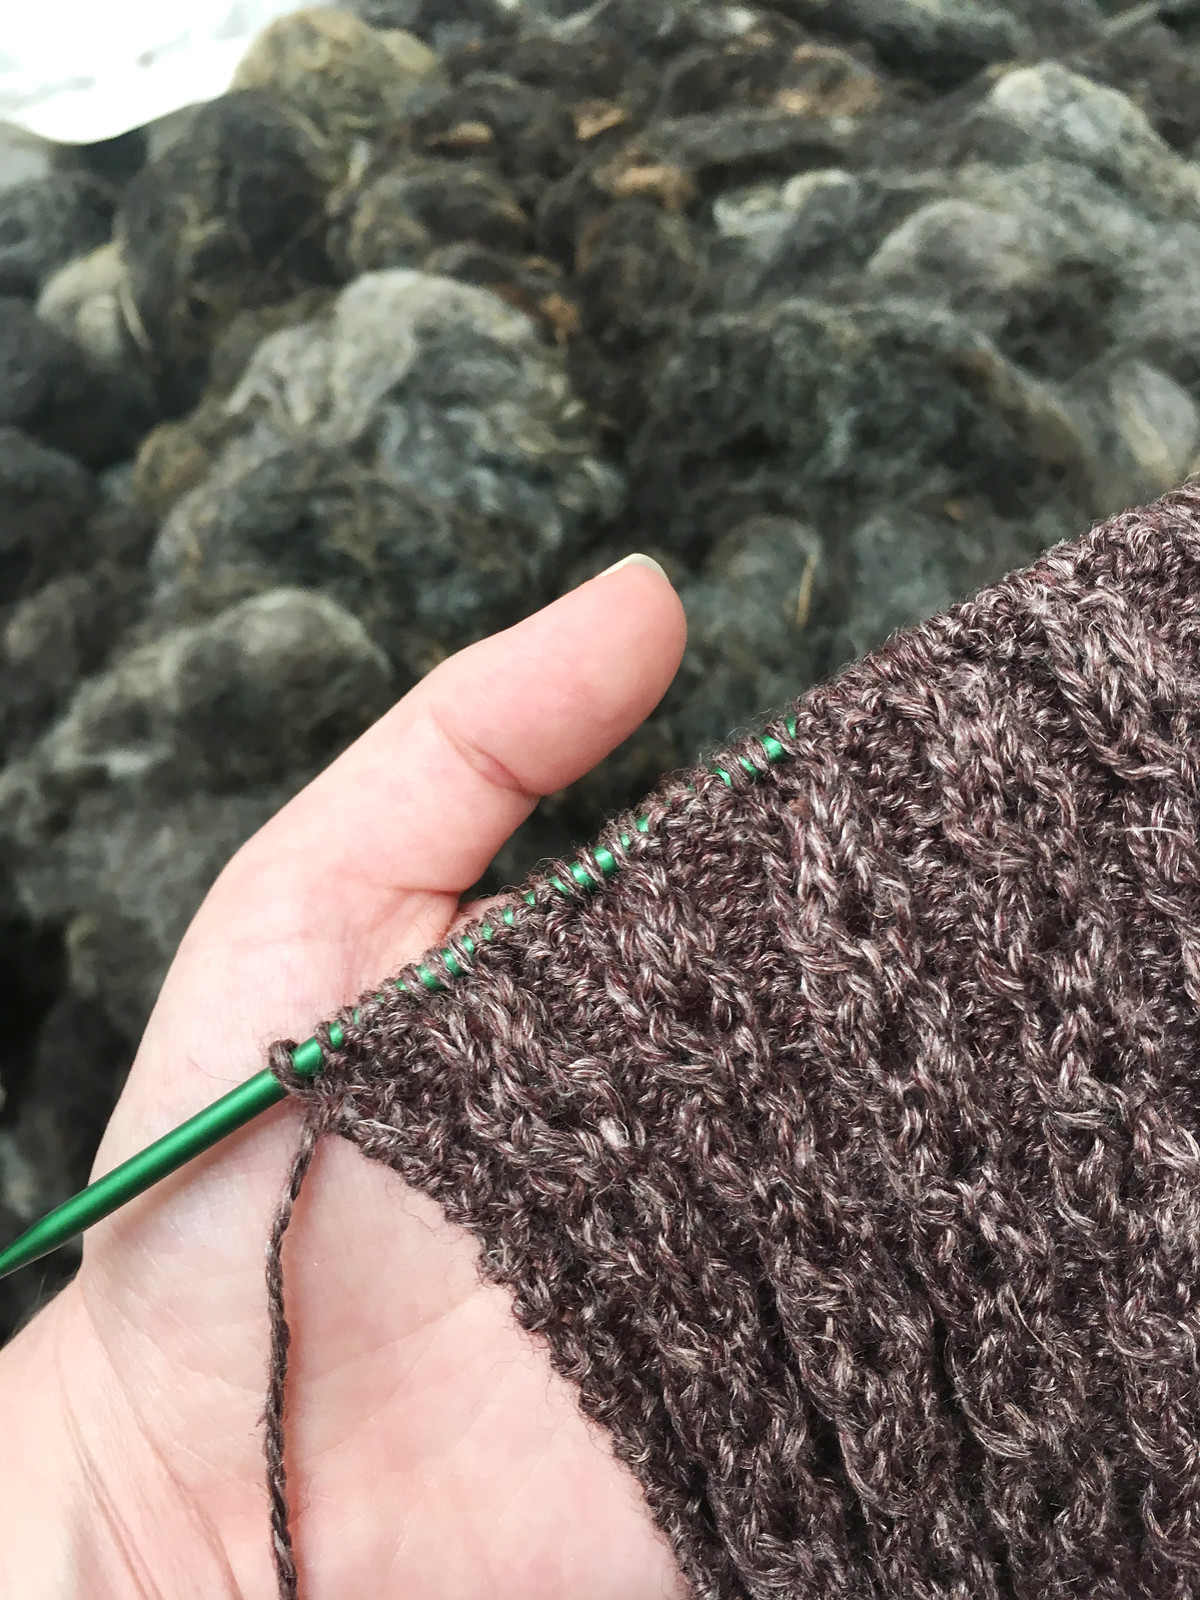
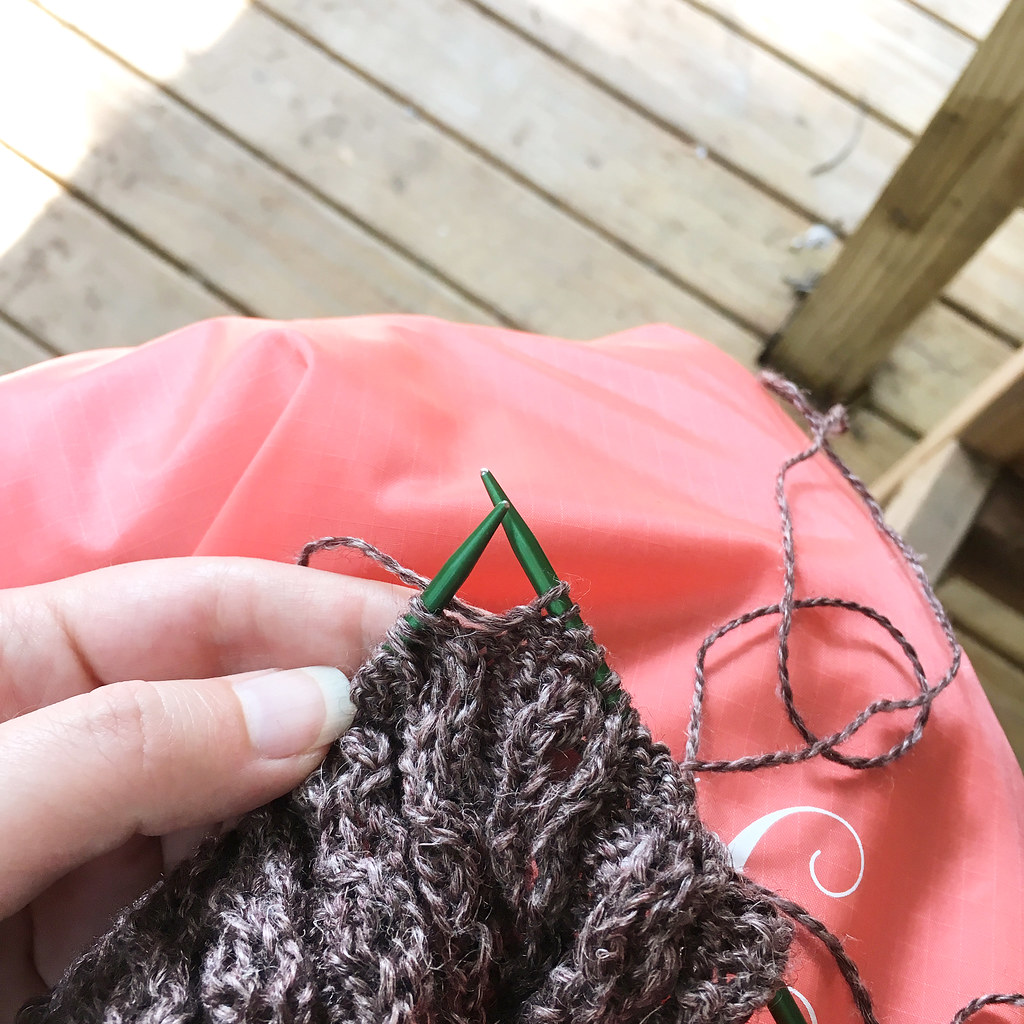
And that's what I did. I knit it planes, trains, and automobiles, as well as in comfortable chairs, backyard swings, faraway living rooms, and I even took my project to the mill where the yarn was made.
All the while, I was thinking of what to call this thing. It's technically a poncho, but it also looks a little like a shawl or a wrap. So I thought referring to it as a poncho wrap was a good idea. But that was too generic. It needed a name that makes it easier to find...
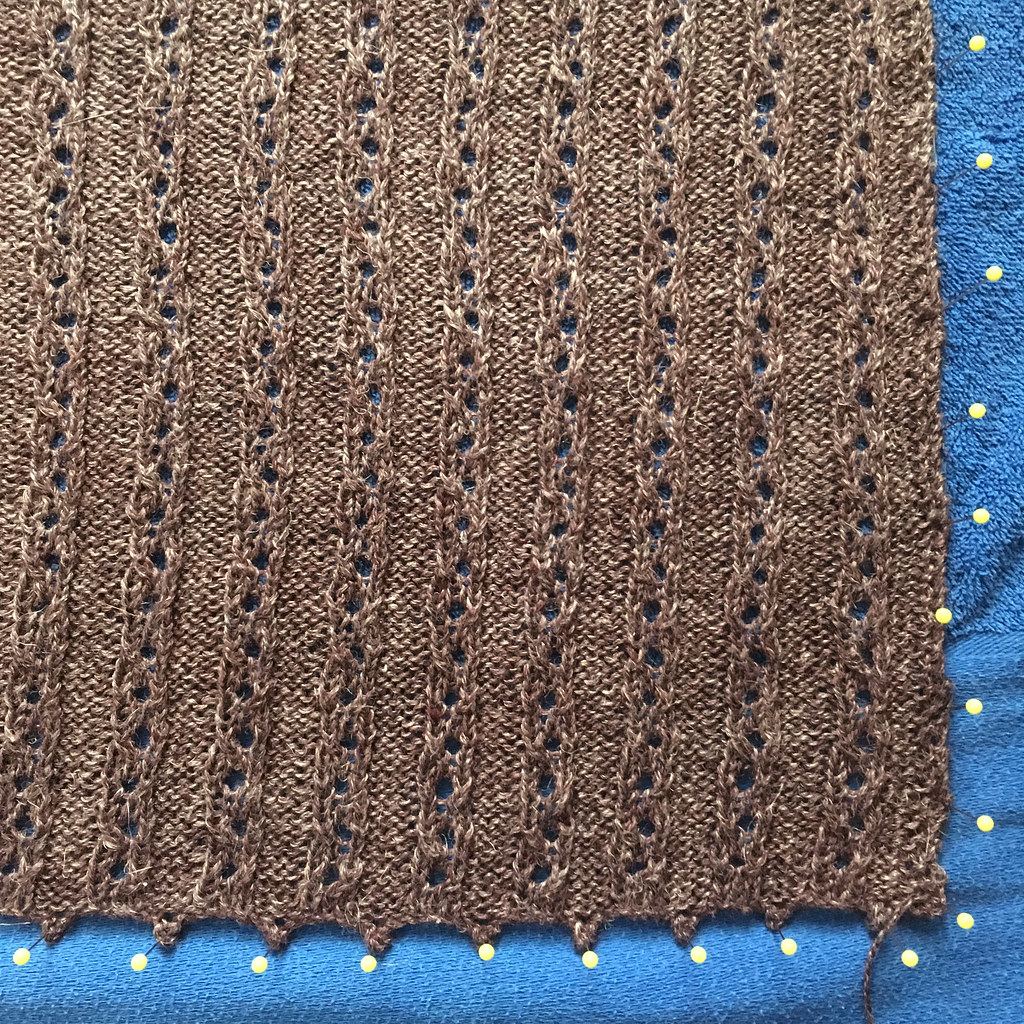
Before long, it was time to bind off the end of the poncho wrap. And block it. The rectangle blocks to 24 x 48 inches, and I pinned that baby like crazy. Especially the picot edge (which is one of my favorite parts!).
When I unpinned the dry poncho wrap, I could feel how wonderful this was going to be. It really was the first time I got to truly see what it would look like! To make sure it draped right and that the opening would be large enough, I pinned one edge together and modeled it over my pajamas. This is how the pros do it, right?
I showed family members and they approved, so it came time to stitch and finish it. Yaaaaayyyyyy!!!!
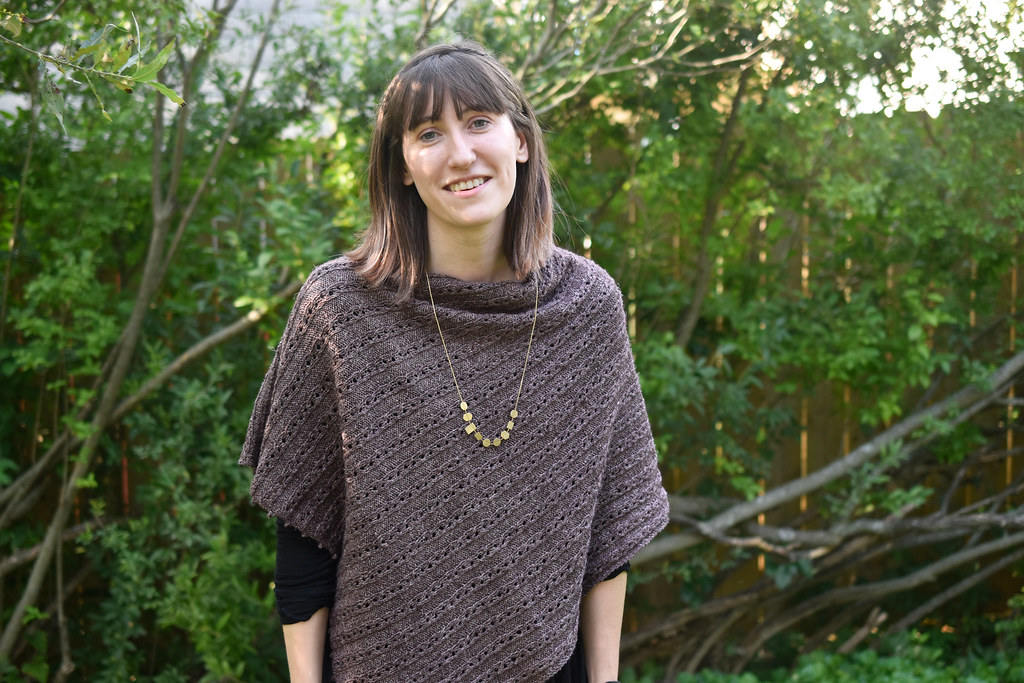
My sister agreed to model it for the final photos (which look way better than me in my pjs with the poncho wrap!). We might take a few more now that the weather has cooled down a bit. For some reason wearing wool in 90+ degree weather isn't conducive to getting TONS of photos! Ha!
And now my pattern is officially launched into the world. You can find it at The Spruce Crafts and on Ravelry. It's called the Sylvia Poncho Wrap, named so because my grandma Sylvia taught me how to knit.
(Since then, I also made another pattern too...this time for a much smaller and easier project: a dishcloth!)
Mollie,
ReplyDeleteHow long did it take you to knit this? I would love to knit and have my grandmother's supplies but have never taken the plunge. Can you recommend a simple pattern to start with?
Maureen
I love your honesty and allowing us to follow your journey!
ReplyDelete