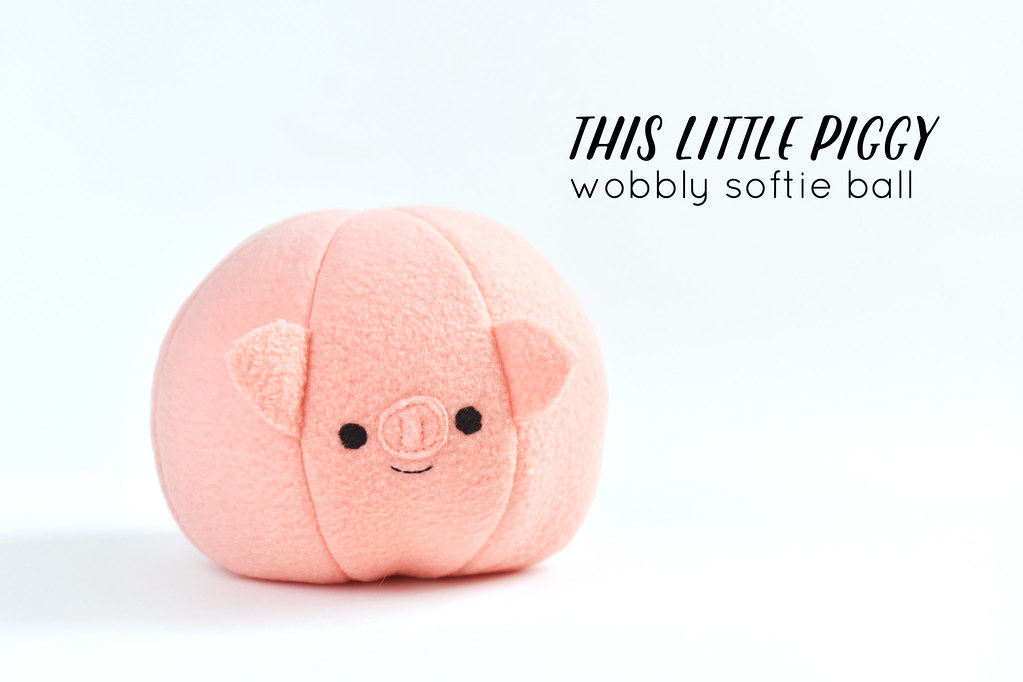
Sew a Softie is a fun campaign to encourage kids (and others!) to try sewing simple soft toys. My contribution is this squishy piggy that's also a wobbly ball! It might look a little more advanced, but I promise you this isn't difficult.
This project is perfect for kids who have a little sewing machine experience, or for those who are new to sewing and have some help from a grown-up.
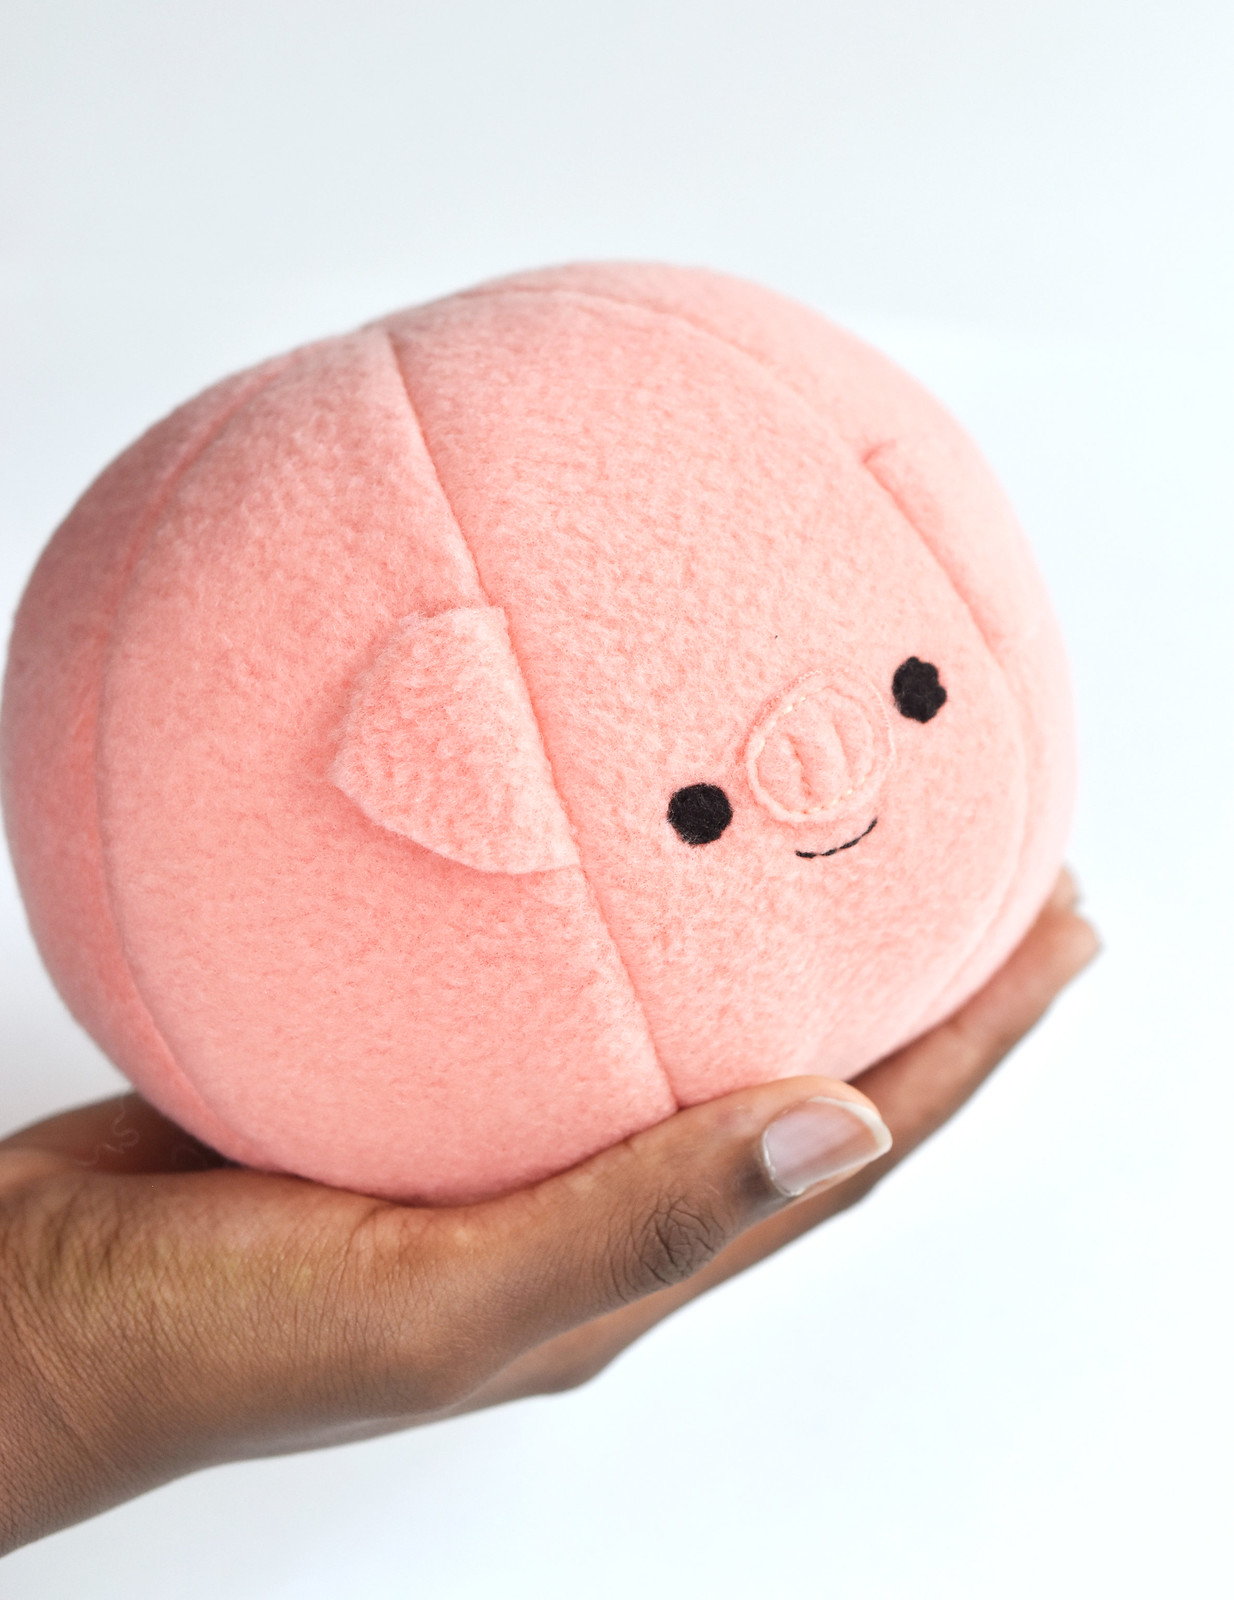
I made this little piggy with a sewing machine, which speeds up the process, but you can sew it by hand if you want. If you're sewing by hand, use small backstitches to stitch the seams. The small stitches will prevent any of the weighted filler in the bottom from escaping.
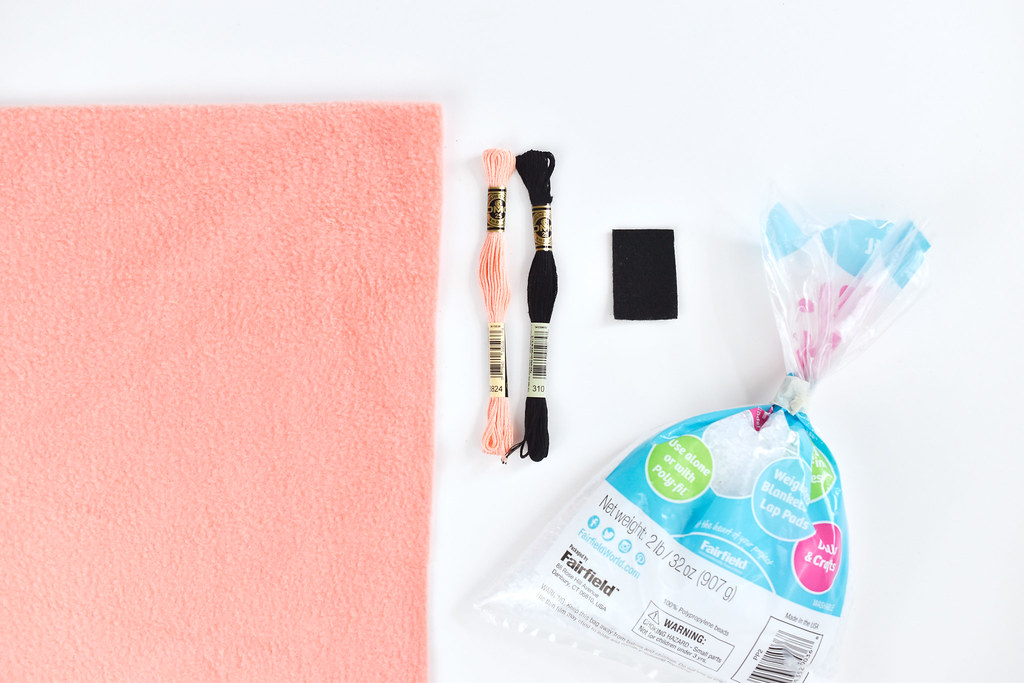
You will need:
Pink Anti-Pill Fleece - 1/4 yard
Black Felt - scrap
Pink and Black Embroidery Floss
Weighted Pellets or Beans
Stuffing
Basic Sewing Supplies
THIS LITTLE PIGGY SOFTIE PATTERN
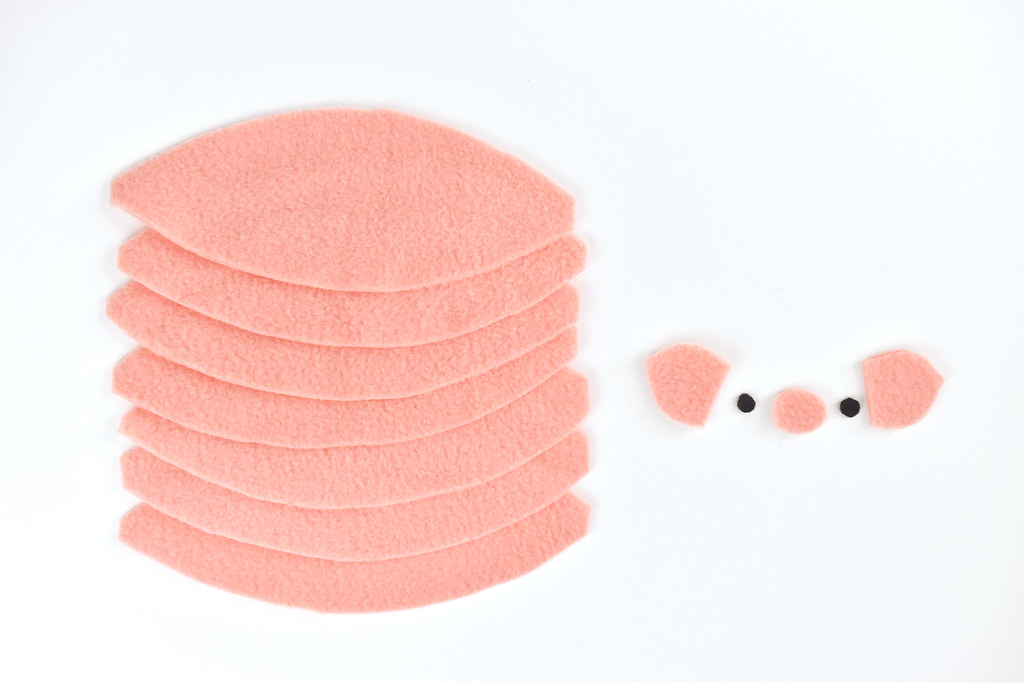
Cut out 7 body pieces. Fleece stretches more in one direction than the other. Make sure to cut the pieces so the arrow on the pattern matches with the stretch of the fleece.
Cut out the 2 ears and nose from fleece. Then cut two eyes from black felt.
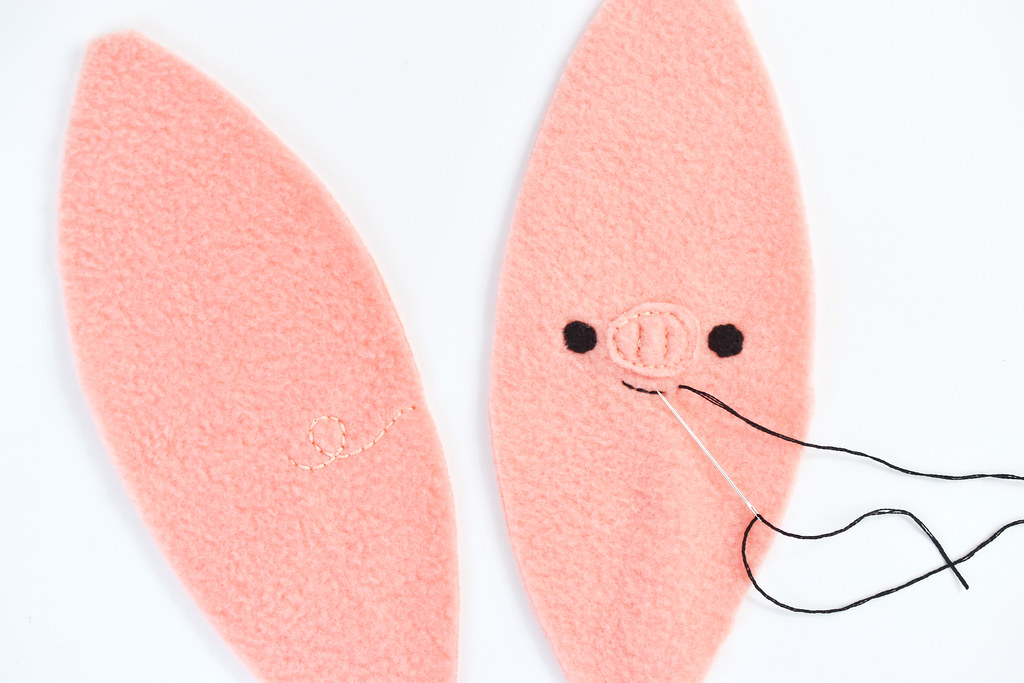
Embroider the tail on one of the body pieces. The pattern includes a tail pattern, but it's pretty easy to freehand this. Just have it start at one edge, which will be the center of the piggy's back.
Attach the nose to another body piece. Use 3 strands of pink embroidery floss and back stitch to attach it. Then, stitch the nostrils.
Attach the eyes with 3 strands of black embroidery floss and whip stitch around the edges. Then, stitch the mouth.
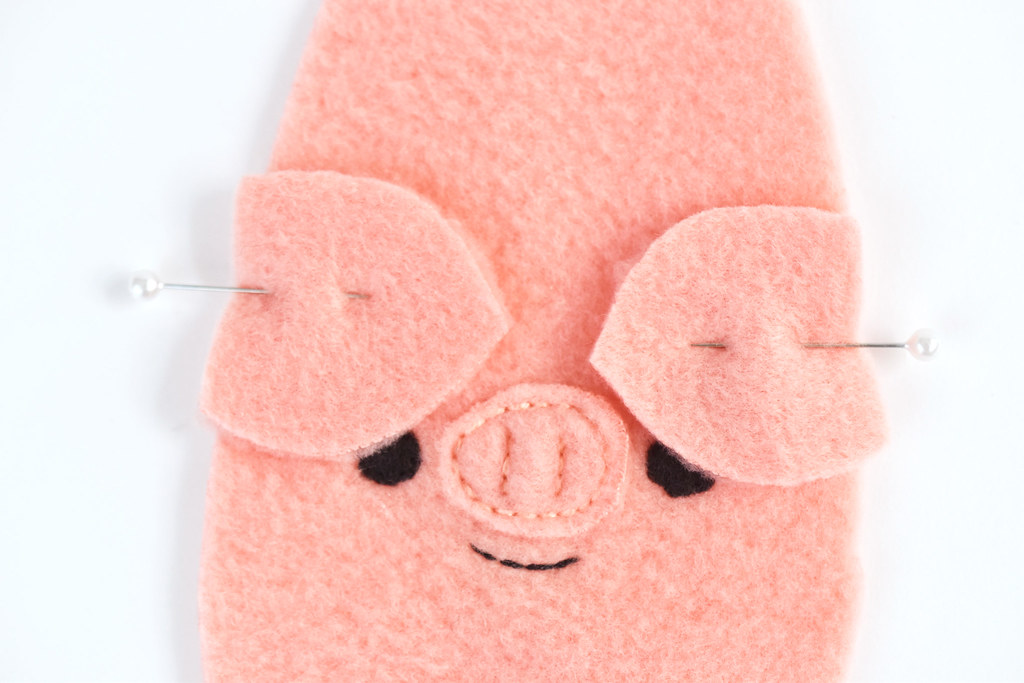
Pin the ears to the face with the straight edges on the sides and the points facing in.
It's often hard to tell, but anti-pill fleece has a right and a wrong side. Try to make sure the ears are placed with the right side down.
Pin and sew a body piece to each side of the face panel. Use a 1/4-inch seam allowance and be sure to catch the ears as you sew.
Again, try to make sure you pin the right sides of the fabric together.
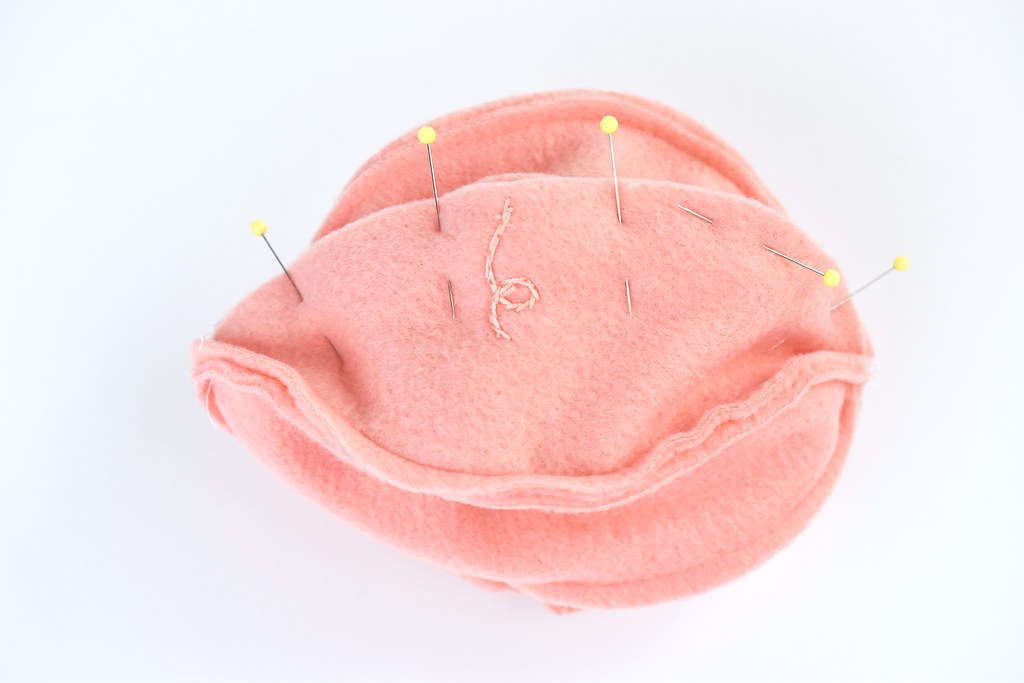
Keep adding plain body pieces on, first adding to the left, then adding to the right. When you have two pieces left, add the piece with the tail so that the edge with the tail ends up in the center of the back. Add the last piece.
Then, sew the two open edges together a little at the top and the bottom, leaving an opening near the middle.
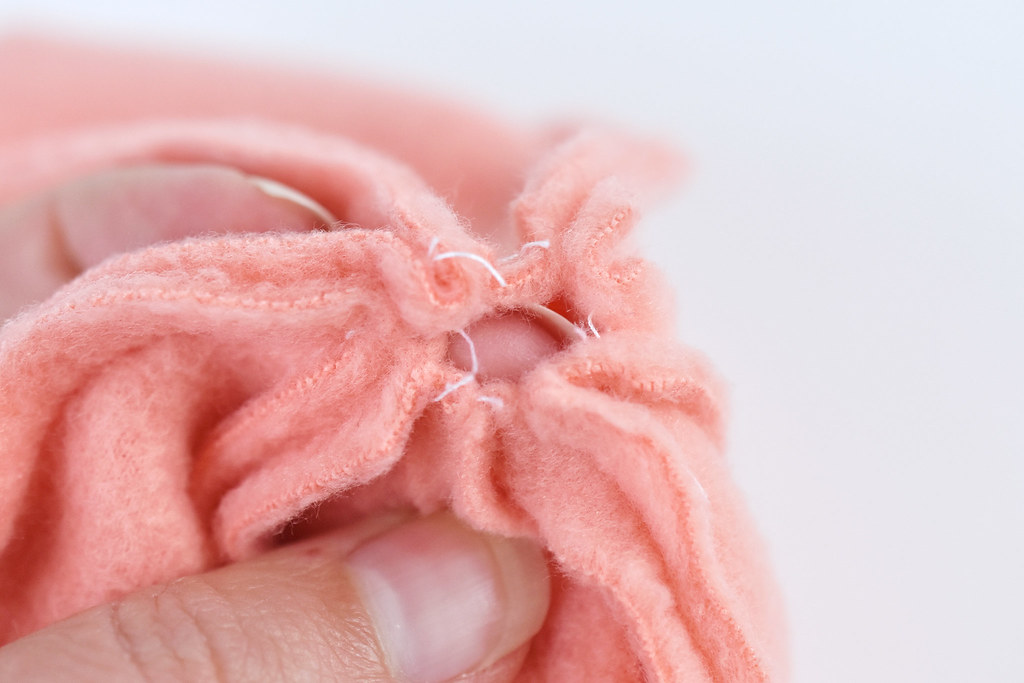
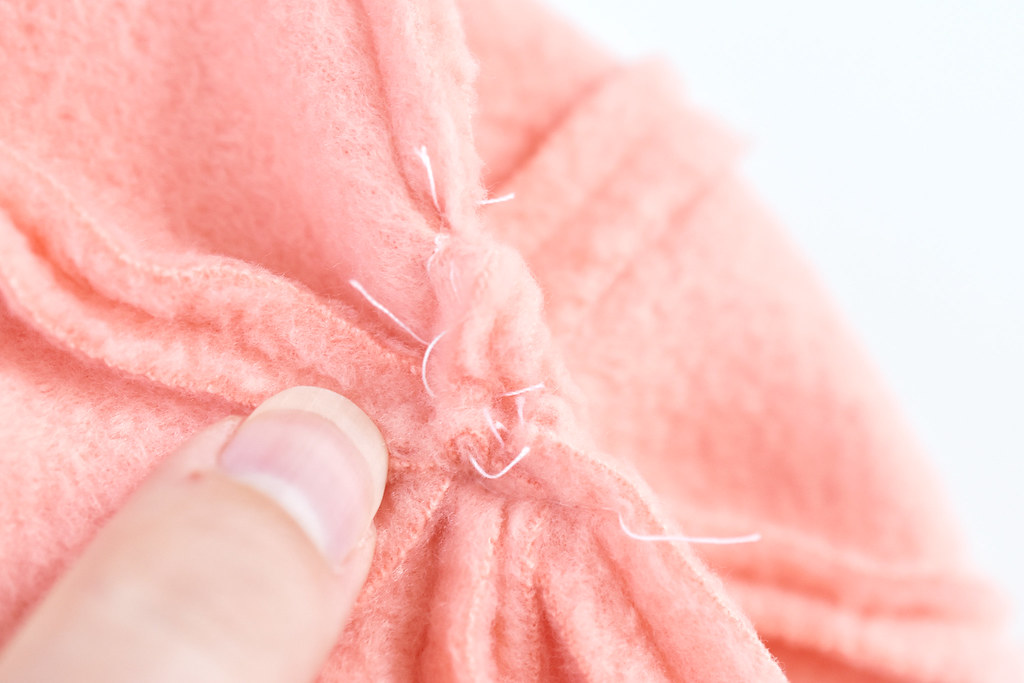
Before you turn the ball shape right side out, check to make sure the top and bottom are sewn closed without a hole. If you have a little gap like this, hold the ball flat and sew across the opening.
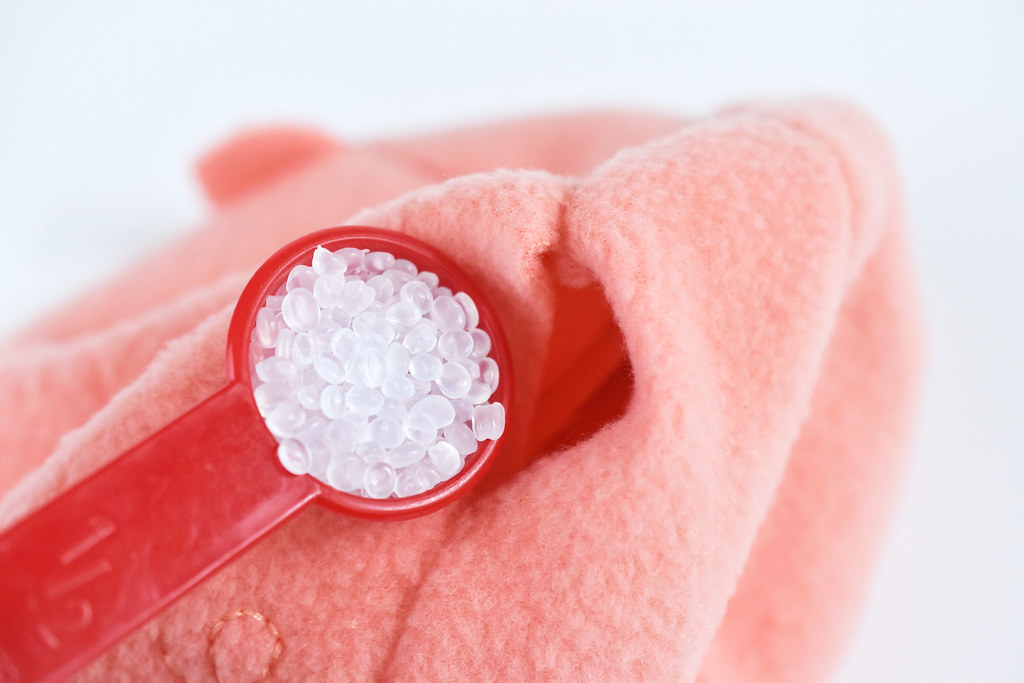
Turn the piggy right side out and add weighted pellets to the bottom. Use enough to give it some good weight. I added almost 1 cup.
NOTE: If you want to give this piggy to a small child, skip this step, as the pellets or beans could cause choking if they get out.
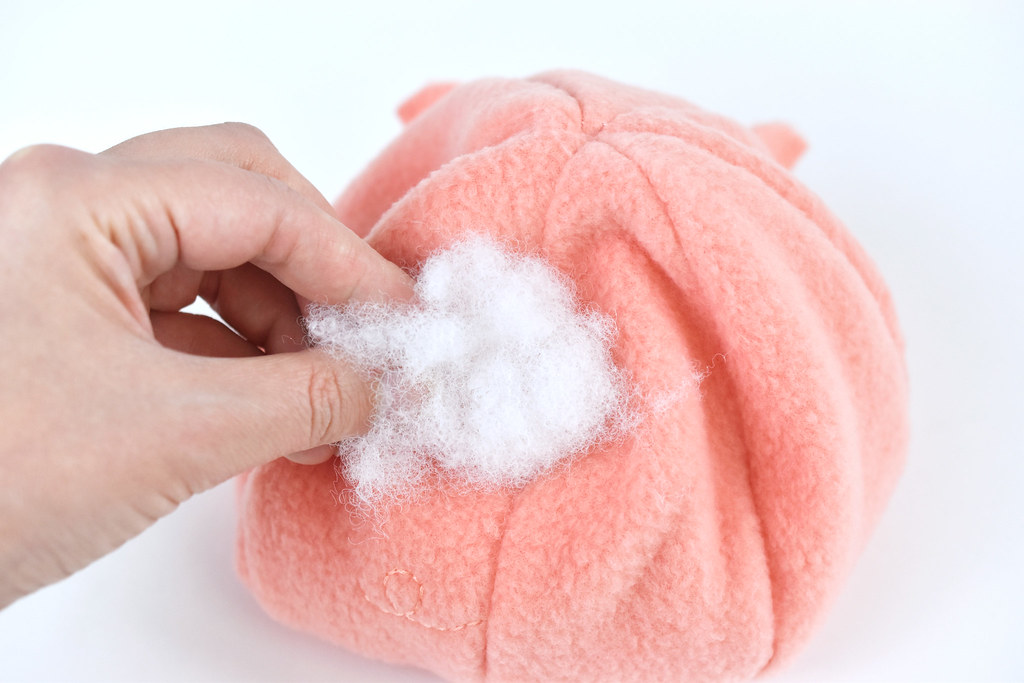
Next, fill the piggy with stuffing. Add it in small pieces, which helps it look even. Keep adding stuffing until it's full.
Because fleece stretches, it will probably take more stuffing than you expect it to.
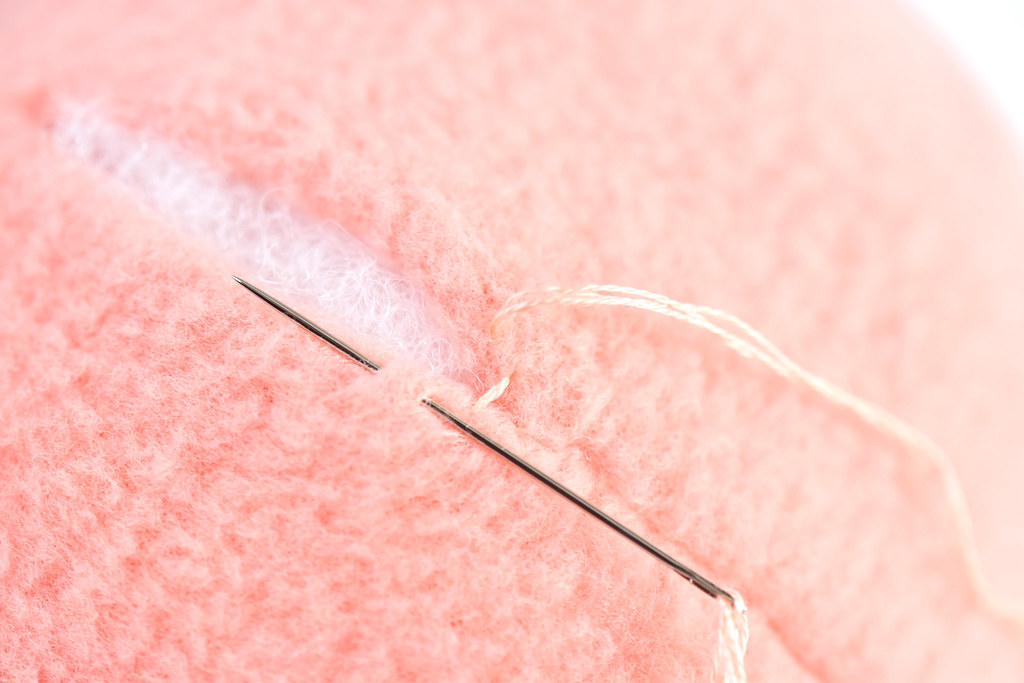
Stitch the opening on the back closed.
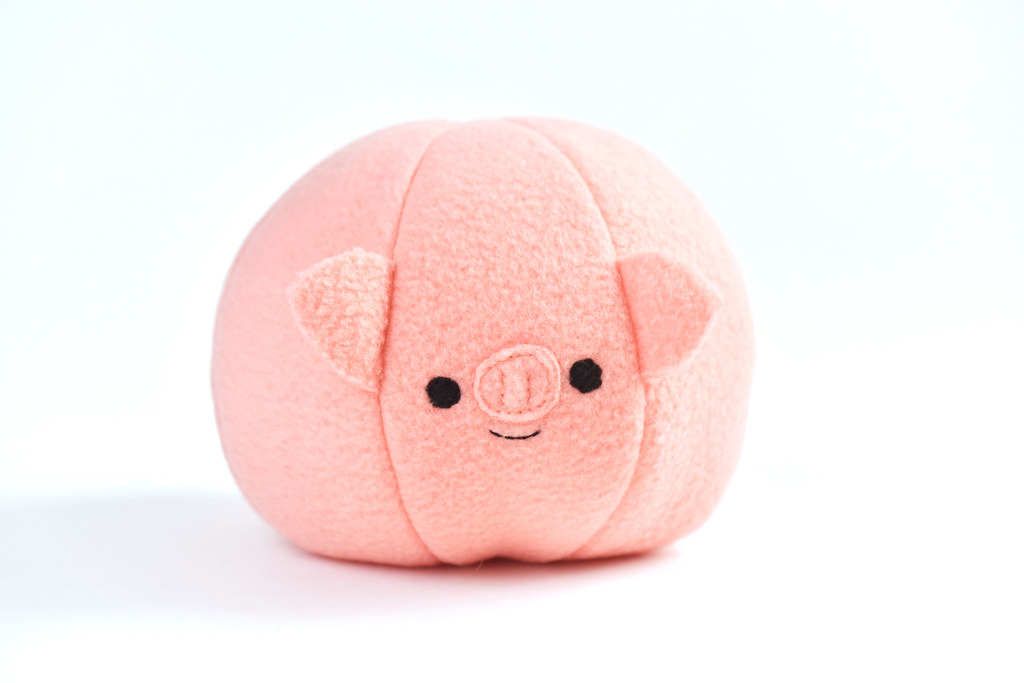
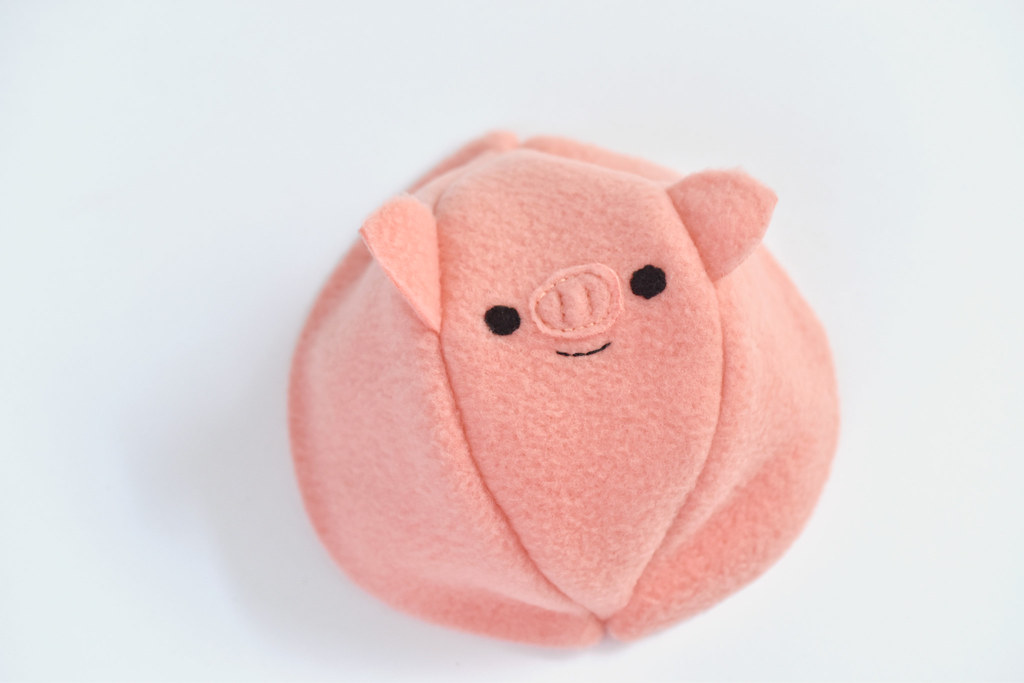
This little wobbly piggy is ready to play!
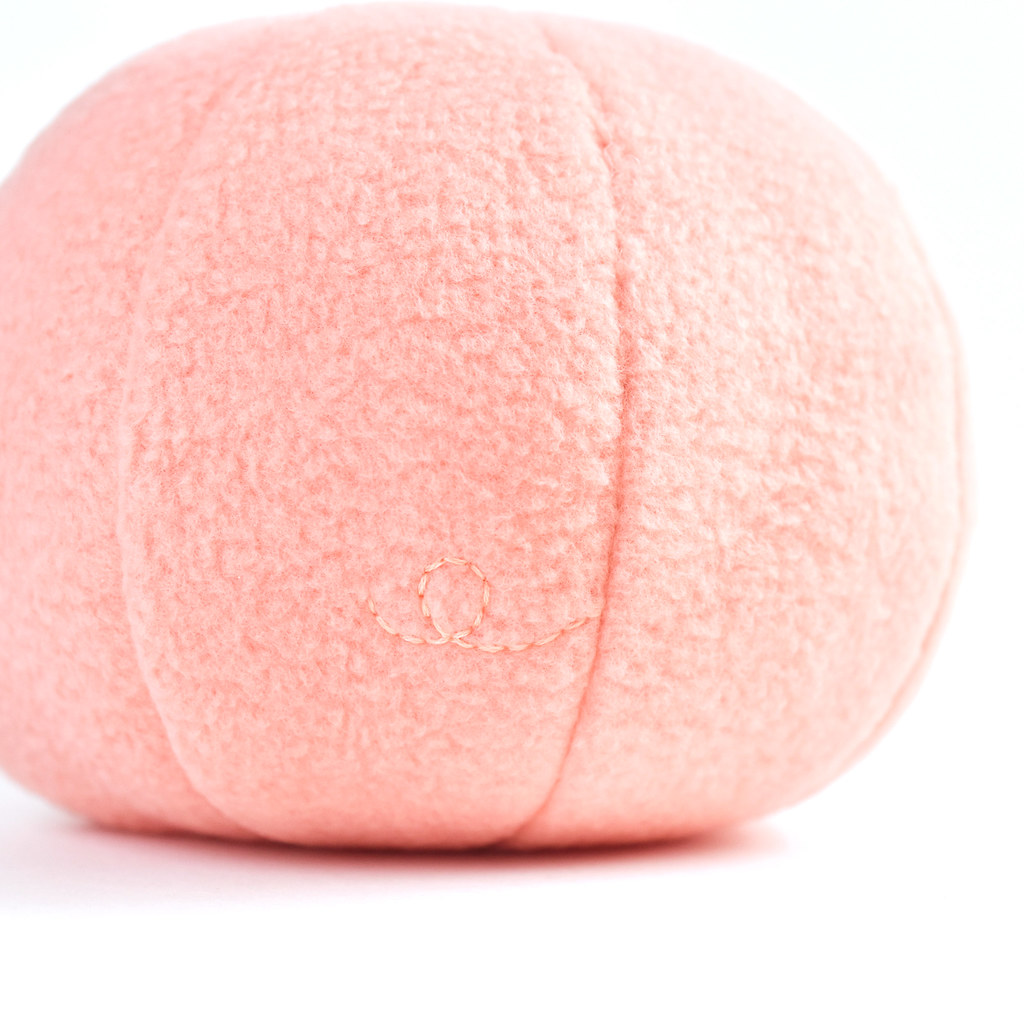
I just love the little tail!
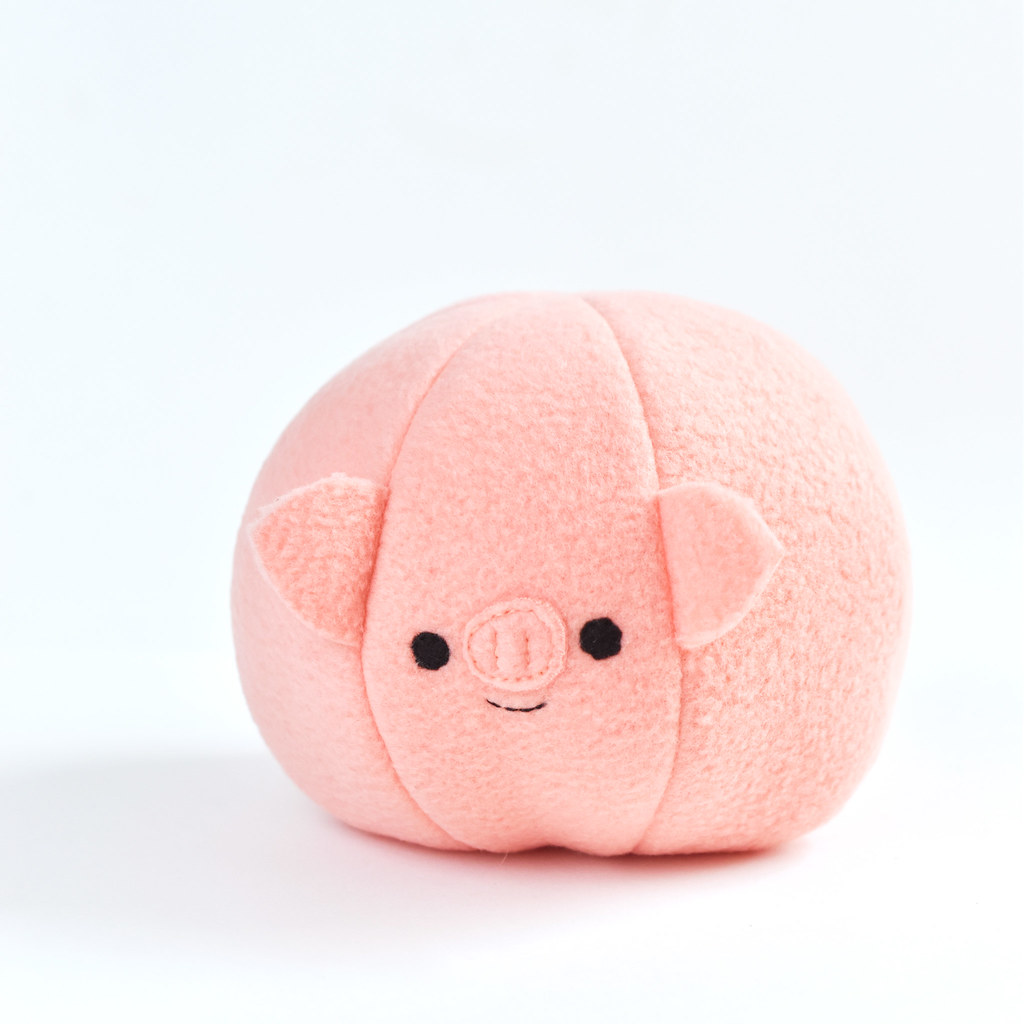
Give your piggy some hugs, then try rolling him on the floor. Because of the weight in the bottom, he'll always land right side up!
He's so cute, and that little piggy wiggy tail is absolutely adorable! I've never tried sewing a softie, but your great tutorial makes it look easy 🐖❤
ReplyDeleteBeautiful. Hermoso. Good ilustration. Buena ilustración. Me fascina. I love it.
ReplyDeleteI love your little squishy piggy ball. What a sweetie :) Thanks for joining in to Sew a Softie!
ReplyDeleteWell this couldn't be any cuter if it tried!
ReplyDeleteThis little piggy is sewww sooey-t! I just finished cutting out the pattern to make it!✨💗🐷💗✨
ReplyDeleteCompletely adorable! Thank you for sharing.
ReplyDeleteThe download link for the pattern seems to be broken 😞
ReplyDeleteHmm....It's working on my end. Maybe refresh and try again?
DeleteHe’s so cute!
ReplyDeleteI added a stem and made it into a pumpkin :)
ReplyDelete