
It's January 7th and I feel like I'm just getting back to this whole blogging thing. Yes I've had a few posts this year, but I've definitely been off my groove. So let's see how this goes, mmmkay?
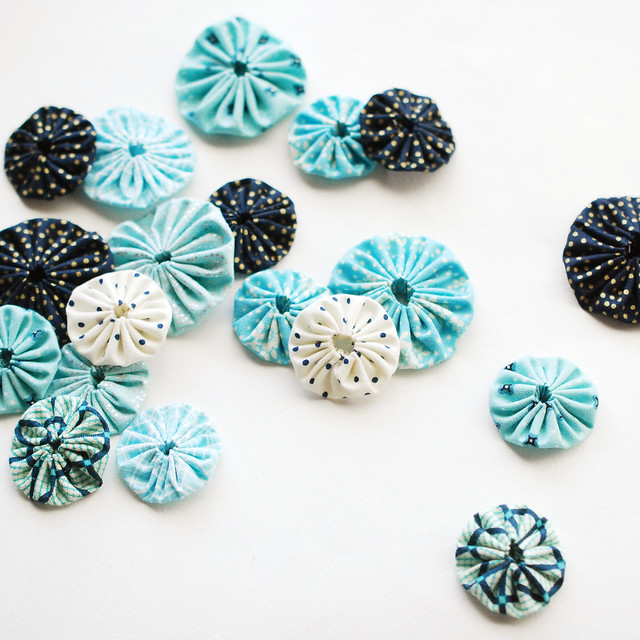
This year I'll be exploring shapes in many of my posts, focusing on one shape each month. January is circle month, and after I had brainstormed a bunch of ideas using circles, I suddenly realized that what I really needed to make were some yoyos.
I got excited about these little hand-stitched circles while looking at Christmas ideas back in December, and when they came to me again, I got REALLY excited. Like, drop everything and start cutting and stitching excited. Like English paper-pieced hexagons, this little guys are addicting. Probably because they're small and easy and super cute. And yes, I enjoy playing with and arranging them over and over.
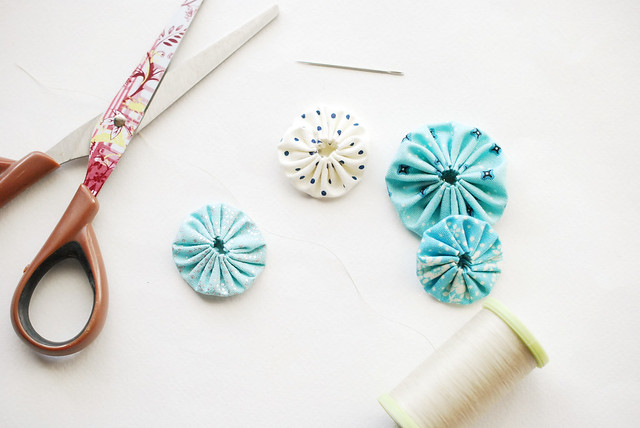
Clover (and I'm sure other companies) have yoyo makers in various sizes and shapes, but I've never used them. My grandma loved gadgets like these, so I may even have one around here in her sewing things, but since I excel at losing helpful gadgets, I used the old-fashioned method. And in case you've never made a fabric yoyo before, I'm going to show you how. Then, as the month goes on, we'll make a few projects with our old-fashioned, handmade yoyos!
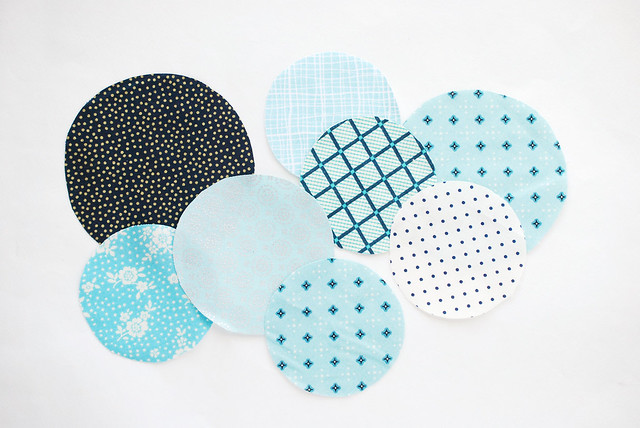
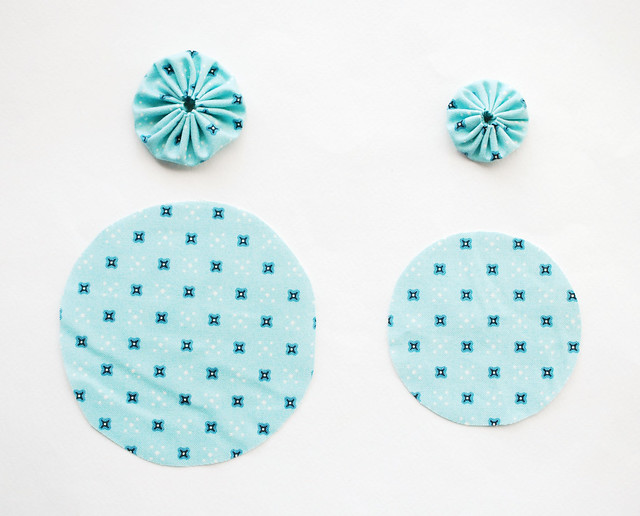
Start by cutting out some fabric circles. Sometimes it's important to start with a particular size, but I'm not worried about that here. My large circles are 4 inches across and the small circles are 3 inches. When they are made into yoyos the large one is about 1-3/4 inches, and the small one is about 1-1/4 inches.
The general rule is to take whatever you want your final size to be, double that and add 1/2 inch. That's what size circle to start with.
But really, you can grab a jar lid or a large drinking glass and get a circle that is close enough.
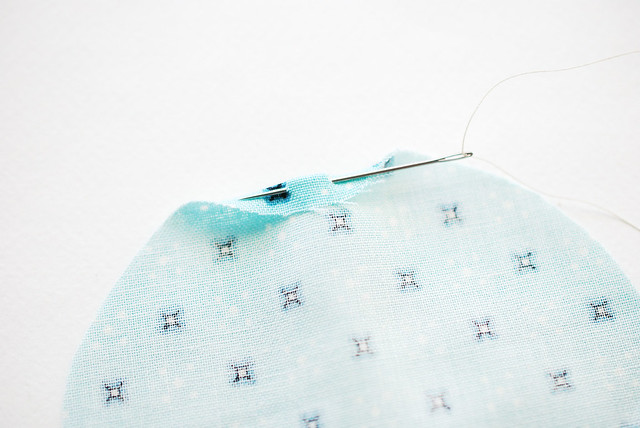
Thread a needle with some strong thread (I use hand quilting thread), tie a large knot at the end, grab a circle, and get ready to stitch. You'll be working your way around, folding the edge to the wrong side of the fabric, and stitching with running stitches.
If you take short running stitches you'll have lots of gathers in the center, and if you take longer stitches there will be less gathers. I prefer longer stitches with less gathers, but try it both ways to see which you like. You may even want to change it up for different projects.
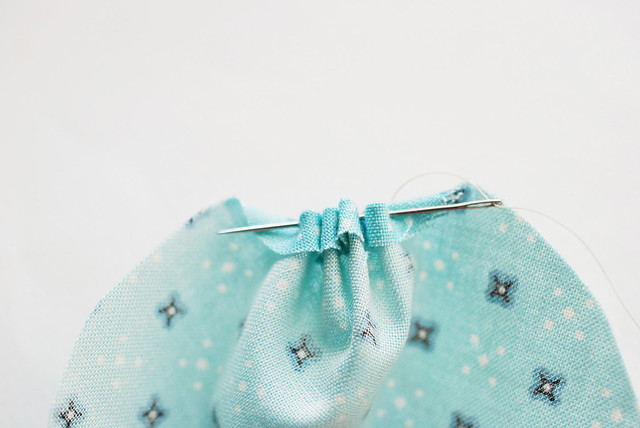
Load up a few stitches on the needle to speed up the process, then pull the thread through and repeat all around the circle.
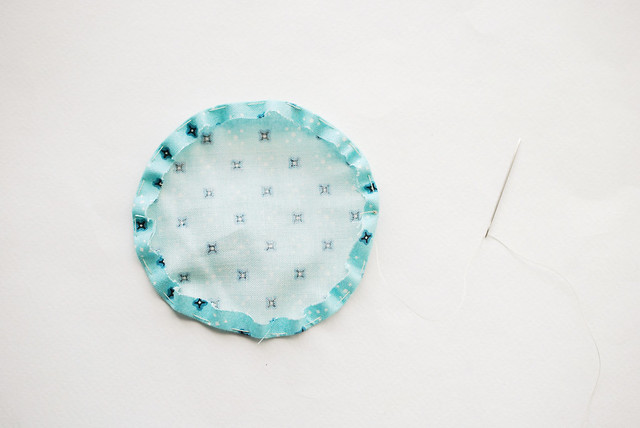
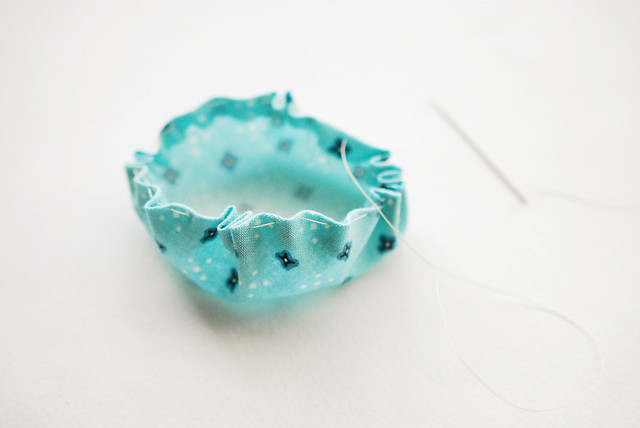
When you've reached the end, you'll have something like this.
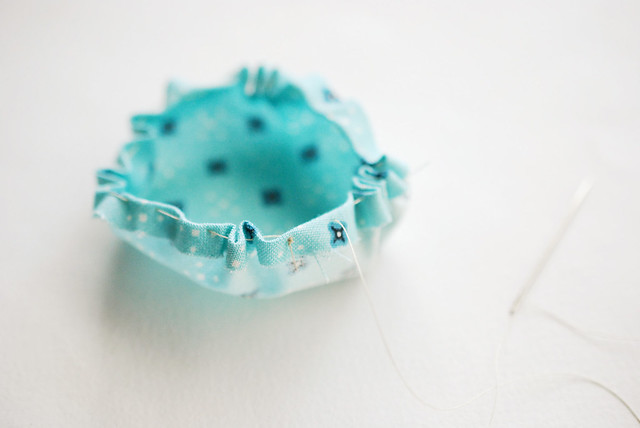
But as you're working, it's more likely to look like this. A bit scrunched and inside out. At least, that's what mine always looks like!
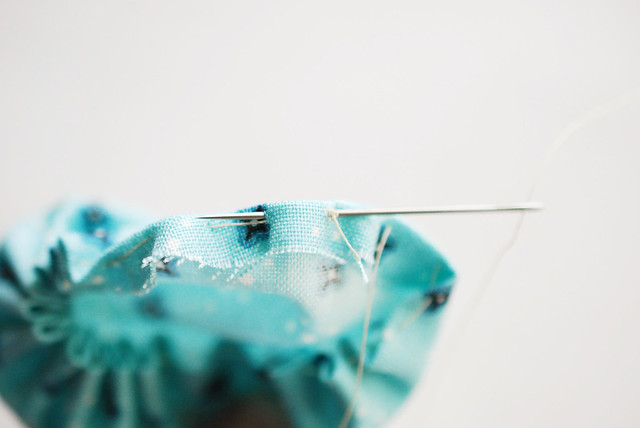
Flip the stitched circle right side out, then take one last stitch through where your started knot was, and back again to the wrong side of the circle. I find that this helps keep the gathers even, especially if that knot tries to slip through the fabric.
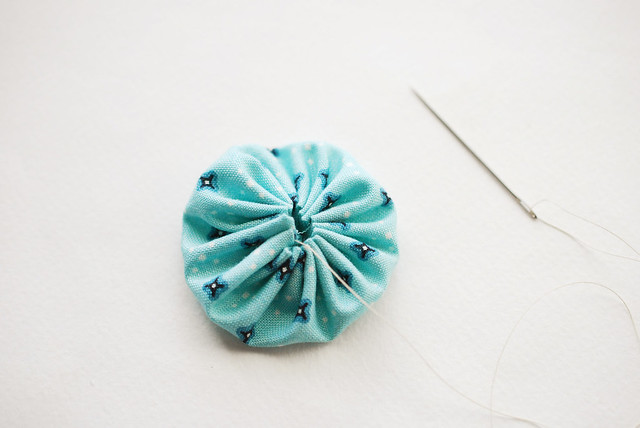
Pull the thread to gather the center nice and tight.
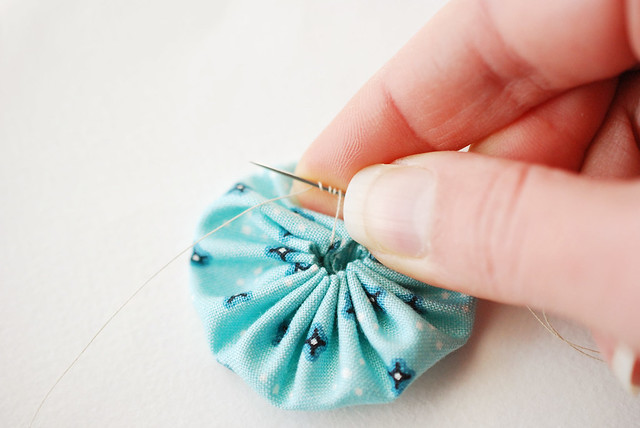
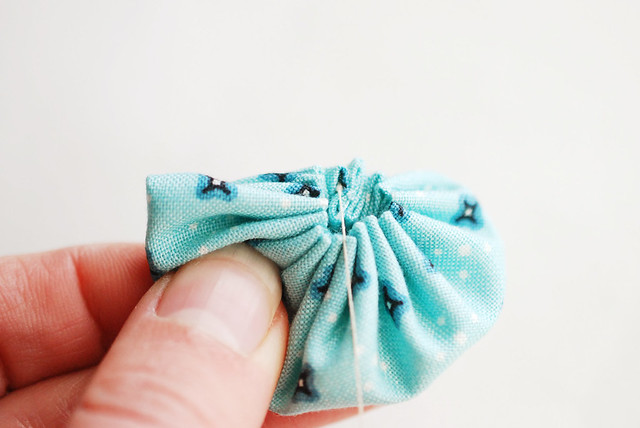
Wrap the thread around the needle a few times to make a large knot, then gently pull the knot tight. You want to pull the knot as close to the fabric as possible. When you've got it tied, push the needle out through the side or bottom and trim the thread to hide the end.
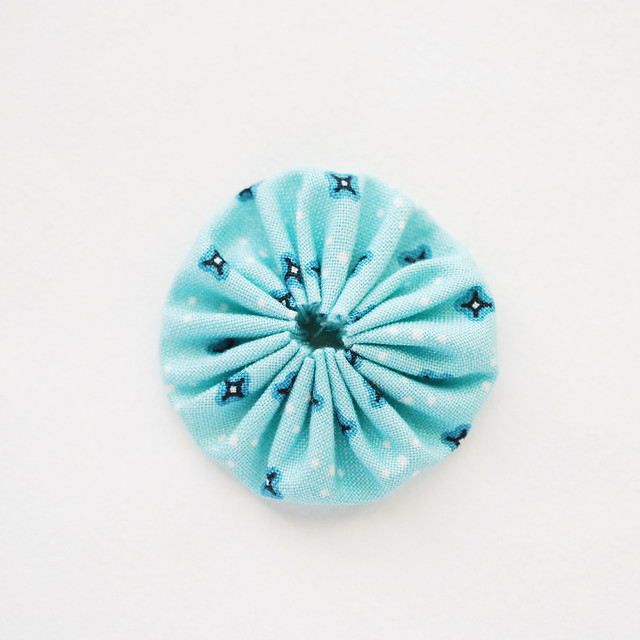
Flatten the yoyo and arrange the gathers so your yoyo looks pretty.

There's one...
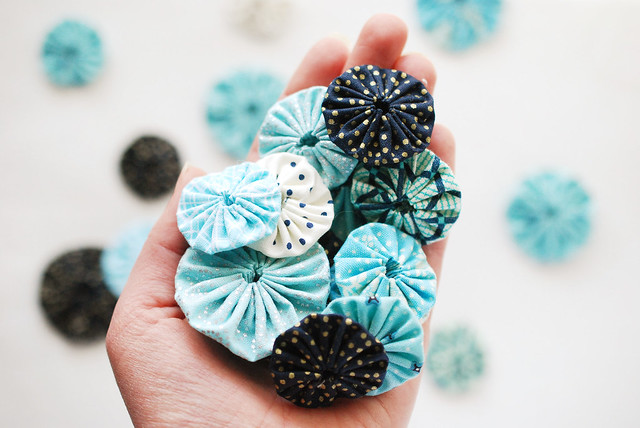
...but I just know you're gonna want to make handfuls of them!
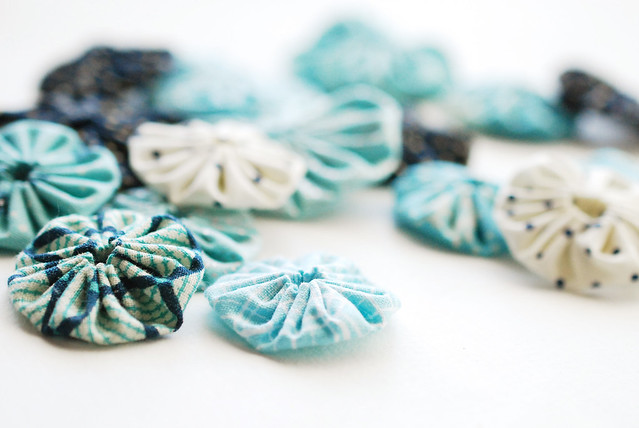
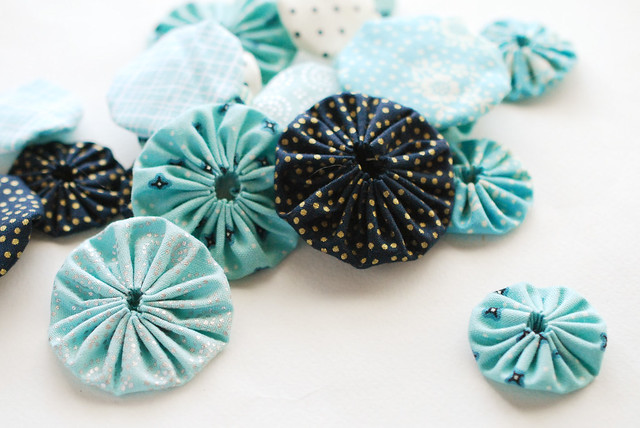
They're such delightful little circles, and right now I can't get enough. I plan on making a few decorations with them, plus a silly little toy that made my sister think I'm crazy. Start making your yoyos now and watch for those projects coming soon!
I haven't made yo-yos in a while but I love them! I do mine the old fashioned way too (also have those gadgets somewhere in this house. couldn't begin to guess where). can't wait to see the projects you come up with!
ReplyDeleteI have never made these but might have a go at making a few with some scraps of fabric. I'm thinking they would look nice as embellishments on a top or bag maybe…hhmmmm...
ReplyDeleteHow delightful !! I think I will make a twin throw for my granddaughter who is going away to college this year. Hmmm ..so many ideas !!!
ReplyDeleteI love making yoyos! it's always a fun surprise to see how a print looks when it's all gathered up. I've got a Craft Gossip post scheduled for this afternoon that links to your tutorial:
ReplyDeletehttp://sewing.craftgossip.com/tutorial-how-to-make-fabric-yo-yos-without-a-plastic-gadget/2015/01/07/
--Anne
I've never made a yoyo. I may just go and make a few this afternoon. Thanks for the inspiration.
ReplyDeleteYoyo's have been on my 'make' list for a couple of months now! I'd better get cracking!
ReplyDeleteMy mom used to make yo-yos all the time, but she would affix them to things like sweatshirts & what not (oh, the 90s). I need to try making some of these. Thanks for the gadget-less tutorial!
ReplyDeleteI like to have evenly spaced pleats but I find that the yoyo maker gives me too few and too deep pleats so I use an adhesive vinyl template to cut and stitch my yoyos. I show how I do this at
ReplyDeletehttp://pinwheelponders2.blogspot.ca/p/yo-yo-template.html
I make yo-yos all the time. I use an old cd as my pattern. I keep it in the bag with my other supplies. I've made pillows, garlands, ornaments, jewelry, coasters, etc. with my yo-yos. They are so fun to make!
ReplyDeleteThanks for the inspiration.
ReplyDeleteSuch a cool post! Love this post!
Love from www.trangscorner.com - a lifestyle, cooking, fashion blog
Aww love yo-yos. I think they were the first thing I made from a tutorial on a blog. Such a classic craft.
ReplyDeleteHello Millie.Thanks for excellent yoyo how to do it tutorial. I have been agonizing for 7 years (yes 7!) how to finish a quilt. Putting yoyos on a vine on the border just hit me as the right way to do it. I am glad you gave just detailed instructions. Ma in Rancho Mirage California.
ReplyDelete