


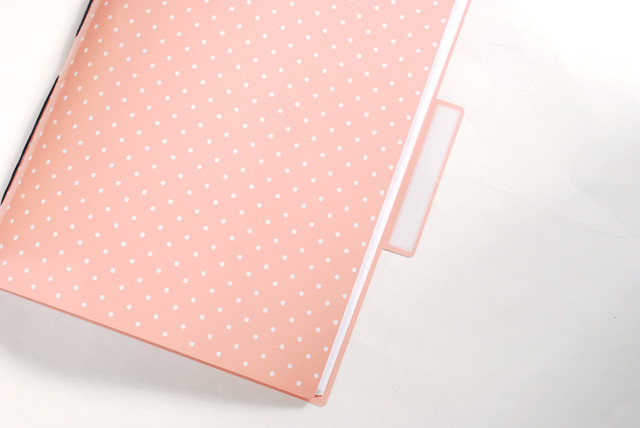

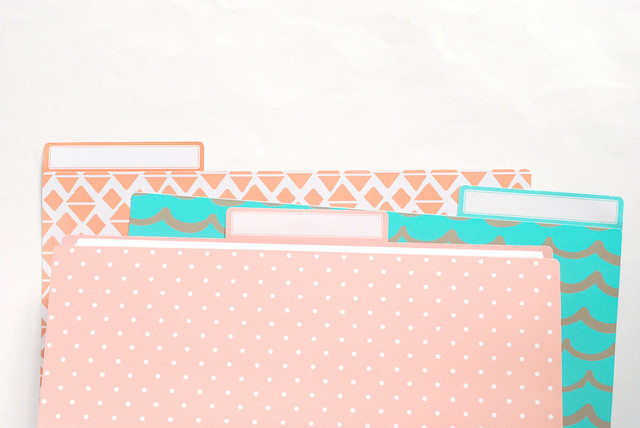
A couple of months ago now, I picked up a few packs of decorated file folders from the Dollar Spot at Target. They were just calling out to be used on some fun project. But they sat there. I would pick them up and think about what I might use them for, but nothing came to mind. Then recently I had the opportunity to do some book binding, and an idea hit me! Make these folders into blank books!
Learning how to do long stitch binding can look a little overwhelming or confusing at first, but it's actually white easy. I'll walk you through the basics, but I find that watching someone go through the whole process is helpful, and I recommend this YouTube video from Sea Lemon. All of her tutorials are pretty great!
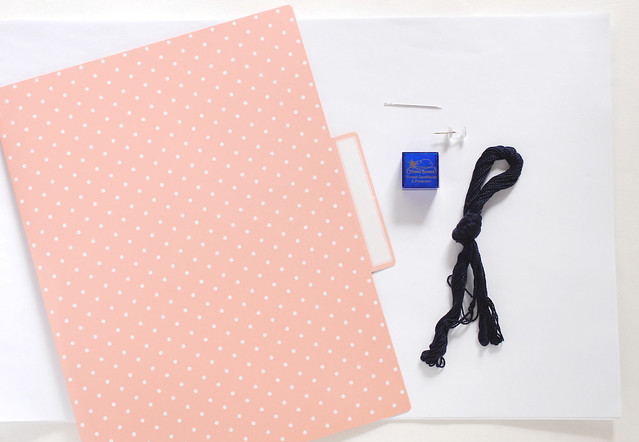
Here's what you need:
A file folder
15 sheets of 11x17" paper
Perle cotton thread
Thread Heaven conditioner or bee's wax
Ruler
Pencil
Push pin
Needle
Scissors
Note: Since you won't need a whole pack of the oversized paper (unless you plan on making a bunch), you should be able to buy only the sheets you need from a copy shop. If you aren't in the US, or if you have a non-standard file folder, your paper needs to be whatever size will fit inside the folder when the paper is folded in half.
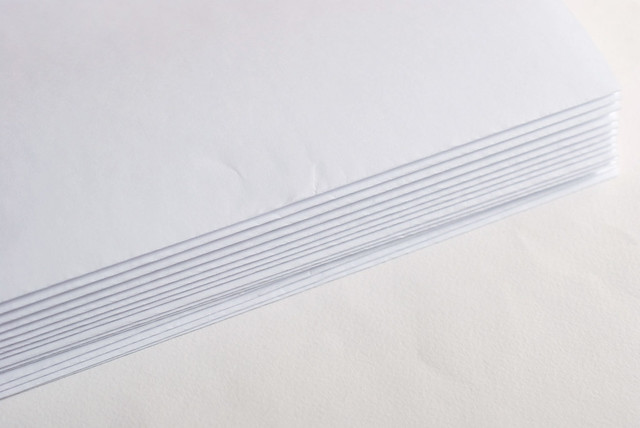
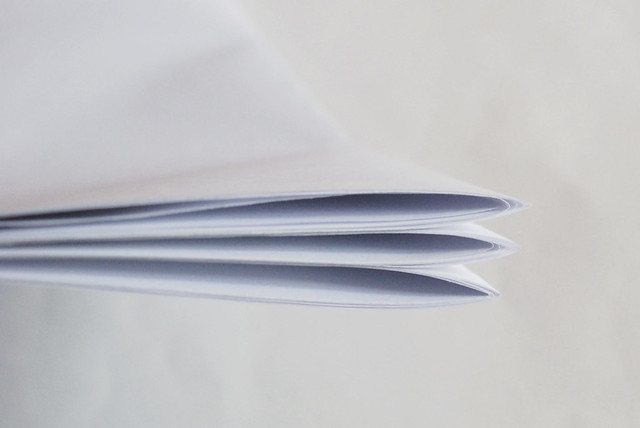
Fold each piece of paper in half. Next, nest the sheets into three groups of five sheets each. These will be the signatures.
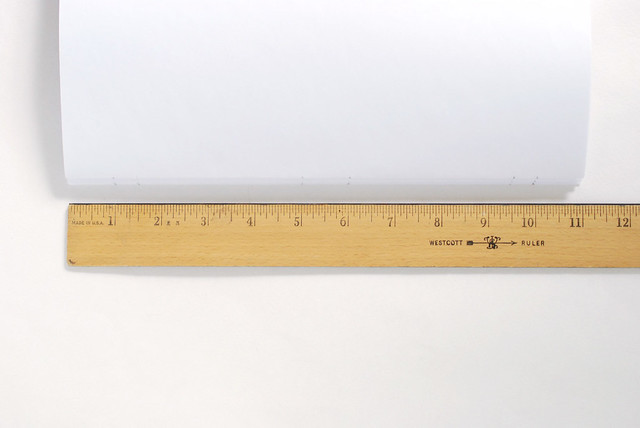
Along the edge of one signature, make a pencil mark at 1", 1.5", 5", 6", 9.5", and 10". Stack all of the signatures and use the ruler to mark all of the signatures with those same markings.
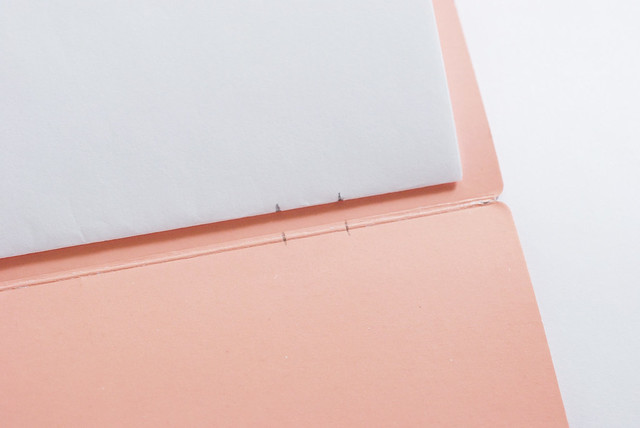
Lay one of the signatures in the open file folder, so the fold is along the crease of the folder and so that it is centered between the edges. Make a little mark on the folder at each mark on the signature.

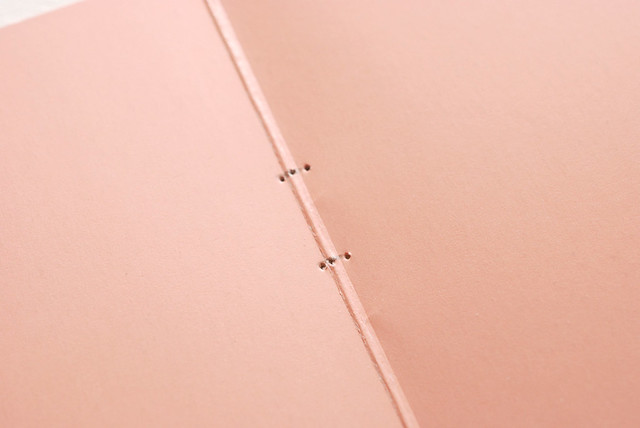
Use the push pin to pierce through the layers of the signatures at each marking. You'll want to lay the open signature on some scrap cardboard or junk mail when you do so. Also use the push pin to pierce the file folder. At each mark, make a hole on the crease, and one just to the right and just to the left. They should be close to each other, but not so close that they could tear in between the holes.
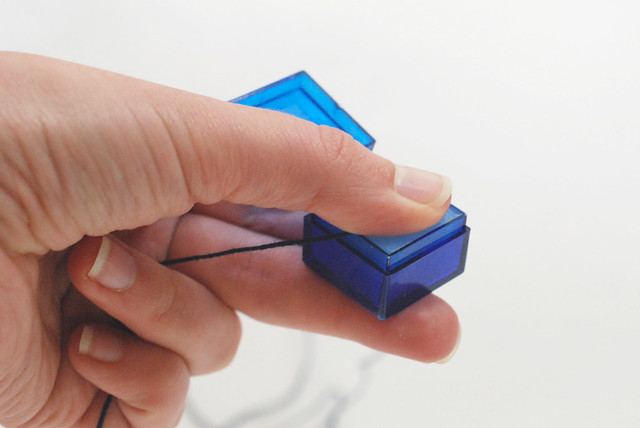
Cut a piece of perle cotton that is about 6 feet or a little longer. Run it across the Thread Heaven or bee's wax about three times. You should feel it getting coated, and the thread will definitely have a bit more stiffness to it.
Thread your needle and double the perle cotton over. Tie a knot in the end.

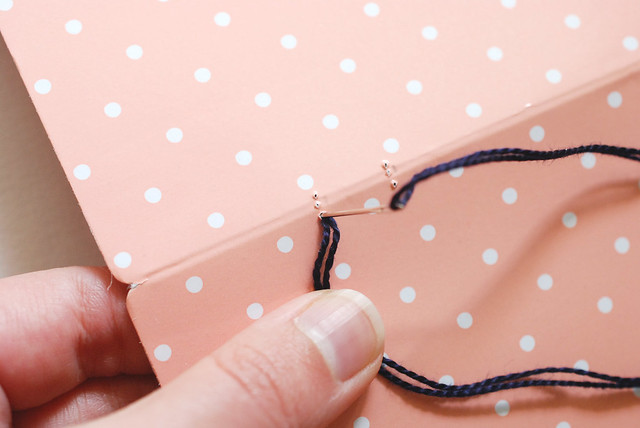
Lay the first signature in the folder, and push the needle through the top hole in the signature, then bring it out through the top, back hole on the folder. We'll be adding these signatures from back to front.
Once you've brought the needle and thread all the way through, take the needle back through the same hole and pull the thread through, leaving a tiny loop of perle cotton on the outside binding.
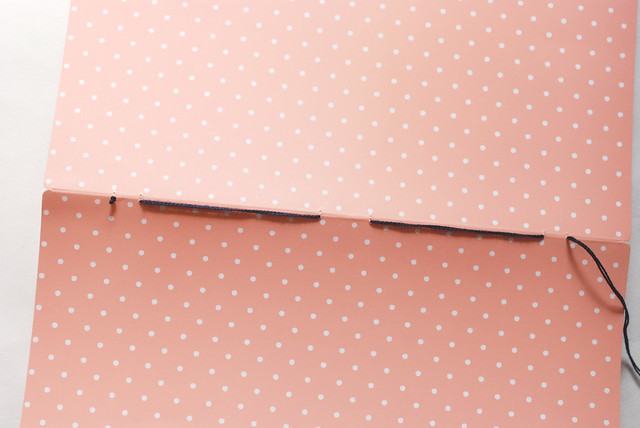
Stitch the signature to the folder using what is kind of like long running stitches. Go back and forth from the inside to the outside, working in the pre-pierced holes. When you get to the end, the needle will be on the outside.
Bring the needle through to the inside, going through the hole right next to where the thread came out. Add another signature and stitch through the holes, working your way back to the top of the book.
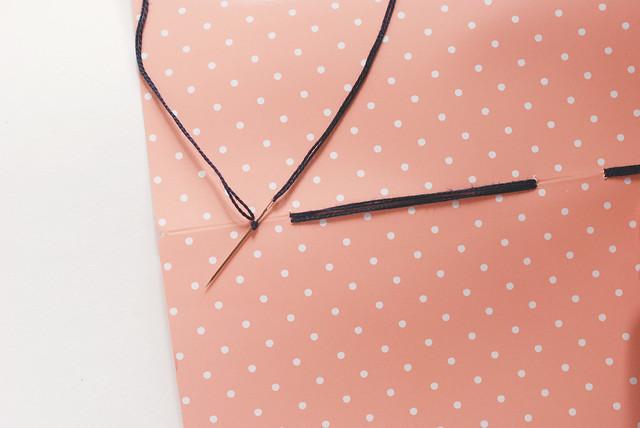
You'll reach the top with the needle on the outside. Bring the needle through the small loop of perle cotton that you made when you started stitching, then go back through the binding in the next hole, add another signature, and continue.
At the last hole, when the needle is on the outside, take a stitch through the previous stitches showing on the outside, then go back through the hole your needle just came out from, and then secure with a knot on the inside.
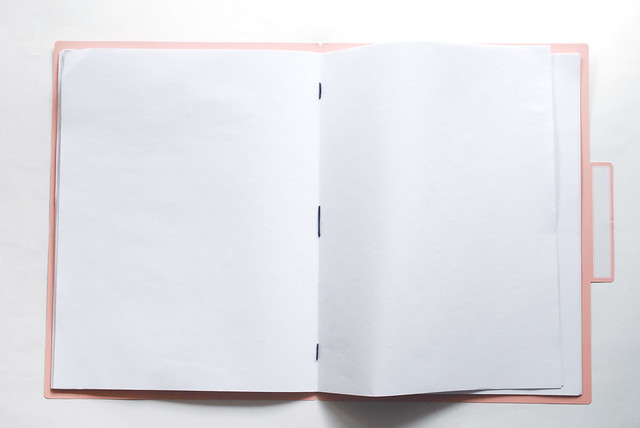
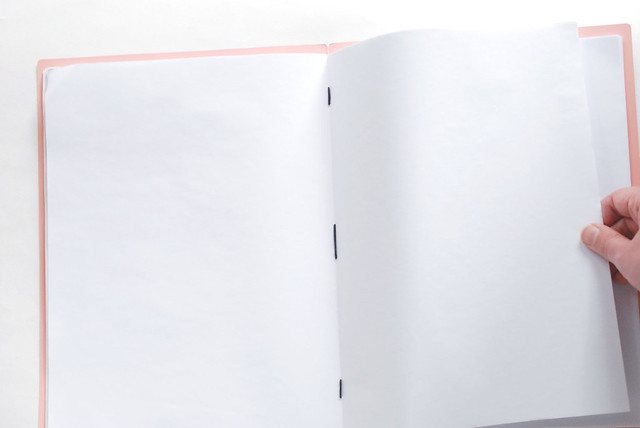
What's great about this type of binding is that it allows the book to lay flat when it's open. Yes, it is pretty big, but that makes it fun!
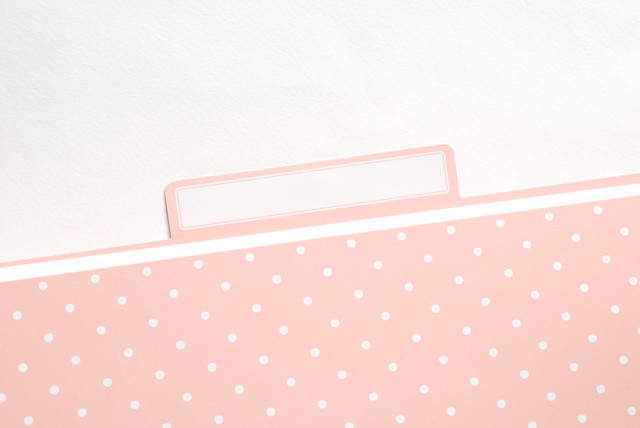

Fold it up and your folder is ready to file or take on the go with you. They don't take long to make, so you could make one or more for each of your kids, and label them on the tabs. Younger children who won't be going to school this fall will feel quite important having their own file to work in!
While this book is a little larger than will fit in my everyday bag, it is easy to spot, and I always need more paper and books to doodle up ideas. It's a good thing I've got a few more folders that I can fill!
Love this idea! I always buy these types of gorgeous folders, and have a stack of them. This is great for all of those free patterns that I print from the internet? Thanks!
ReplyDeleteBrilliant! I'm going to try this with some of my files this weekend, I have a collection of them and bits are always falling out. This way I can keep everything together - thank you for sharing!
ReplyDeleteNifty!
ReplyDeleteVery cute - and polka dot - yum! :-)
ReplyDeleteOh, I wanted to say "nifty", too, but someone seems to have beaten me to it. Even so...Nifty!
ReplyDeleteWaooo the folder is ready to file or take on the go
ReplyDelete