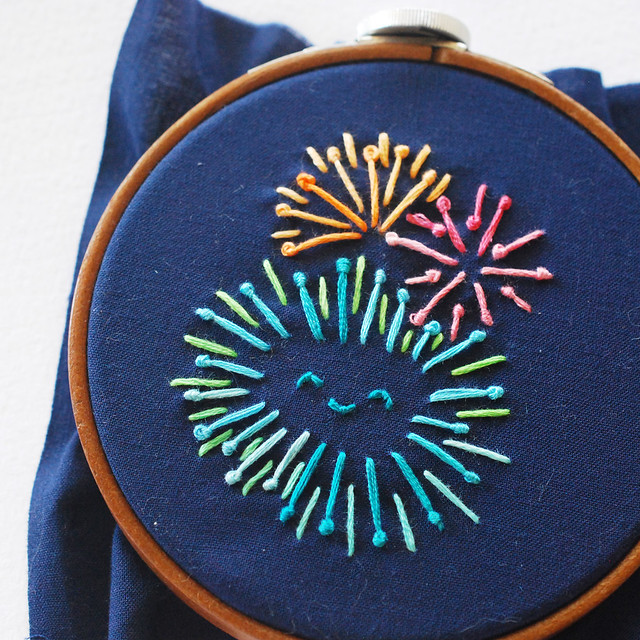
A few years ago I created a series of posts teaching the basics of embroidery. I love that embroidery is something that can be done with just a few stitches (most of the time, I stick to only three!), but it's also nice to have a few more stitches to use from time to time. So, how about we go beyond the basics?
Starting with Pistil Stitch! This stitch gets its name from flower pistils, and it is perfect for them. But it also looks a lot like fireworks to me, so that's what I've done. About the time that I was planning this post, Carina made something similar. Great minds, eh? Anyway, go check out her version too, because I think it's nice to see more than one perspective.
I've invited my friend Olive to join us today. Say hello, Olive!
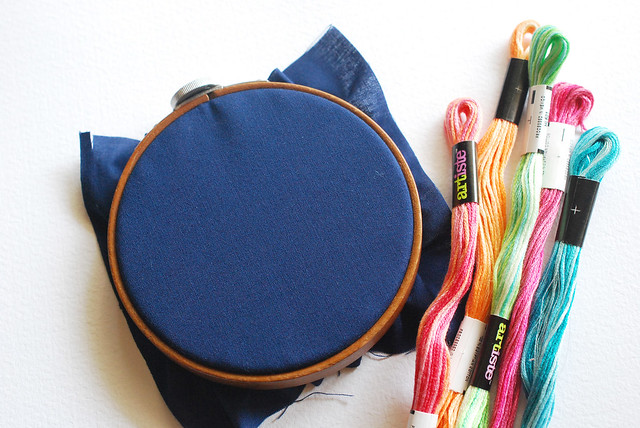
So, hoop up some fabric, grab some floss and a needle, and let's stitch!
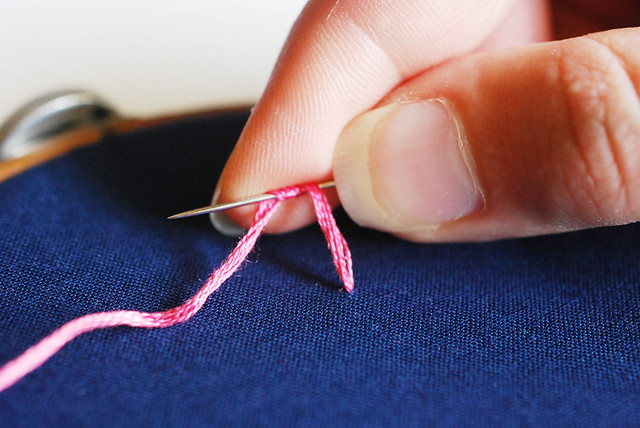
Pistil stitch is basically a French knot with a tail. I read about someone who formed these stitches by making a French knot and then making a straight stitch leading to the knot. That might look okay, but a true pistil stitch is made all in one go, which is easier I think.
Start like you're doing a French knot. Come up from the back and wrap the floss around the needle two times.

When making a regular French knot, the needle goes downright next to where the floss came up. For this, hold the wrapped thread taut around the needle, then send the needle through a little way off from where the floss came up.
Where the needle came up will be the tail end and where the needle goes down will be the knot end.
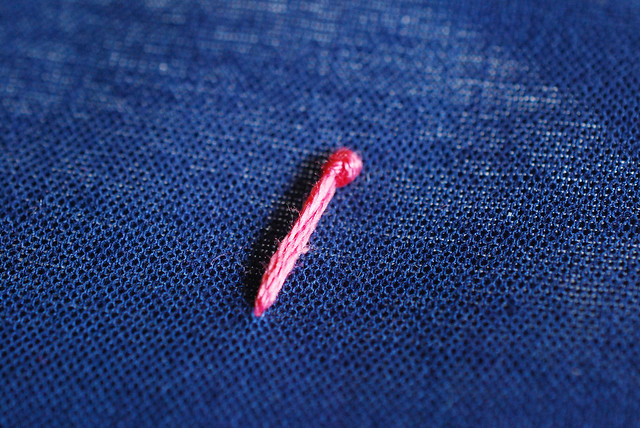
Holding the working thread in one hand and the needle in the other, pull the needle through the fabric while keeping the floss semi-snugly wrapped around the needle and thread as it goes through.
Thanks, Olive!
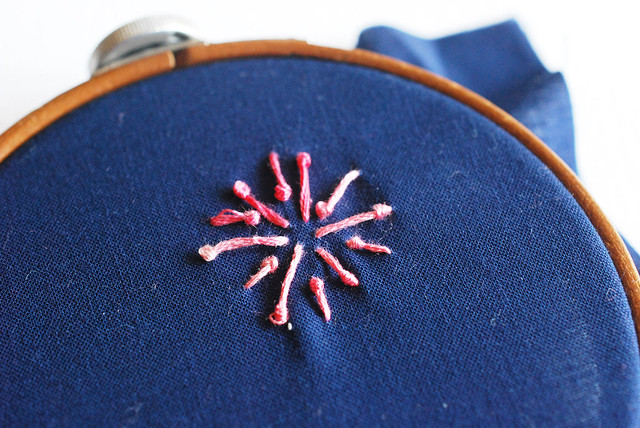
To make fireworks, stitch a series of pistil stitches forming a circle, with the tails toward the center. You can also add some more of these with the stitches going the other direction.
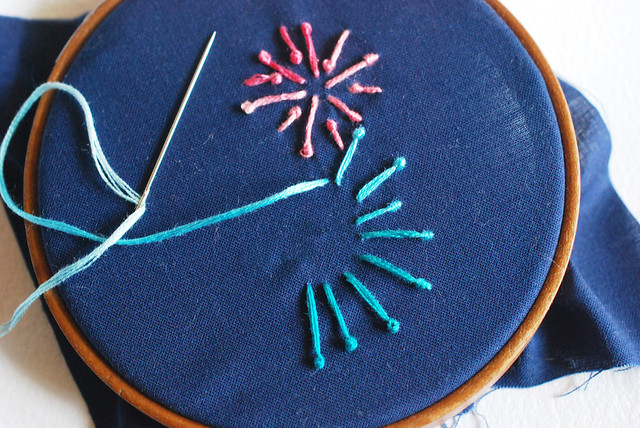
Add more fireworks and if you'd like to add a face to one of them (Why wouldn't you? Faces make things cute!), leave a space in the center. An oval-ish space is good.
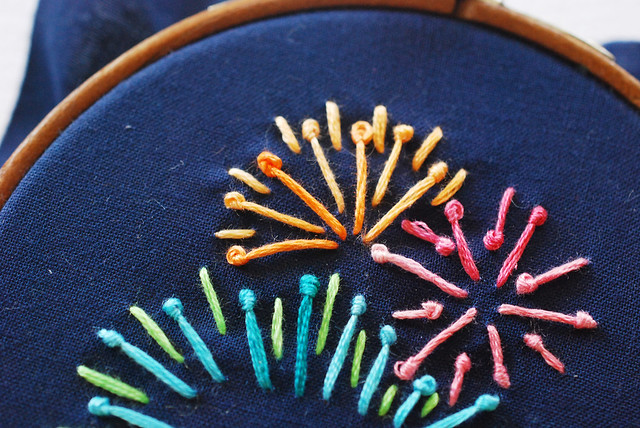
Adding some plain old straight stitches to your pistil stitch fireworks gives them some extra depth and detail. You can even throw in some French knots too, though I left them off of mine.
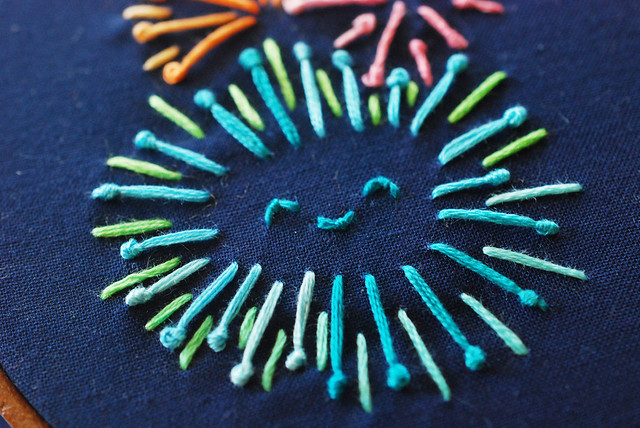
Finally, it's time for a face. To get this expression of glee, use three small scallop stitches. I recommend a darker color (I find that light faces look a bit odd), but if you're using dark fabric for a night sky, make sure that the floss isn't too dark.
I hope you try this new stitch and find fun ways to use it! I've got some more stitches planned, but I'd love to hear what more advanced stitches you'd like to learn!
the little faces truly are the best! gleeful, indeed. :)
ReplyDeleteOh, how I love the design/color combo in this!
ReplyDeleteThese are fantastic! I too stick to just a few stitches but adding one more is gonna be good!
ReplyDeleteThanks!
Cute! Love the colors you used.
ReplyDeleteHow timely!!! Perfect! Your blog is always full of surprises and fun! Thanks for all you do to keep us stitchers happy!!! God bless!
ReplyDeletePerfect for a custom 4th of July table cloth or runner! Love it
ReplyDeleteAwww, I love their smiles! You have the best stitching tutorials. :)
ReplyDeleteThis is just so so cute and inspiring. I love how you used the blue sky background.
ReplyDeleteI got some blue fabric and tried this stitch for the first time ever. Woohoo for learning new stitches from Mollie! Thanks pal! Bethanie Branton
ReplyDelete