There are certainly an abundance of tutorials showing how to make your own infinity scarf, and yes...I'm going to add mine to the mix. I'm quite sure that there's nothing earth shattering about what I've made, but it is easy and fun and there's stitching involved, so hey! Let's do this!
The one thing that does make this scarf extra special is that the fabric isn't just any old jersey. This is the fanciest jersey I've ever touched. It's from The Fabric Store (thanks fabric friends!) and is New Zealand Merino Wool Jersey. I feel so posh. Though you can't order online just yet, you can contact them for samples and to place an order.
Here's what you need:
Jersey fabric
Embroidery floss
Needle
Scissors
Pins
Here's what you do:
Cut your fabric to size. My piece is about 54 x 15 inches. This is wide fabric from The Fabric Store, so it made it easy, and didn't require a huge cut. However, you could use two pieces, each about 28 x 15 inches, then piece them together. (See the joining step below and do this to piece the sections.)

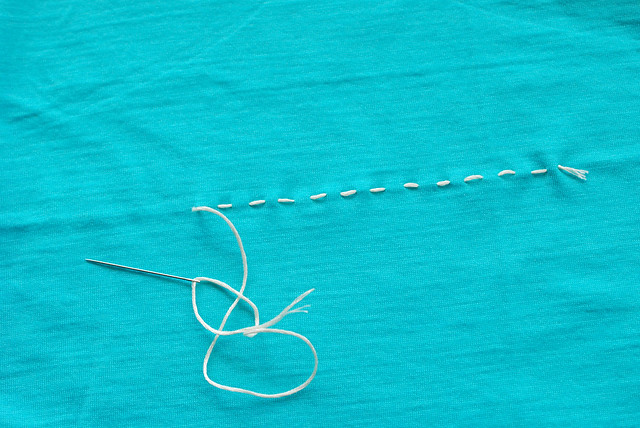
Thread your needle with a piece of embroidery floss about 10-12 inches long. Tie a knot in the other end. Working the long way, stitch a line of running stitches. Leave the knots on the front of your fabric for visual interest.
Keeping the stitching straight isn't super important, but it does look nice. To help with this you can either follow along a crease, or fold the edge of your fabric up to create a little guide. Oh, and the biggest trick with these stitches is to pull them tight while dealing with the stretch of the fabric. Once you play with it a little, you'll get the hang of it!
Now, keep adding lines of stitching as you like. Vary their placement and length. After I was finished, I kind of wish I had added more, so don't be stingy with the stitching! (I might still go back and add to mine...)
When you're ready to put this together, overlap the two ends by about 1/2 inch and pin. If you're joining more than one piece, you'd do the same thing for both ends of the pieces.
Use the same running stitches and exposed knot to join the ends of your scarf together. This time, just cut a longer piece of embroidery floss. OR! You could have extra knots in the middle of the seam, which would look kinda cool too!
And just like that, you've got a circle scarf! It's just the right length to wear doubled.

When I was finished making mine, I just had to try it out near my sister's very teal-turquoise walls. Thanks to my soft and warm merino jersey from The Fabric Store, I can now camouflage my neck when I stop by Anna's room!
Love this! I'm not much of a sew-er, but I feel like this is a project I could do :) Thanks!
ReplyDeleteI had that purple bird shirt. I loved it so much it got worn out. It's so comfortable! The scarf looks perfect with the shirt. So cute!
ReplyDeleteVery cute! Enjoy!
ReplyDeleteEasy and lovely diy. Im gonna try with a yellow mustard fabric :)
ReplyDelete