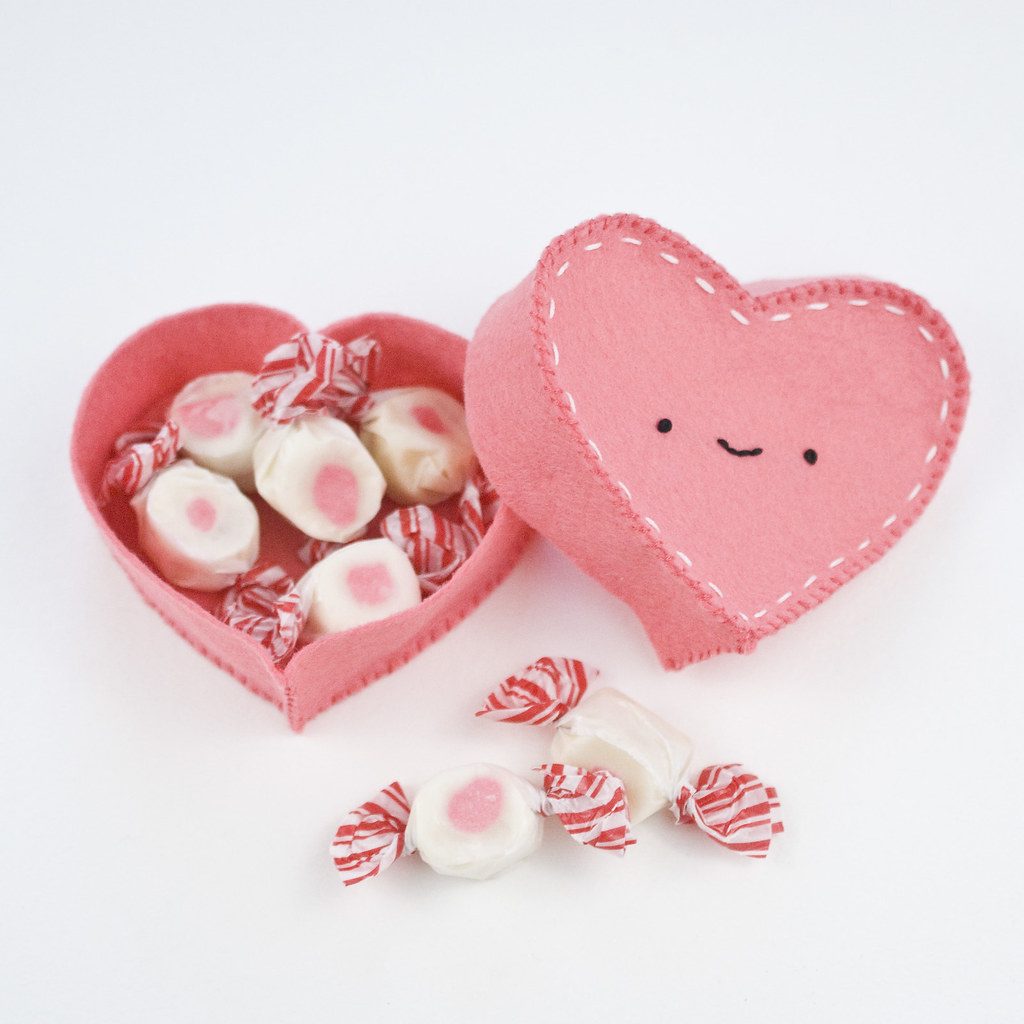

Seven years ago (which isn't all that long ago, but feels like AGES in internet years), I created some Valentine's Day projects that I sold as a package in my shop. Some time after that, I made one of the projects available to my newsletter subscribers as a little Valentine's Day gift.
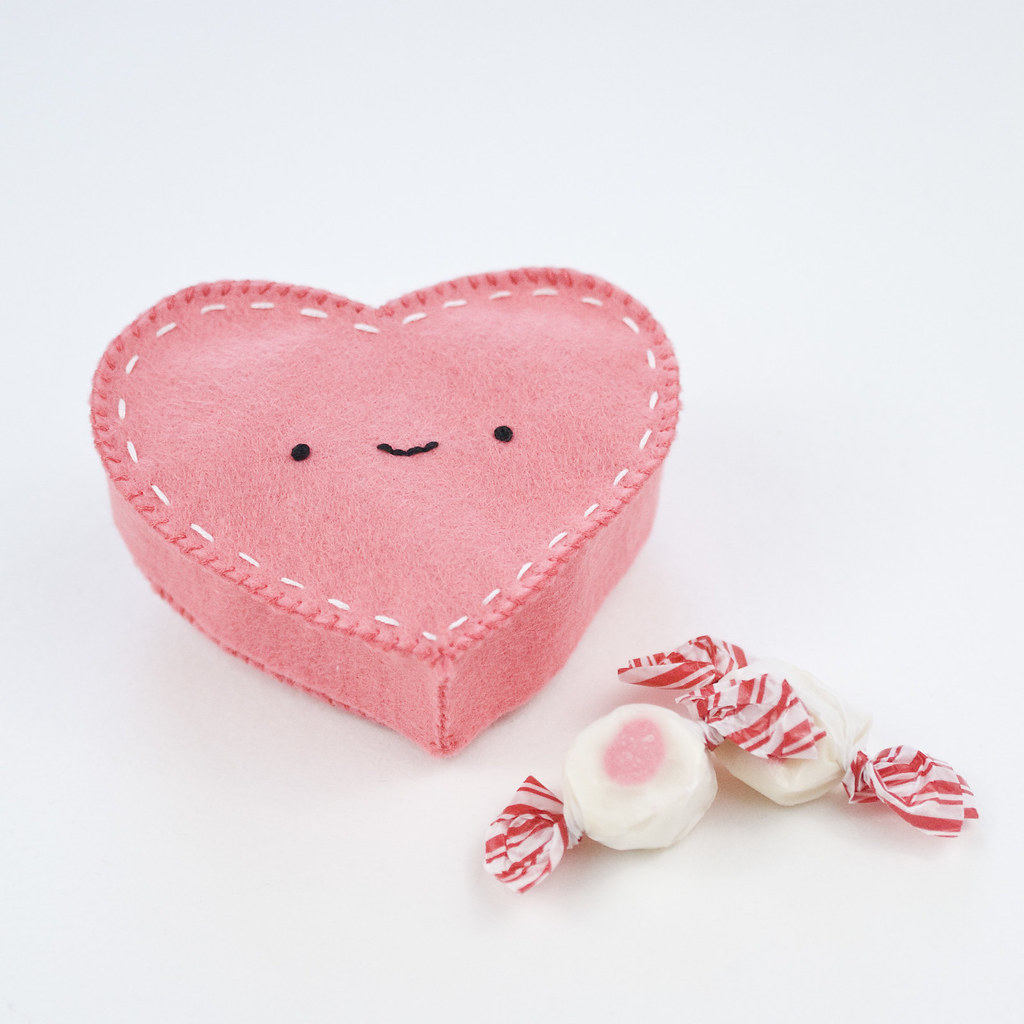
This year, I'm making old new and am refreshing that project again. This used to be the Lonely Heart Box Plush, but now I'm calling it the Not-So-Lonely Heart Box. It's happy, it's easier to put together, and it holds treasures and treats inside!
All you need is some felt and embroidery floss.
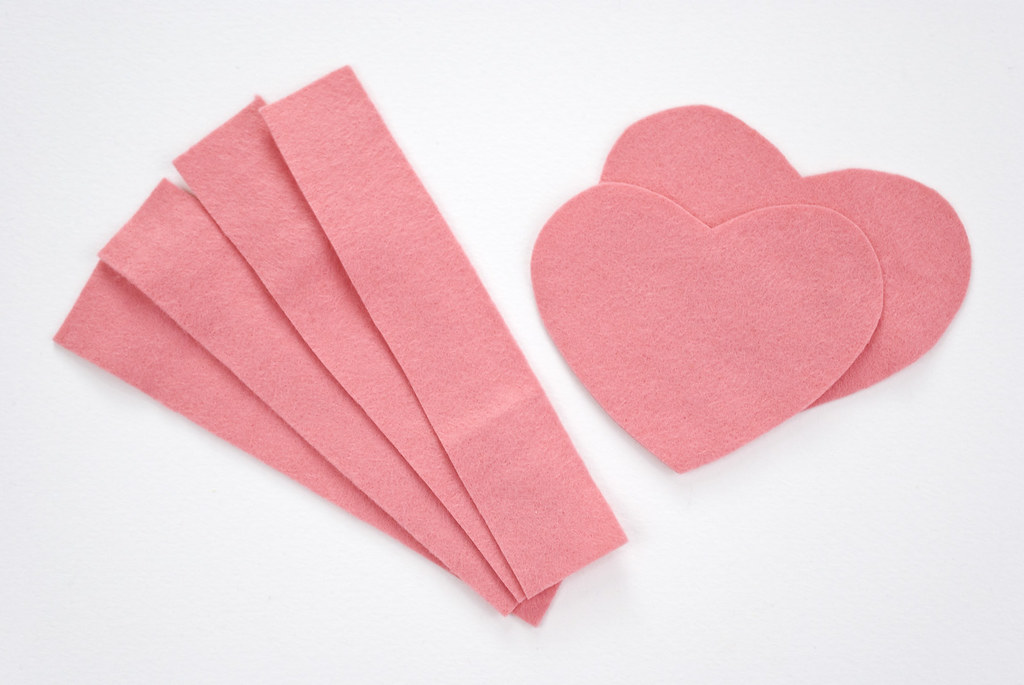
Using the pattern, cut out four strips and one of each heart pattern.

Embroider the face on the larger heart using six strands of black embroidery floss. For extra decoration, stitch around the edge of the heart with running stitch, using three strands of white floss.

Sew two strips together at one end with whip stitch. Use three strands of floss that matches the felt. Repeat this with the other two strips.
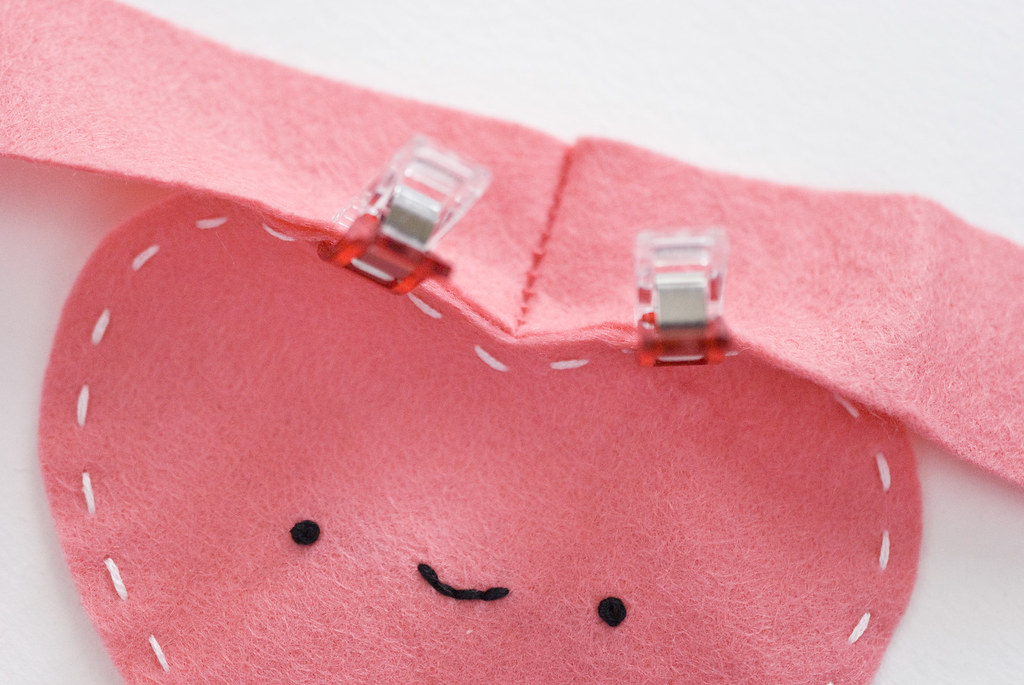
Match up the seam of the strip with the indent of the heart and pin or clip the strip to the heart.
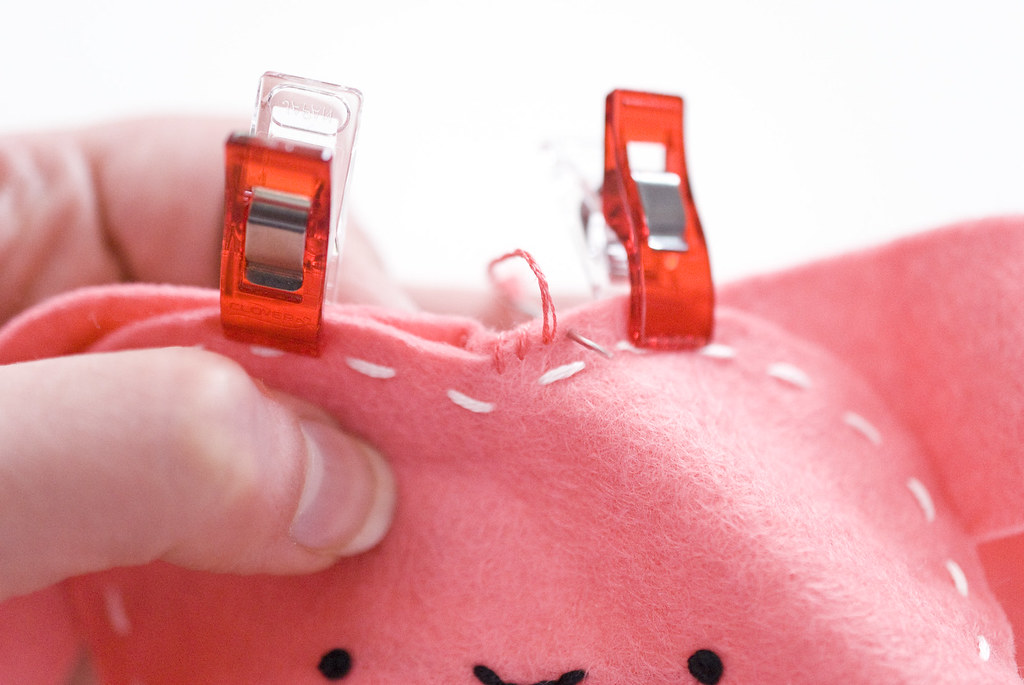
Starting at the indent, stitch the pieces together with whip stitch, working around the curve to the point of the heart. Stitch the other side in place.
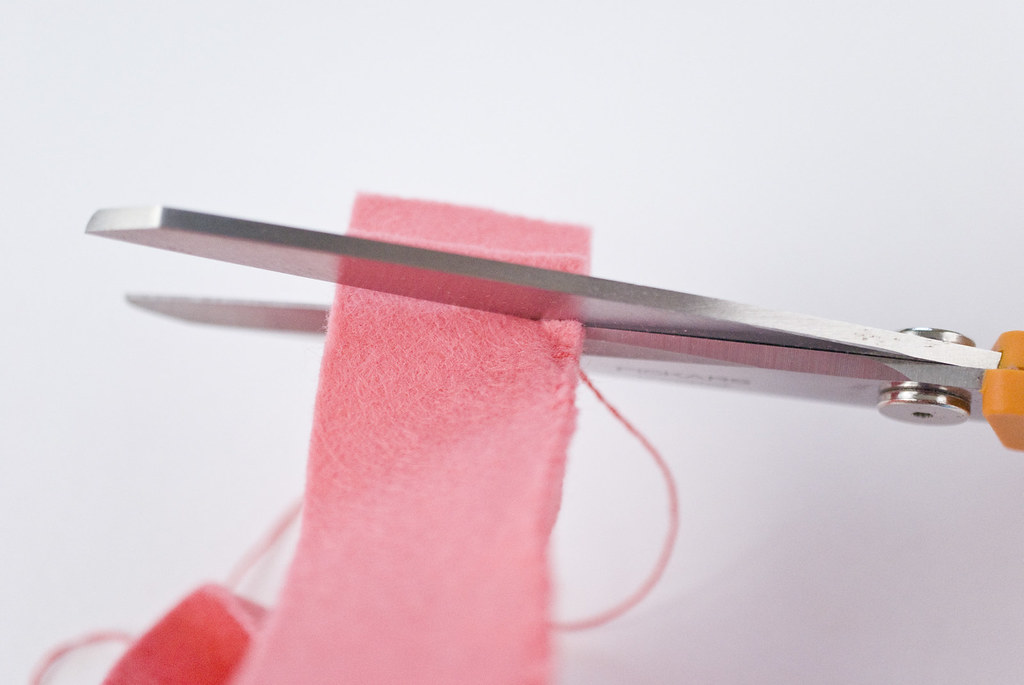
When you reach the point, you will almost certainly have excess felt on each strip. They may even come out uneven. Trim the ends to match up with the point of the heart, being careful not to snip any stitches. Sew the two ends together with whip stitch.
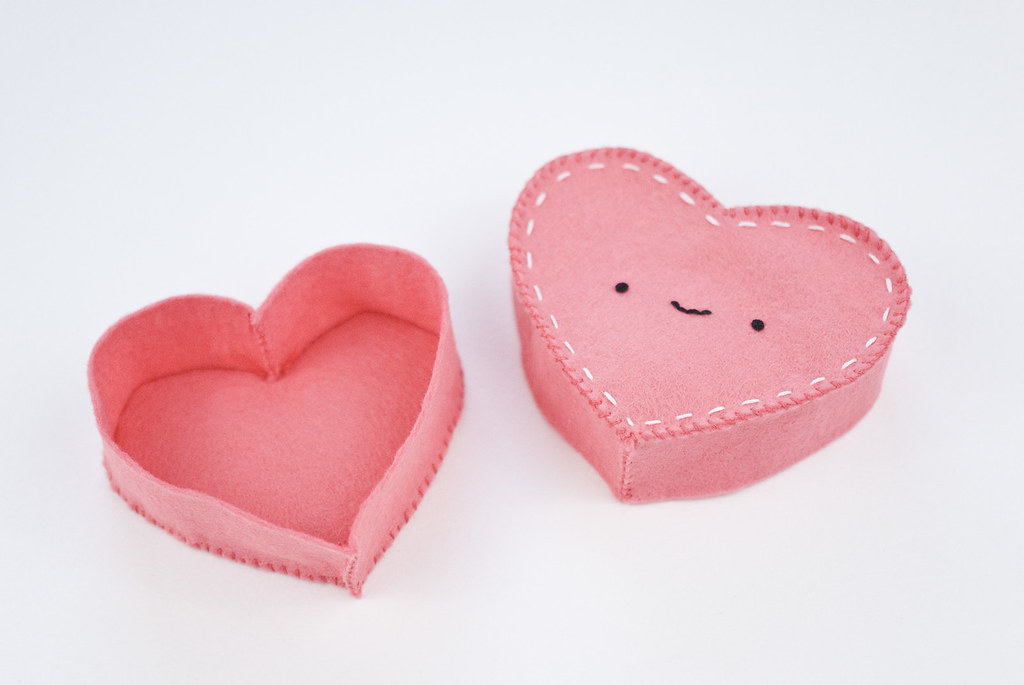
Repeat the process of adding the strips to the smaller heart. Now you have the top and bottom of the heart box.
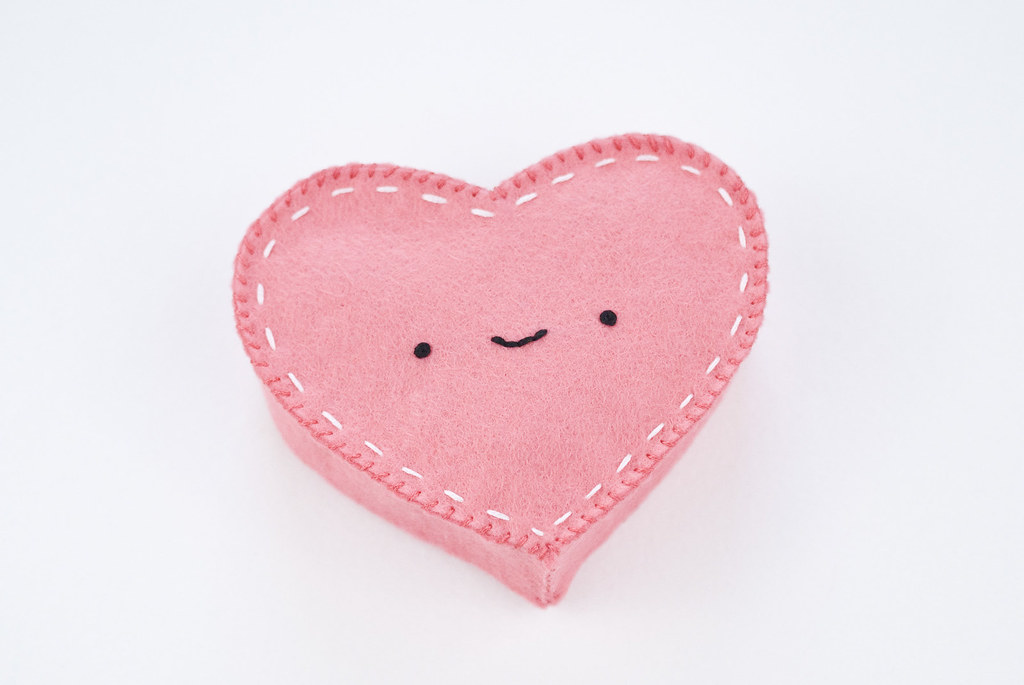
They should fit together perfectly!
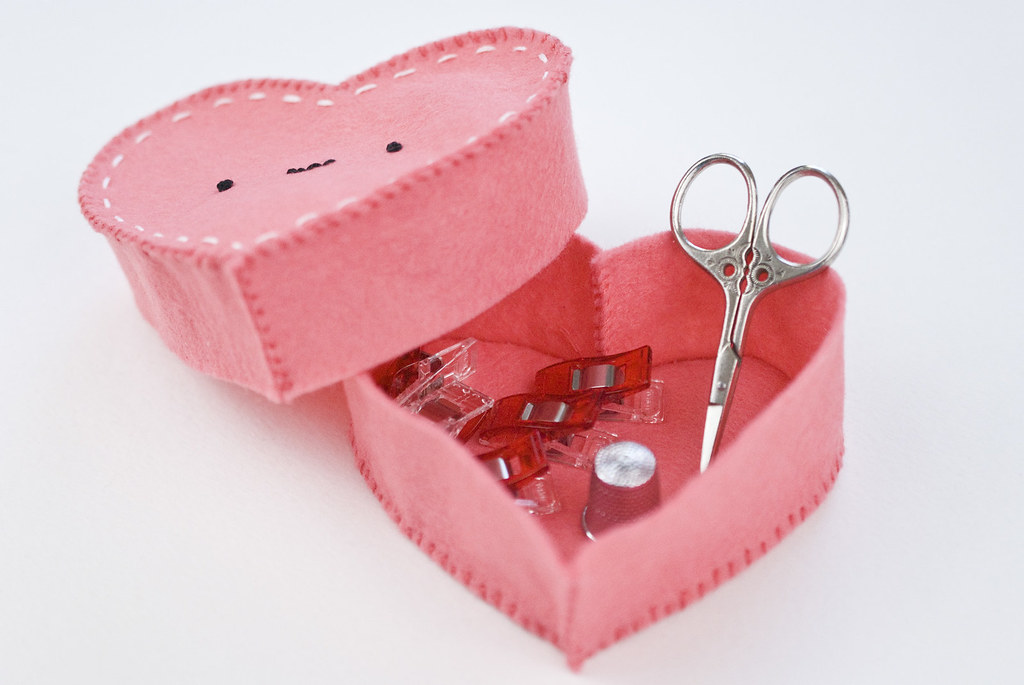

It's just the right size to fit some sewing notions, or other goodies. Because it's a soft box, heavy items like candies can be a little tricky, but it still works for this!
That said, I'm making some felt candies to go inside the box, which I'll share in a day or two.
If you'd rather make this a plush toy similar to the original, cut two of the larger hearts (embroider only one) and cut two strips instead of four. Follow the same instructions for making the top of the box as above. Then, sew the second heart onto the bottom edge of the strips. Before finishing the seam, add stuffing so it is full, but soft.
Valentine's Day is coming close, but you can sew this box in an evening or two, so there's still time!
very cute!
ReplyDeleteThis is very sweet!
ReplyDeleteThanks! It's is very sweet.
ReplyDeleteMollie, I know you have mentioned it before, but could you post a link to where you got your mini clips for sewing?
ReplyDeleteThank you!
I got mine locally at JoAnn (with a coupon!), but they have them on Amazon. I have Clover Wonder Clips, but there are other brands too.
Deletehttp://www.amazon.com/s/ref=nb_sb_ss_i_3_14?url=search-alias%3Daps&field-keywords=wonderclips
Thanks for this it's so cute!
Delete