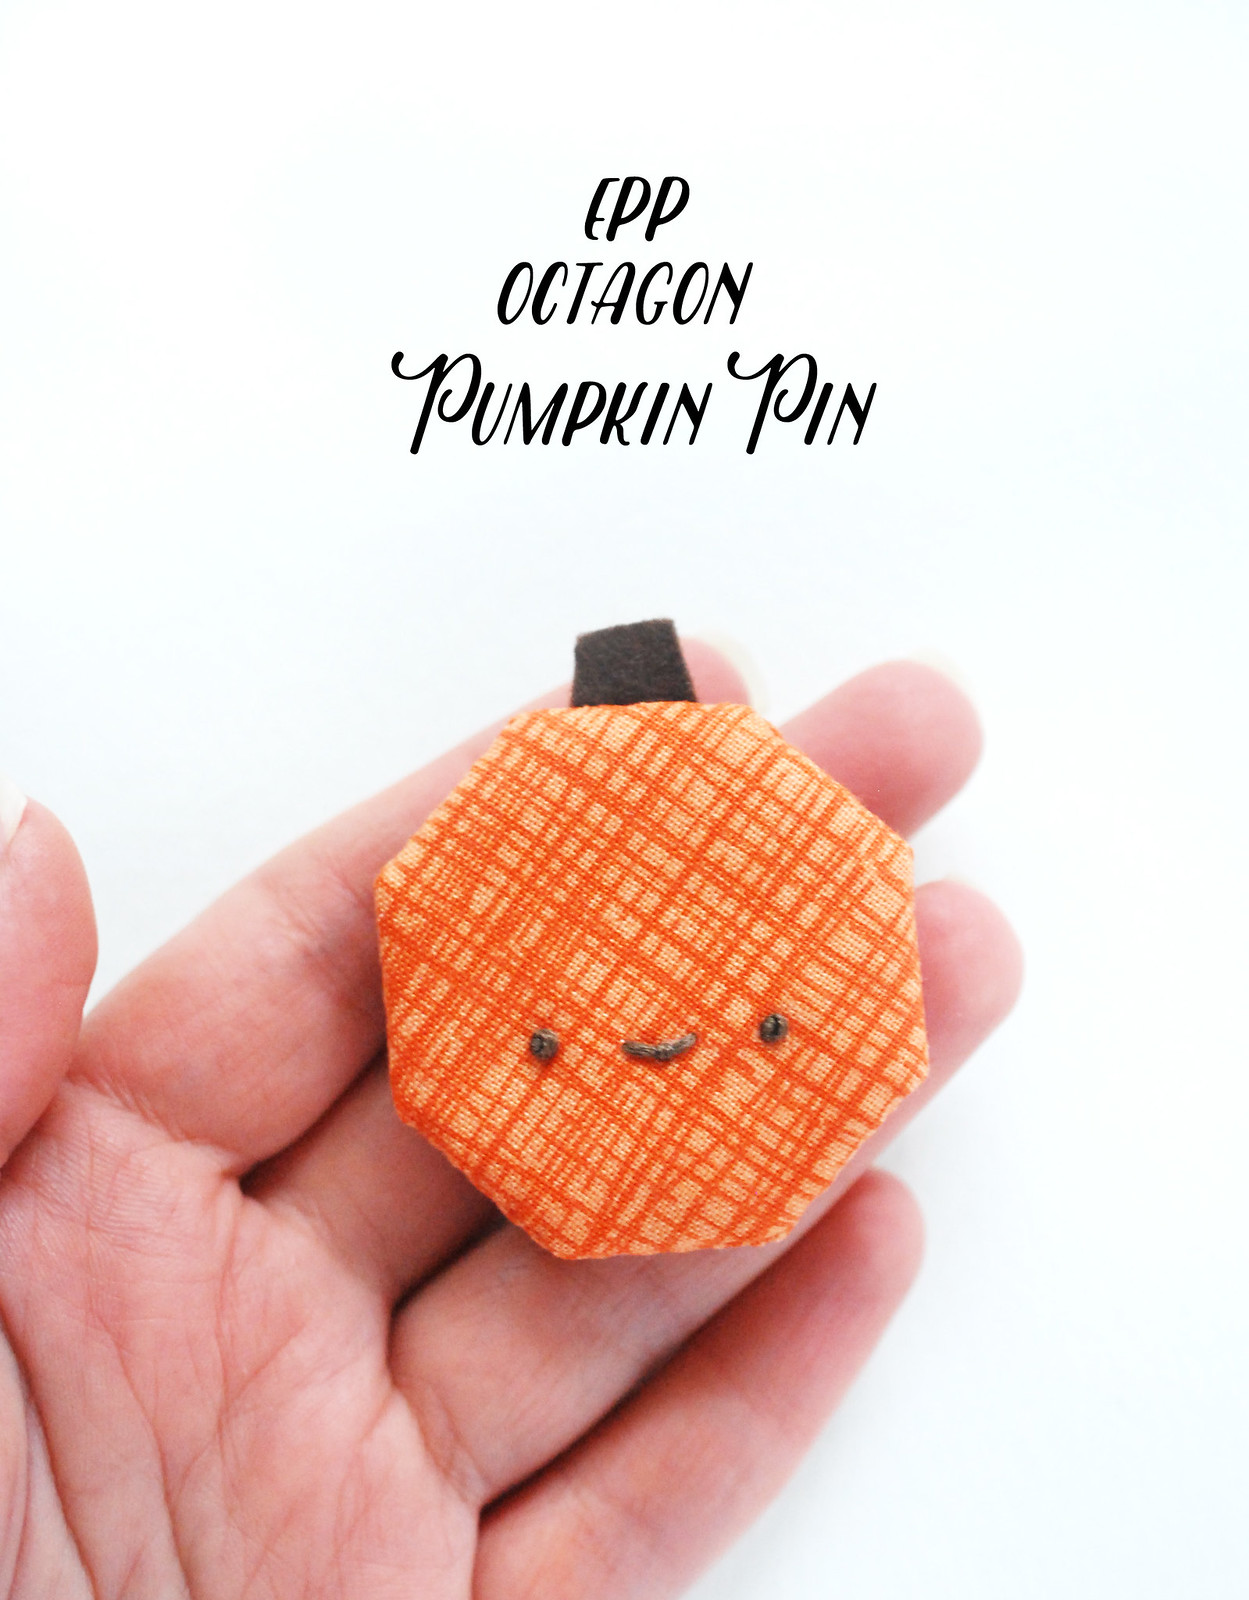

Ready for an easy little project you can stitch up in an hour? You'll be able to wear it on your jacket or tote to celebrate this fantastic fall season.
Since it's octagon month, I took an EPP octagon, er...two octagons, and made them into a little pumpkin. And while I went for a pin, I think these little gourds would also make great magnets.
To make the pumpkin you only two to baste two pieces, but the 3/4-inch octagon template page includes more than you'll need. Why? Because you might just want to make some more octagons this month. And you'll want to do that with adorable little octagons with faces. Right? Right.
Now, onto the pumpkin pin!
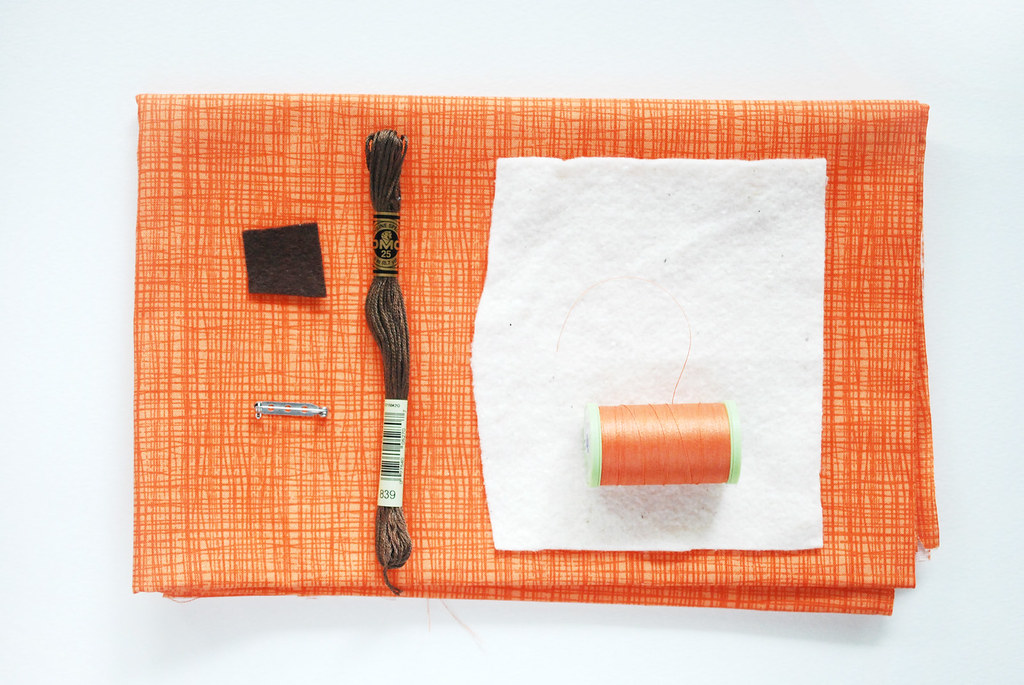
You will need:
Orange fabric
Brown felt
Batting
Embroidery floss
Pin back
Thread
Octagon Pumpkin Pin PDF Template
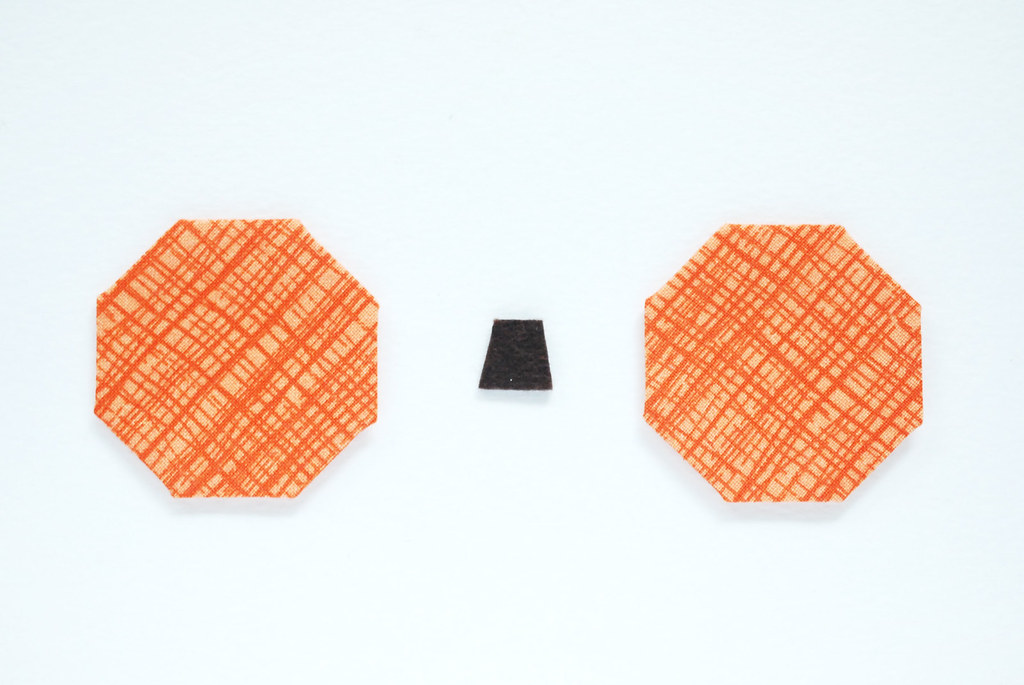
Baste two orange octagons and cut out one stem piece from brown felt. Finger press the edges of the octagons then remove the papers.
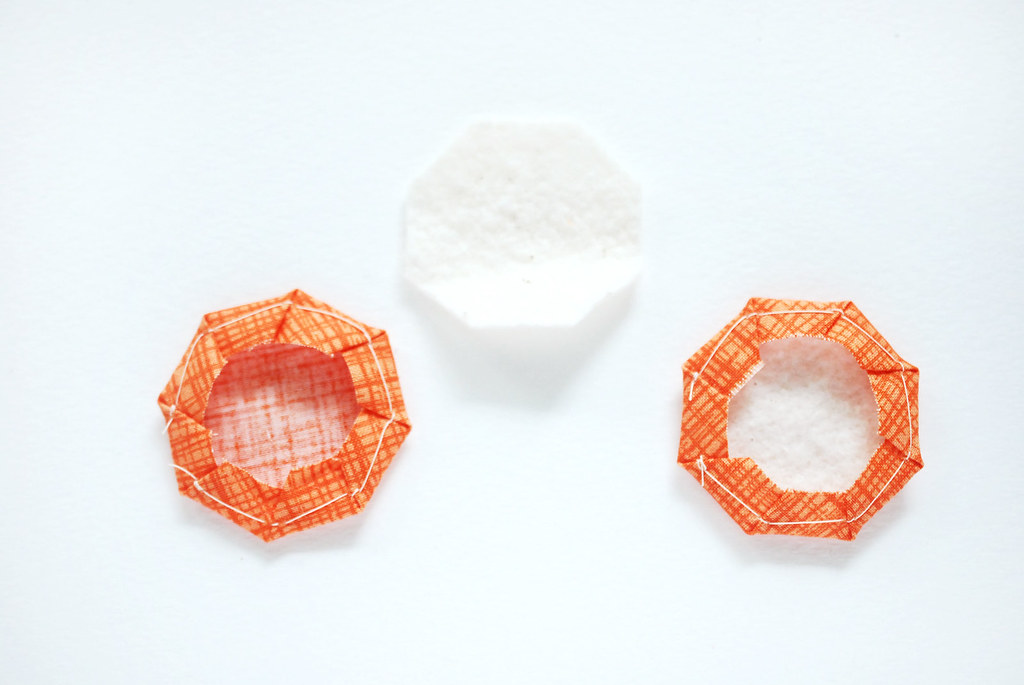
Cut out two octagons from batting, then slide them in the back of the octagons. They should fit just right in there.
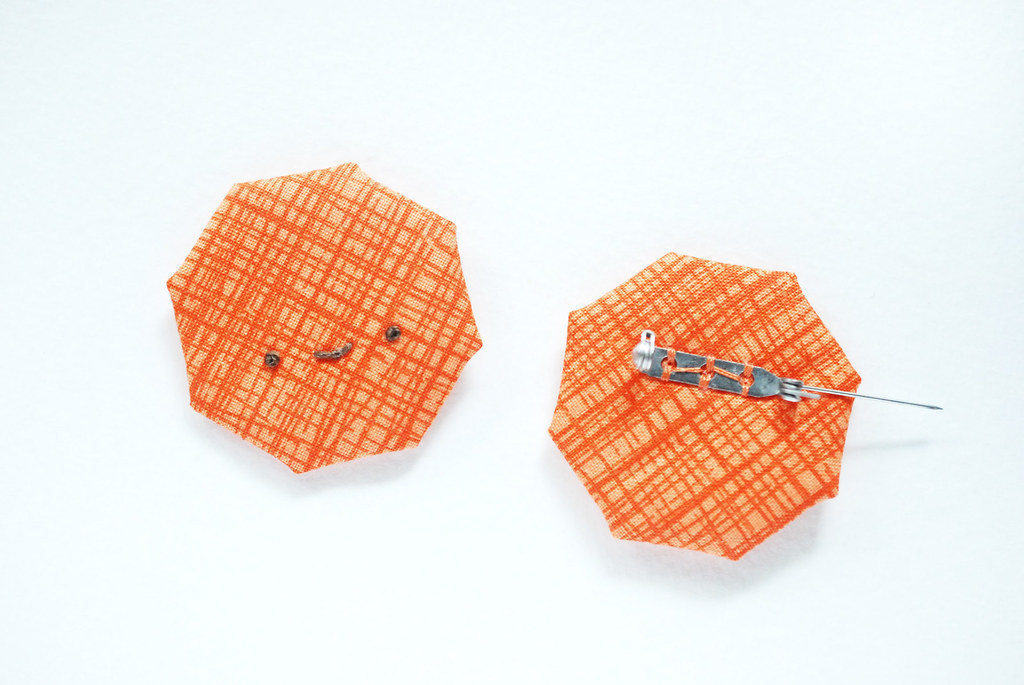
Embroider a face on one of the octagons and stitch the pin back on the other octagon. Stitch through the fabric and the batting.
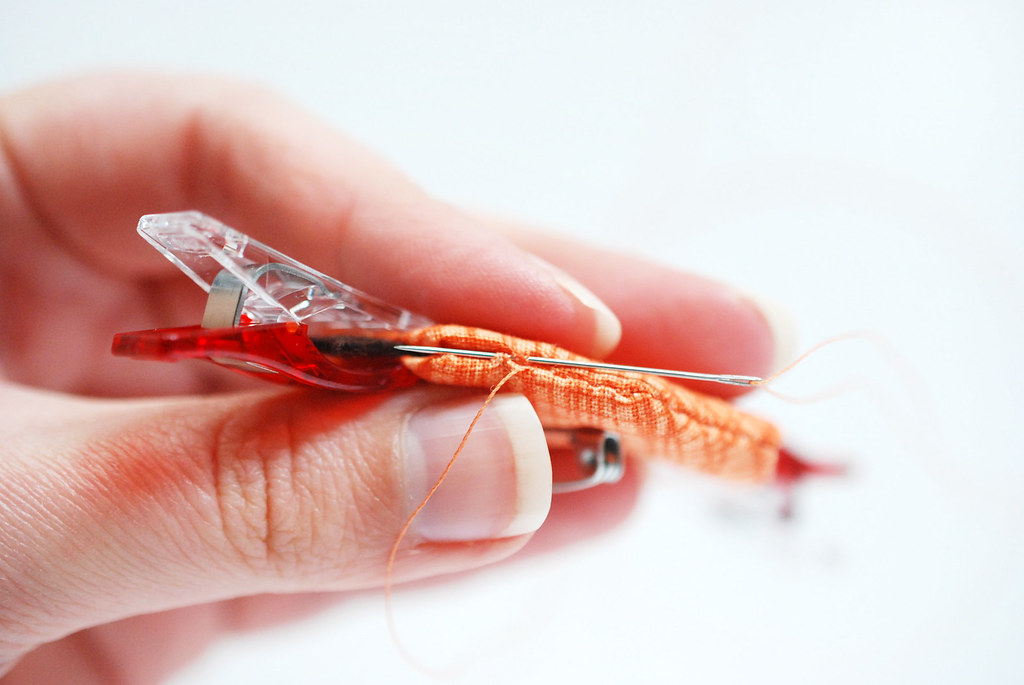
Hold the two octagons wrong sides together, making sure that pin and face end up in the correct direction. Place the stem piece between the layers, at the top of the pumpkin. Wonderclips are extremely helpful for holding the pieces as you stitch.
Stitch the two pieces together with ladder stitch.
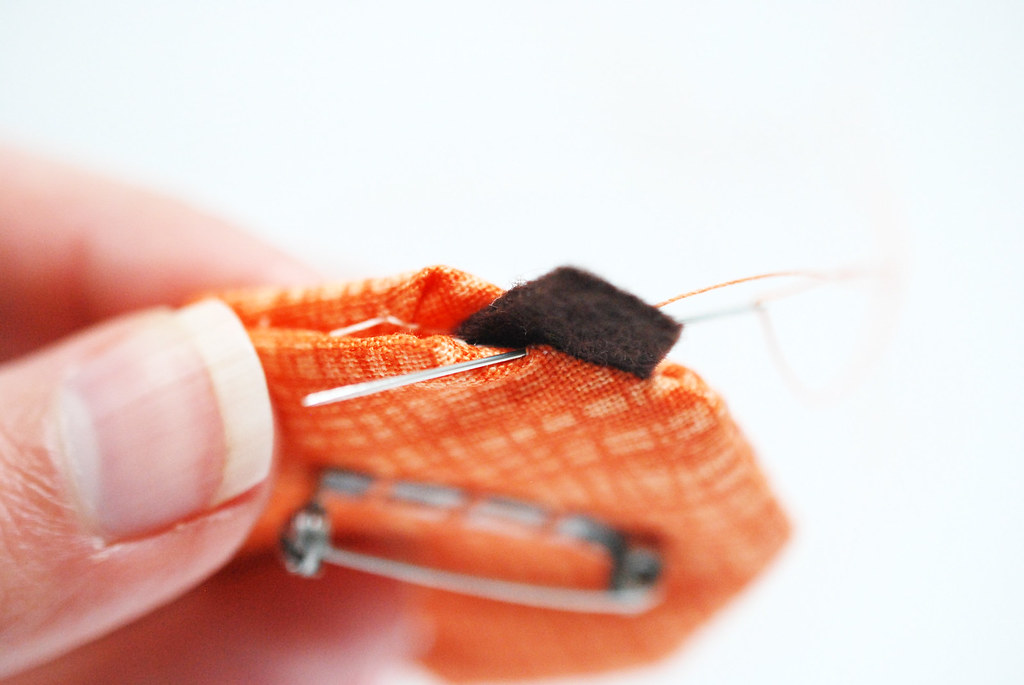
When you stitch the top, continue with ladder stitch, stitching through the stem as you go.
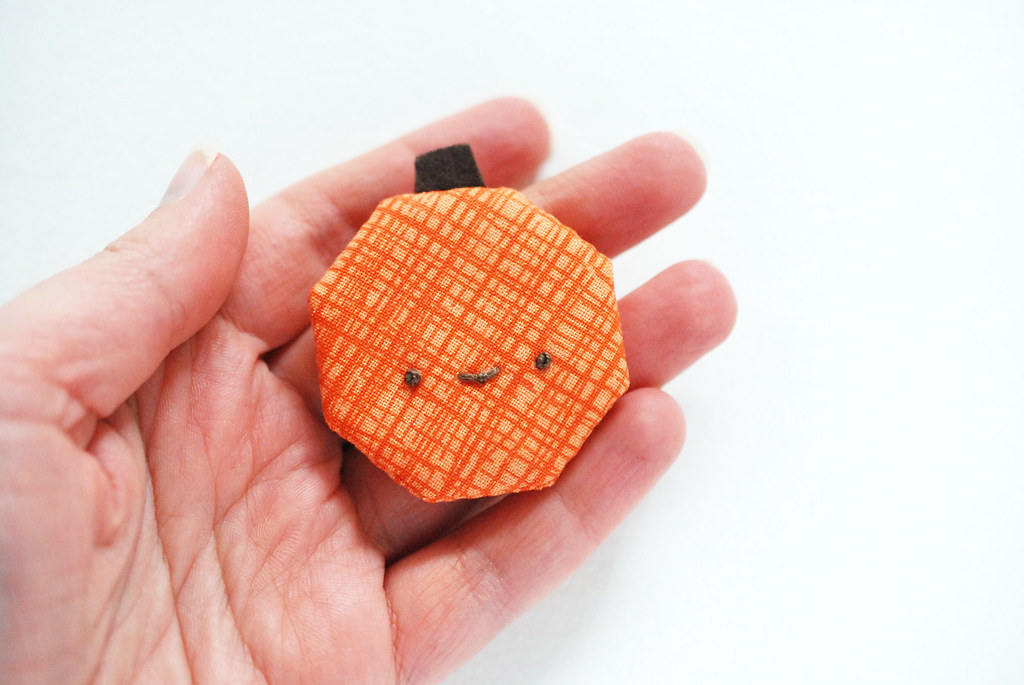
Now your pin is ready to wear!
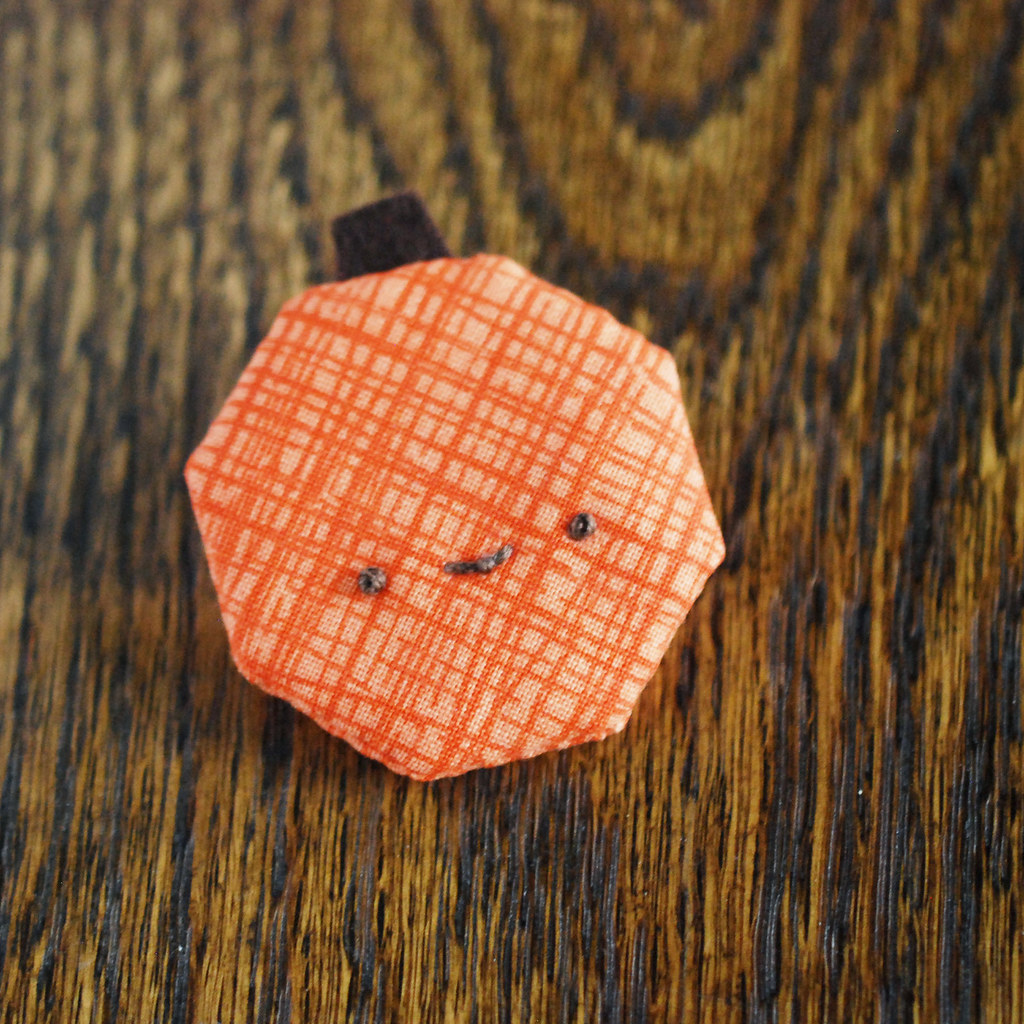
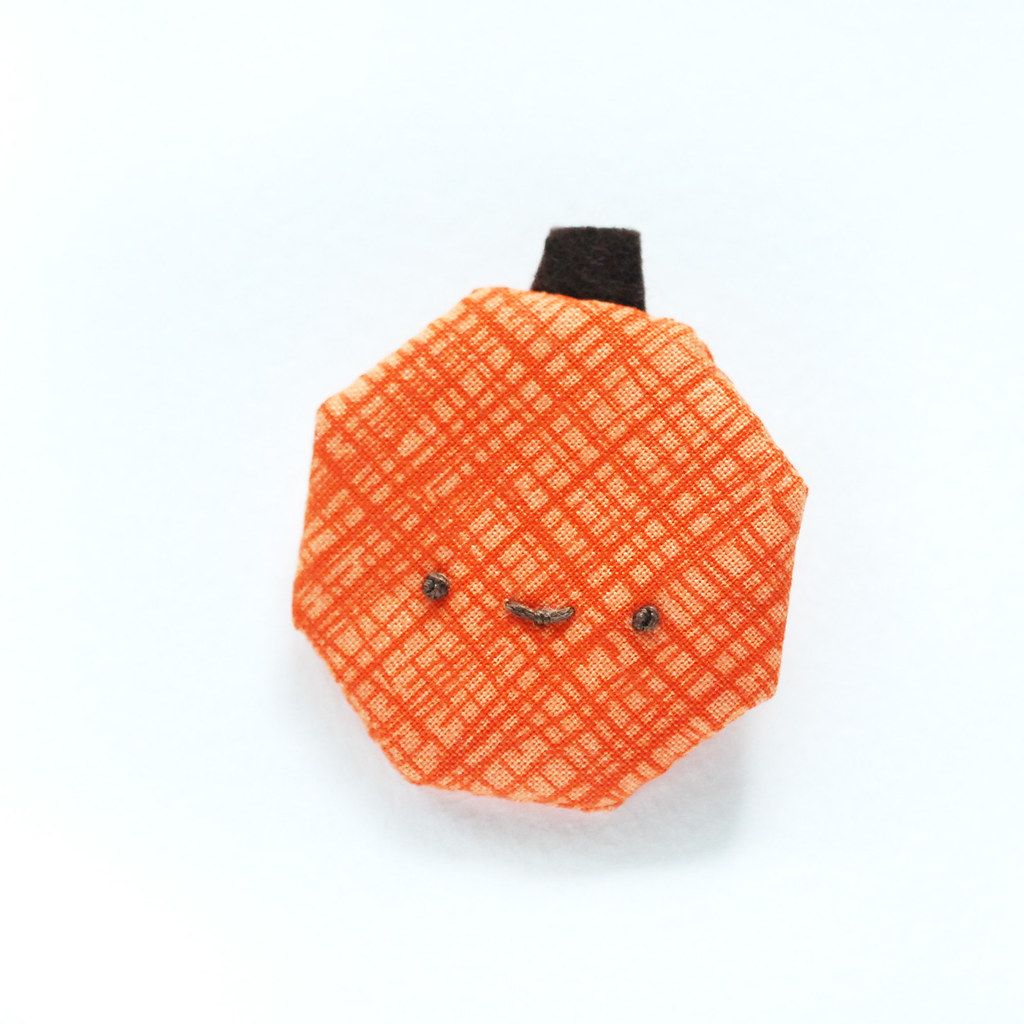
I love that this happy little pumpkin is good for wearing through October and November. If you're looking for something more Halloween, you could definitely make the face more like a jack o' lantern. Or, you could change the color to red and make it into an apple!
Happy Pumpkin Making!
This is too cute! I think I will have to make one for everyone I know! Yikes!...okay exaggerating here...but really, this is too cute! I love it!
ReplyDeleteSo cute! I love fall, so having a cute little accessory like this would be so fun. Plus this seems like a fun thing to work on with kids!
ReplyDeleteAdorable!
ReplyDeleteToo cute, I love this :)
ReplyDeleteso cute!
ReplyDeleteI came to your blog to ask you a question about one of your patterns/ideas in the book FAT QUARTERS. I just bought the book today and have been enjoying looking through it. I've marked my favorite pages and they happen to be your ideas. On the Floppy Animal Friends directions "crinkle paper" is mentioned as something to sew inside the arms and legs of the darling little dolls. My little granddaughter has toys that have something crinkly in the ears, etc. I think it's a wonderful idea but, what is crinkle paper and where can I get it? I.tried Google but didn't find anything that would do. Help?
ReplyDeleteYour blog is delightful, I love it. Thanks!
Thank you!
DeleteThe easiest thing to use is cellophane, or even recycled packaging (cereal or pretzel bags are great because there's no grease). You can see an example of how I used cellophane here:
http://www.hellobee.com/2015/09/17/how-to-sew-fall-leaves-that-crinkle/
FINALLY I have a finished project to share......I love this tutorial!! I'm pretty new to EPP but I'm already wild about it - when I saw these darling pins, I knew I had to make a few. Thanks so much for sharing these projects, for taking the time and effort in creating this stellar tutorials and for creating a warm & inviting place to visit!! Here's a link to my own little pumpkin patch:
ReplyDeletehttp://kabobbingcards.blogspot.com/2015/10/pumpkin-patch.html
Thanks again!!