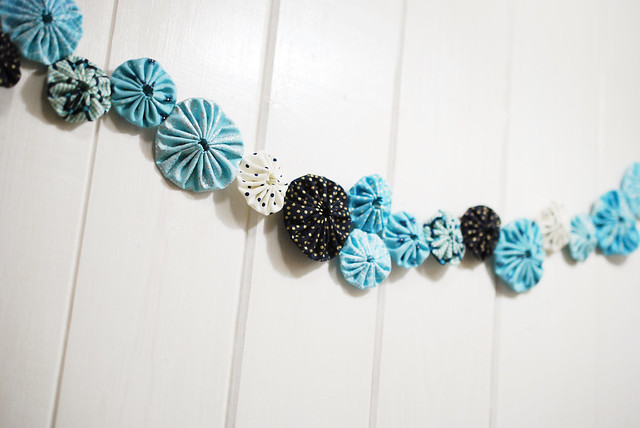

While perusing the internet and looking at Christmas ideas, I came across some photos of garlands made with fabric yoyos. I was smitten and knew that I needed some of this in my life.
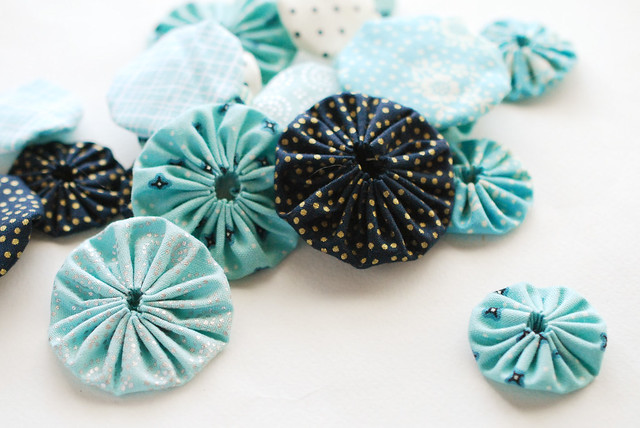
A couple weeks ago I showed you how I make fabric yoyos, and if you've never made them before, that's a great place to start. You'll need a LOT of yoyos, and the amount will depend on how long you want your garland to be, and what arrangement you go for. Also, I recommend that you make them in a few sizes for visual variety.
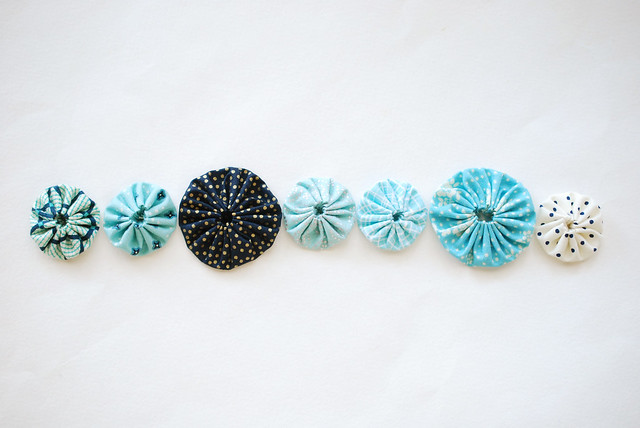
The original garland I saw had all of the yoyos lined up, and they formed a pattern: large, small, large, small. While I like this look, and you can can definitely go with this, I wanted to mix it up. So, no pattern! Mix up the placement of the sizes and fabrics.
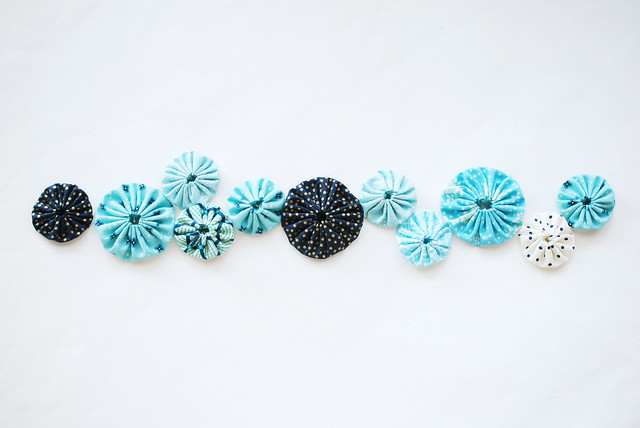
Next, using the jumbo garland as inspiration, I arranged the yoyos in a way that was a little more jaunty.
Because these will be joined one at a time, it's difficult to keep this arrangement exactly, but seeing the look first will help as you form your garland.
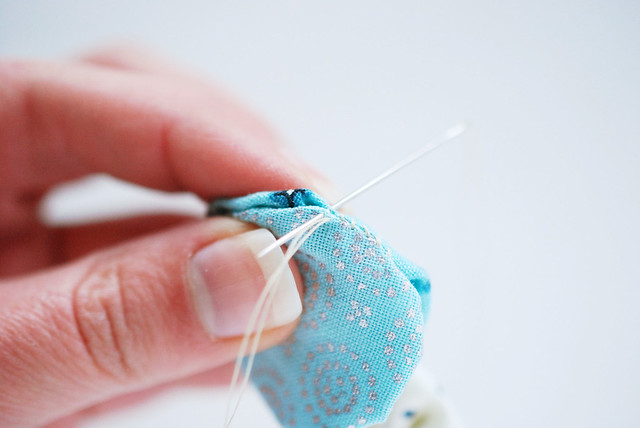
Grab two yoyos, and thread a needle with doubled thread. Knot the end, then go in through the hole in one of the yoyos, coming out on the side. Hold the yoyos face to face, then stitch them together with whip stitch. The small yoyos here are about 1 inch in diameter, and about 1/2 inch of stitching is good. Any longer and you'll start to see straight edges. Not what you want here!
I tried this with ladder stitch too, because that way the stitches would be invisible. The thing is, it just didn't feel as secure, and these whip stitches will be on the back. Go with what feels best to you, but remember that a long garland will have some stress on it as it hangs.
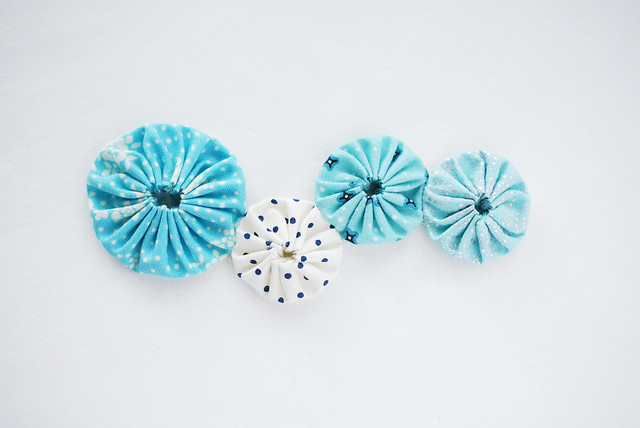
Now, start adding more of these fun little circles onto the garland! After each one is joined, tie a doubled knot, then pop it through to the inside of the yoyo. You can travel through the yoyo to the next side and keep going! When you're out of thread, pop the knot through, then trim the thread and start again.
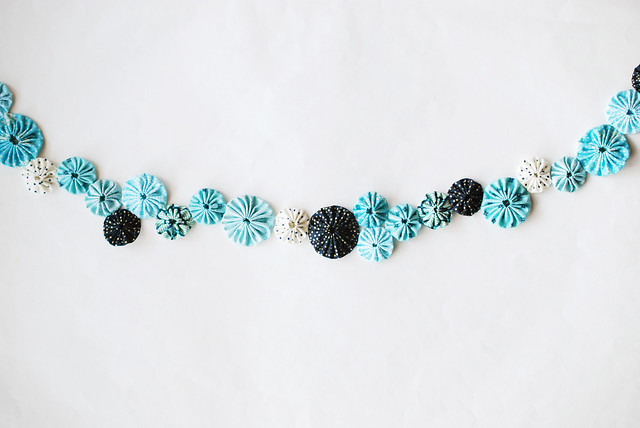
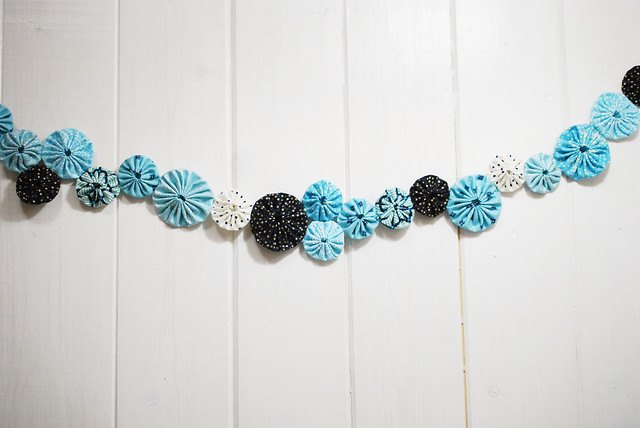
Knowing that I would be hanging this as swags, I joined them so that shape would be already be sewn into the garland. The photo above is laying flat, and shows the shape I stitched with my line of yoyos.
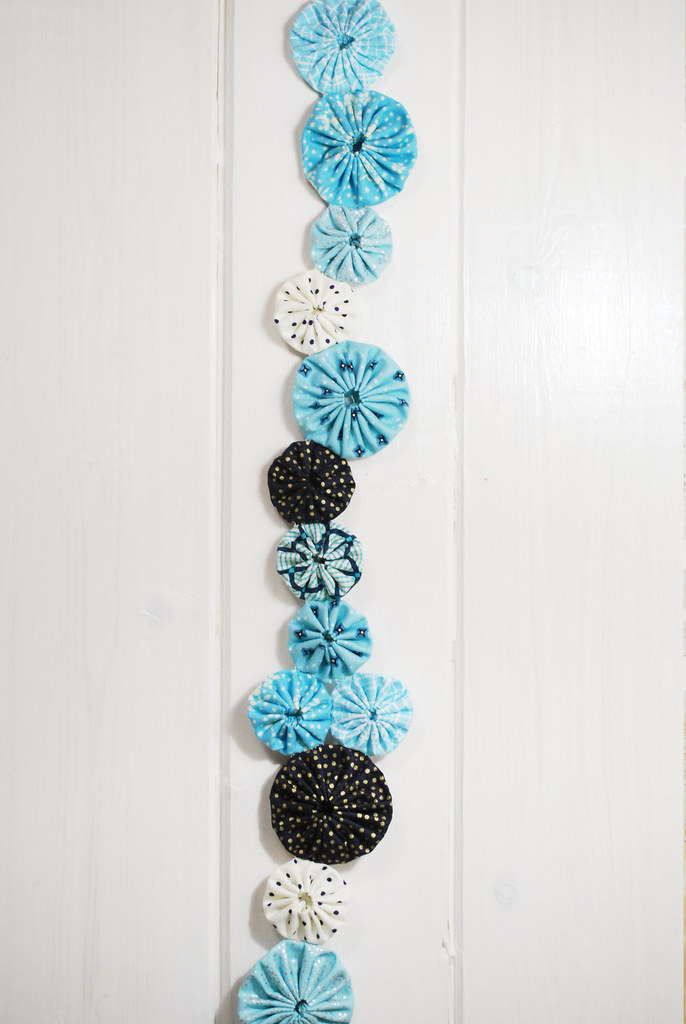
Hanging vertically, see how it leans to the left? That's from that curve that I built in. Was this necessary? Maybe not. But it didn't hurt.
Working in smaller pieces and then joining them together will help keep this project more portable, and who can resist keeping a little pouch of yoyos with them at all times?
To hang your garland, you can stitch some loops at the ends and where you want to swag it. Or, if you aren't afraid of holes in your walls, use a thumbtack or pin to go right through the fabric.
Yay for happy garlands on winter days!
Aw, this looks gorgeous - love the colors!
ReplyDeleteI have a little stash of fabric that I've been holding onto, waiting to see if I could find a project that I felt was easy enough for me to attempt. I didn't want to destroy my pretty fabric but I don't want it to just sit in a pile either, lol! I think this would be the perfect project for me! Thank you so much for sharing!!! Alisha
ReplyDeleteOh yes! This will be a great way to display and admire those fabrics!
DeleteI've used yo-yo garlands as Christmas tree decorations before. When it's not Christmas the garlands can be hung above doors or on walls. It's so versatile! I love working on yo-yo crafts!
ReplyDeleteThis is a lovely idea although I prefer your smaller sized version!
ReplyDeleteIt would be cute in Christmas fabrics too : )
This comment has been removed by the author.
ReplyDeleteThis sure turned out adorably! Have you seen my vintage yo-yo quilt bed runners? One's on our master bed and the other's on the guest bed in Our Guest Suite. Check 'em out on my blog.
ReplyDeleteHugs and happy week, Mollie.
Kelley~