


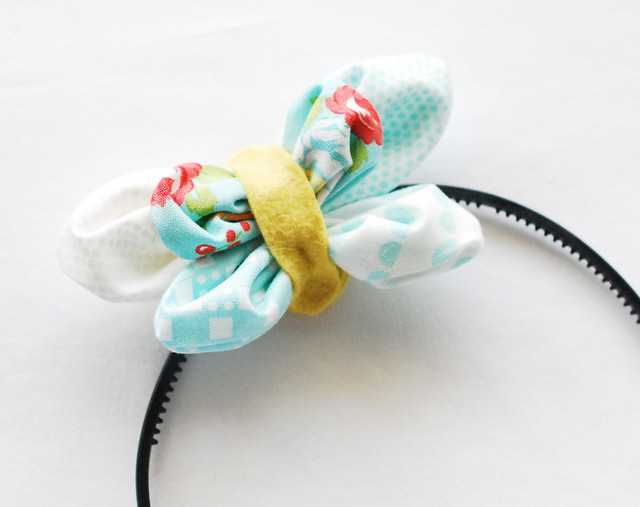

I really like making headbands, especially when I can customize them for holidays and even outfits that I have planned. The headband I'm sharing today fits both of those special uses. But let's back up just a little.
The butterfly theme that keeps showing up in my projects and posts (yes, there are plenty more fluttery friends coming!) was chosen because butterflies are so perfect for Easter time. They go through a kind of death that leads to new life. Forget the eggs, bunnies, candies and whatnot (although I do love those things!). Easter is about death and resurrection and life. For that, I'm forever grateful.
To keep a reminder of that on my mind, I thought I'd keep the butterfly on my head. The end result definitely looks more like something a child would wear, but since I volunteer with the kids at my church, I think it will be perfect to wear on Easter Sunday!
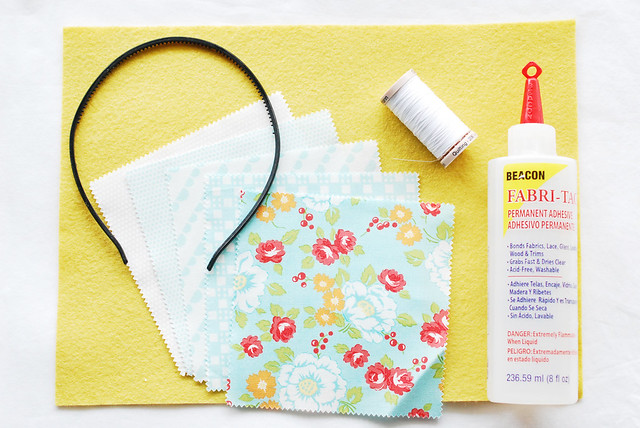
Here's what you need:
Fabric (I'm using 5 Happy Go Lucky charm squares)
Felt
Headband (the cheap kind from the $1 store cause less headband headache!)
Scissors
Needle and thread
Fabric glue
Kanzashi Butterfly Template PDF
By the way, this is called a Kanzashi Butterfly because it uses the Japanese technique of kanzashi. Sort of. I'm basically experimenting with this idea and going with what I like and not being formal about it. Mmmkay?
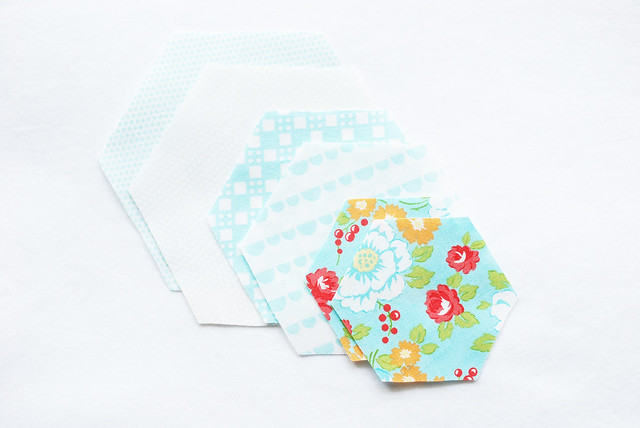
For a layered butterfly like mine, cut out 2 large hexagons, 2 medium hexagons, and 2 small hexagons.
If you don't want the small, extra wing pieces on top, omit the small hexagons. Or, if you want to make a smaller butterfly without the extra wing pieces, omit the large hexagons.
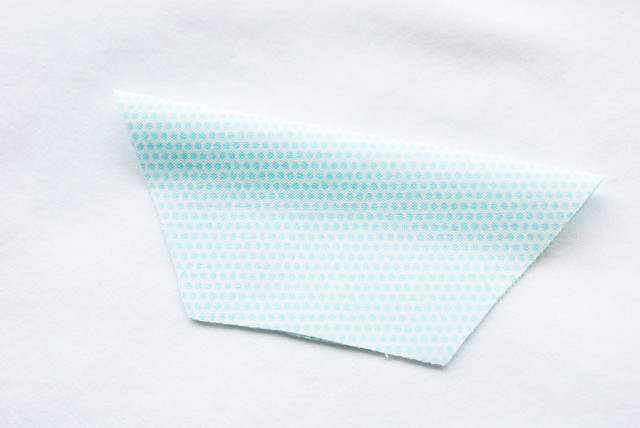
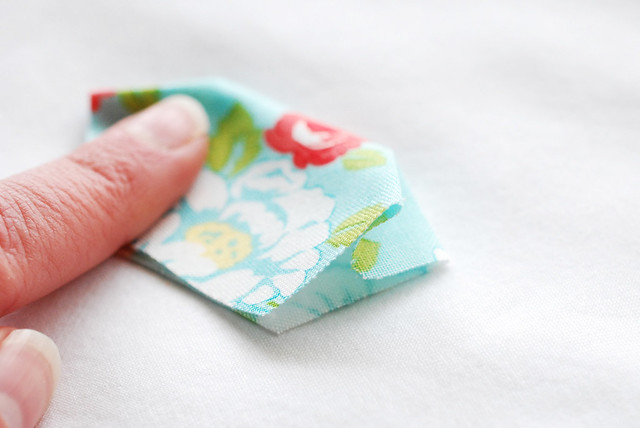
Take one of your largest hexagon pieces and fold it in half as shown.
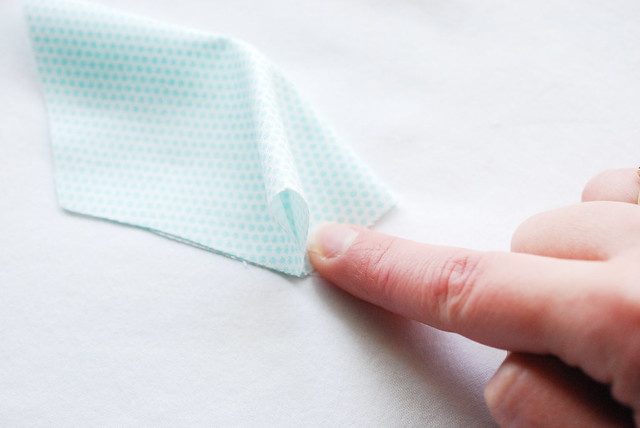
Fold the point at one end of the fold down to the next point on the hexagon, but do this so it creates a valley.
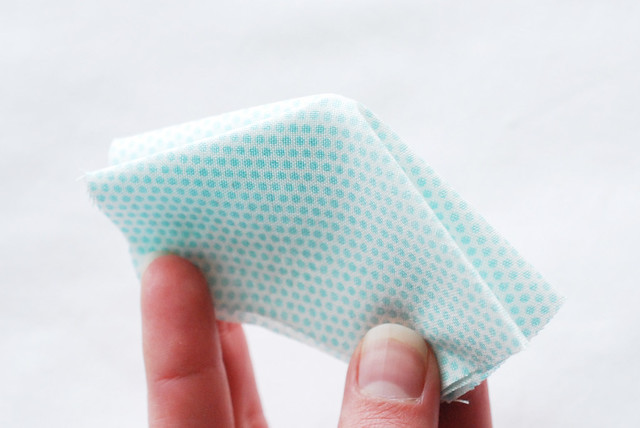
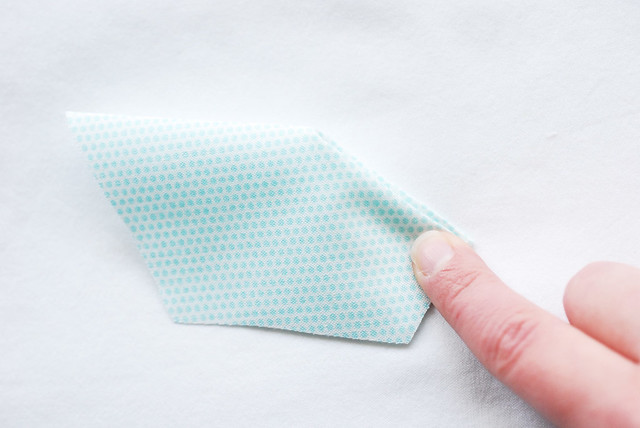
Repeat this fold on the other side and you should end up with a little shape like this.
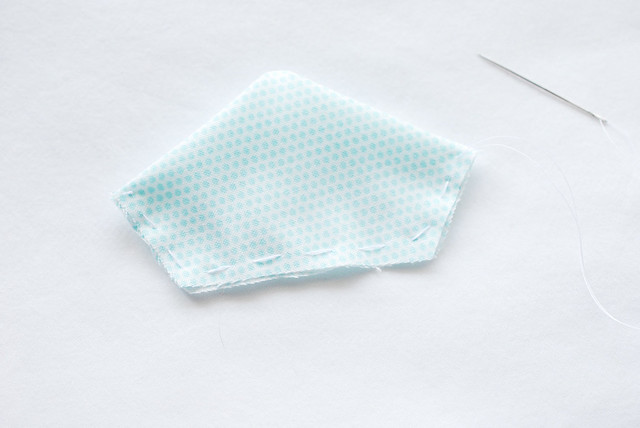
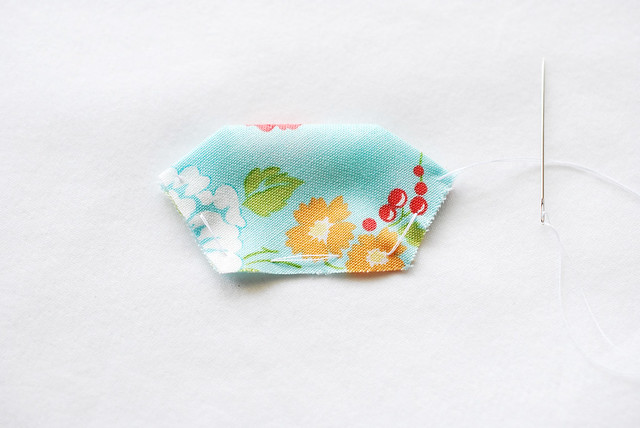
Using your needle and thread, stitch with loose running stitch along the three raw edges of the folded shape.
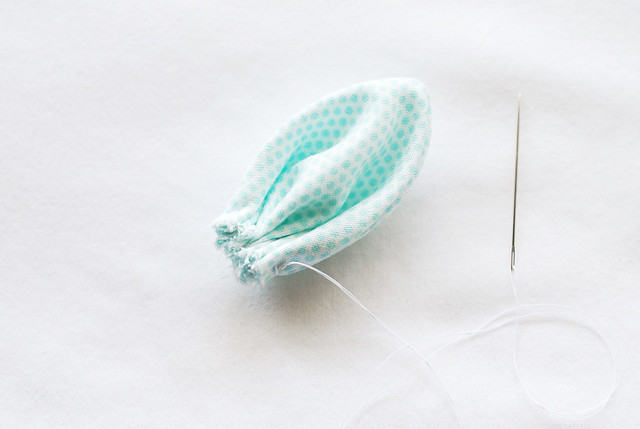
Pull the thread to gather it tight, then secure it with a knot (but don't clip the thread off!).
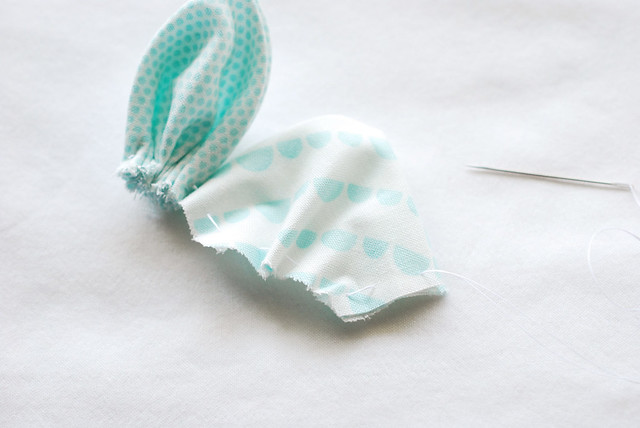
Repeat the folding and stitching process with the medium hexagon. You'll use the same thread that's attached to your first wing piece.
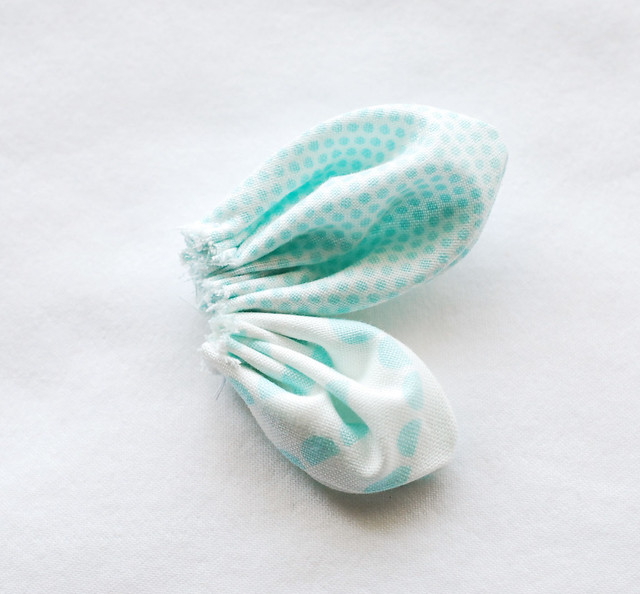
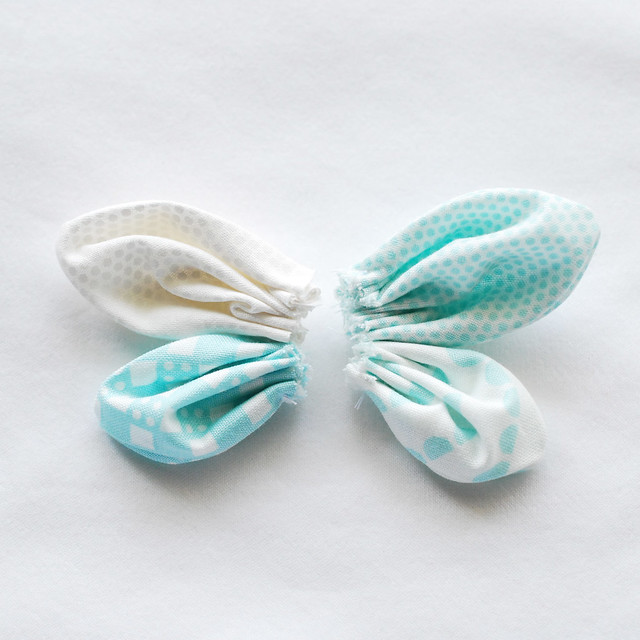
Tighten the gathering on the wing and tie it off. Now, make another set of wing pieces just like the first.
For the extra wing layer, take the smallest hexagon piece and fold it as with the other hexagons, but this time, bring the fold point down only half way between the hexagon points.
Stitch the raw edges with really big stitches, then pull to gather and tie it off. Repeat for the second piece.

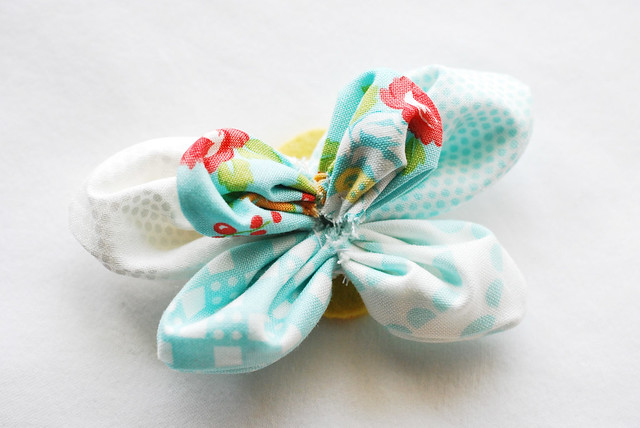
Join the two-part wings together with a few stitches at the top and bottom, then tack the extra wing layer on top. You could do this with the fabric glue, but I like the security of stitching.
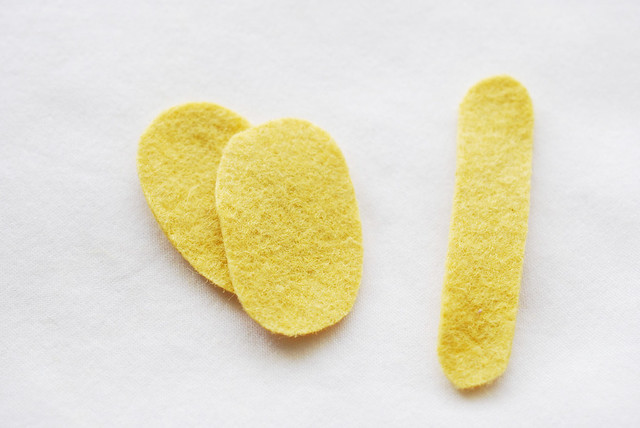
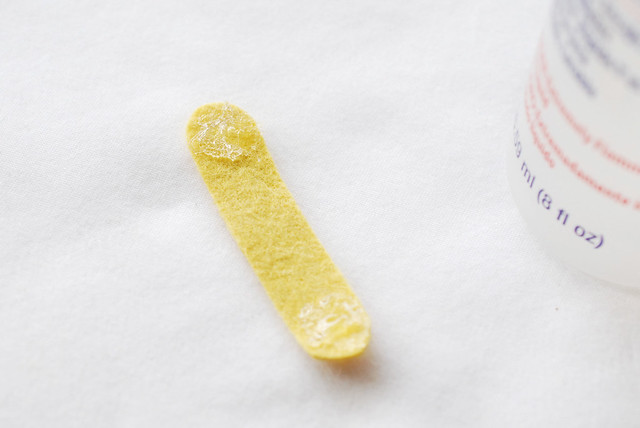
Cut two felt ovals and one felt strip.
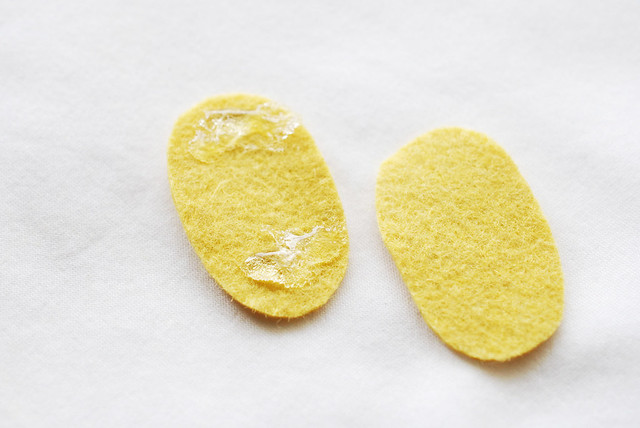
Place a little glue at each end of one of the ovals, but leave the middle free of glue. This will be important because your headband will eventually need to slide through here. Press the second oval on top of the first.

Glue the butterfly down onto the felt oval base. This time, you'll want the glue in the middle, but not on the ends.
And let's just pause to relish in the amazement that is Fabri-Tac. I never thought I'd be a fabric glue kinda gal, but I totally am for projects like this!
Check that the felt strip is the right length for covering your butterfly body. If you eliminated the extra pieces or used only the medium and small pieces, you may need to shorten this piece.
Add some glue to each end of the felt strip.
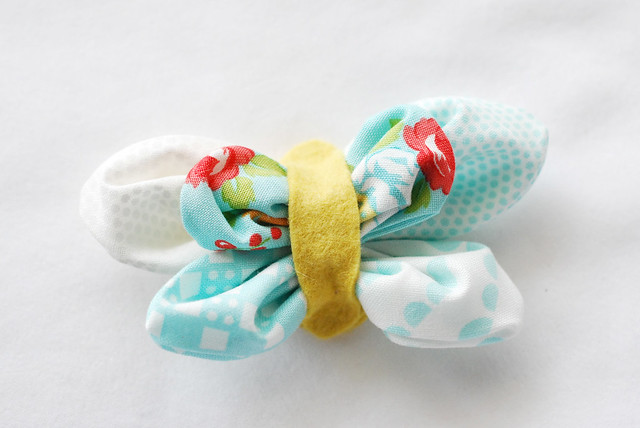
Stick the ends of the felt piece down onto the oval base, covering the raw edges of the wings.

After everything has dried, slide the headband through the oval base. It's all ready to wear!
Of course, you can very easily change this into a pin instead of a headband. Just attach a pinback to one of the oval pieces before you glue it together!

I'm so excited to have this to wear on Sunday! It matches the skirt that I'll be wearing, and I'm sure that the preschoolers that I work with will love it too.
May you have a very blessed Easter, celebrating the risen Savior!
I love this so much!! Every year I try to bring a new hand sewing project with me to the park and soccer games and swimming pool. I think your butterflies are this years' take-along for me. I've got a Craft Gossip post scheduled for later this morning that links to your tutorial:
ReplyDeletehttp://sewing.craftgossip.com/tutorial-kanzashi-butterfly-headband/2014/04/18/
--Anne
This is a really sweet idea and a great project for spring! :)
ReplyDeletewww.beccyandbuttonthecat.blogspot.com
wow! amazing! Thanks! :) besos!
ReplyDeleteThis is so, so cute! I think I need to make matching ones for my girls! Thanks for sharing!
ReplyDeleteThis is very cute. I plan to make a few of these.
ReplyDelete