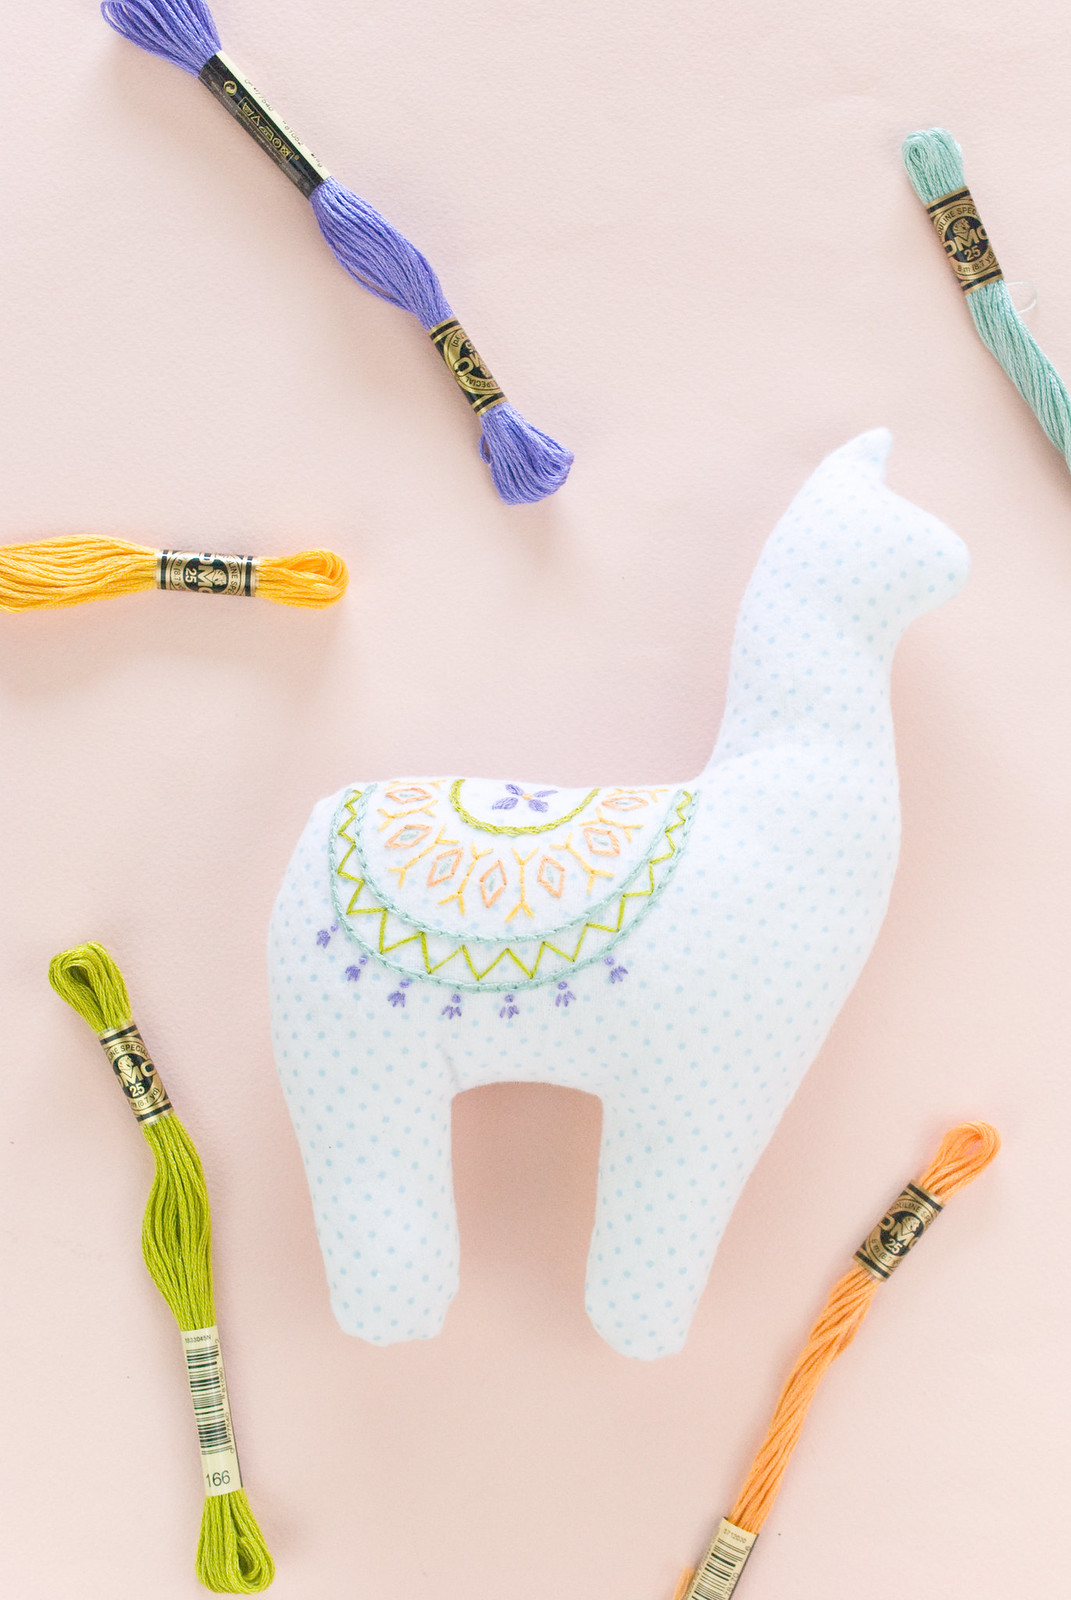
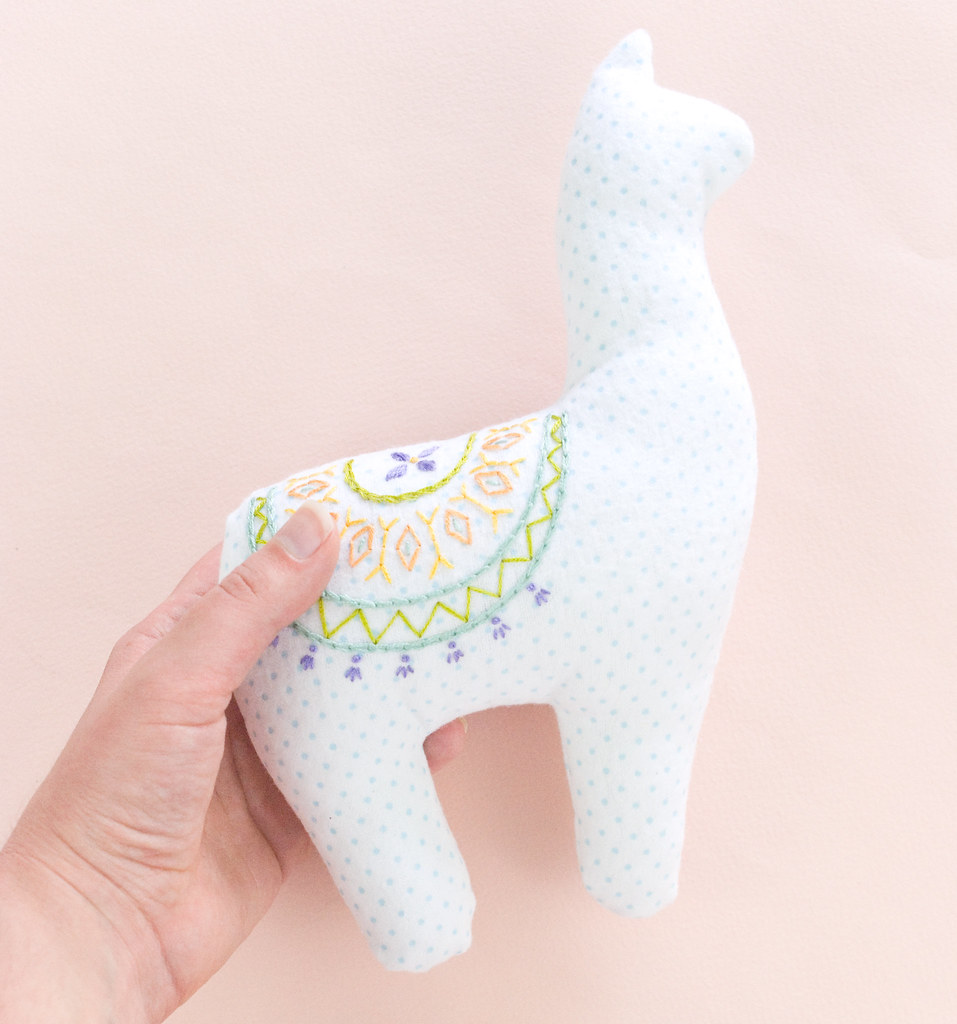
At my house, we love llamas. There's a good chance that this is mostly due to The Emperor's New Groove, but they're also just kind of fun. Alpacas don't have the same kind of comedic charm, but they are cuddlier, which is why I thought that an alpaca softie would make a great plush. So today I'm sharing how to make a mini embroidered alpaca softie!
This is part of a month-long series called Sew a Softie. This isn't the first series like it, but if you haven't heard of it before, Sew a Softie is basically an initiative to encourage kids and adults to sew fun things together. Visit their site to find a whole month's worth of softie tutorials for July!
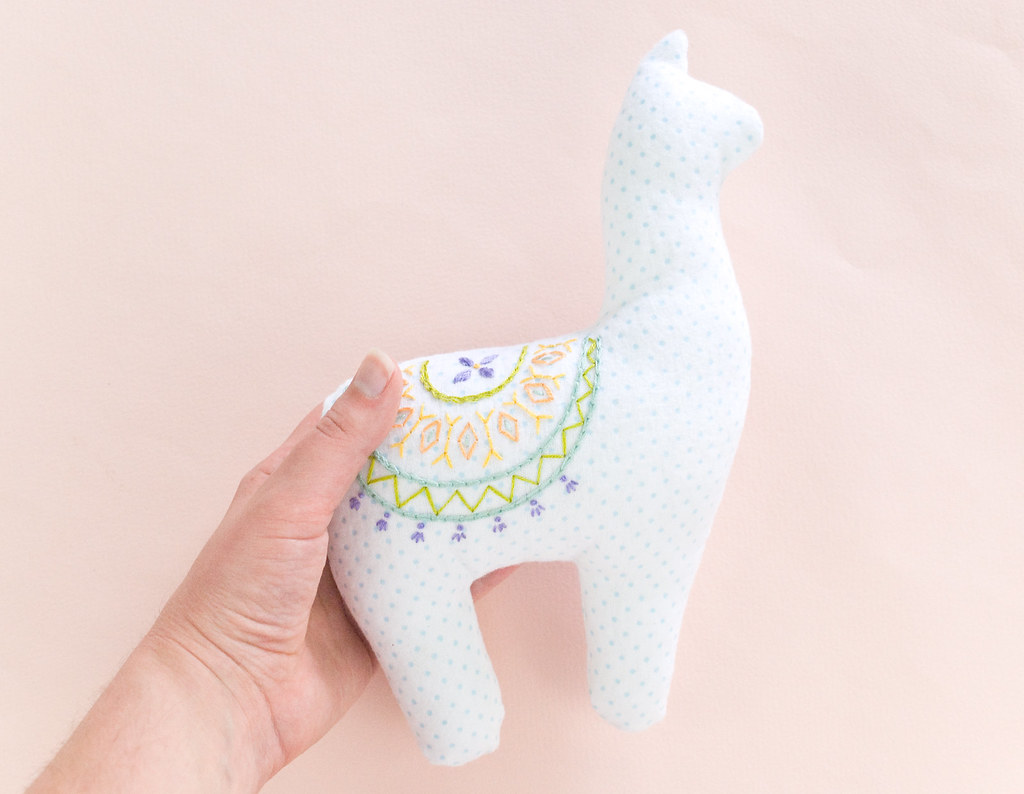
This alpaca requires some knowledge of embroidery, but you only need to know the basics. Of course, you could use fabric paint to add the decorative blanket instead. And while I'm showing this made on a sewing machine, you can do all of the sewing by hand if you'd rather. Ready?
Here's what you need:
Flannel - 1/4 yard
Embroidery floss
Sulky Sticky Fabri-Solvy -or- a water-soluble pen
Embroidery hoop
Scissors
Needle
Pins
Pinking shears
Sewing machine
Stuffing
DOWNLOAD THE ALPACA SOFTIE PATTERN
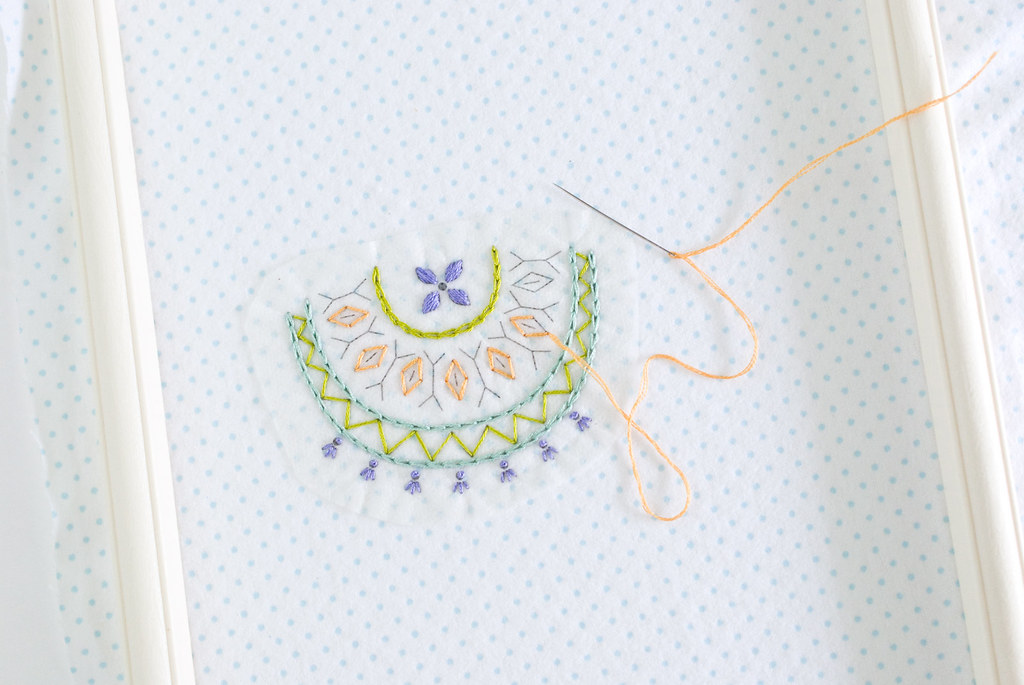
Print out the pattern page and print or trace the blanket pattern on Sulky Sticky Fabri-Solvy. To do this, I used this method for saving scraps of Sulky.
Place the flannel in an embroidery hoop and stick the embroidery pattern down onto the fabric (or trace it with a water-soluble pen). Be sure you position the pattern so that you have room for the template outline in the correct place.
Embroider the pattern with three strands of embroidery floss. You can use whatever stitches you like, but I used chain stitch, back stitch, french knots, and satin stitch.
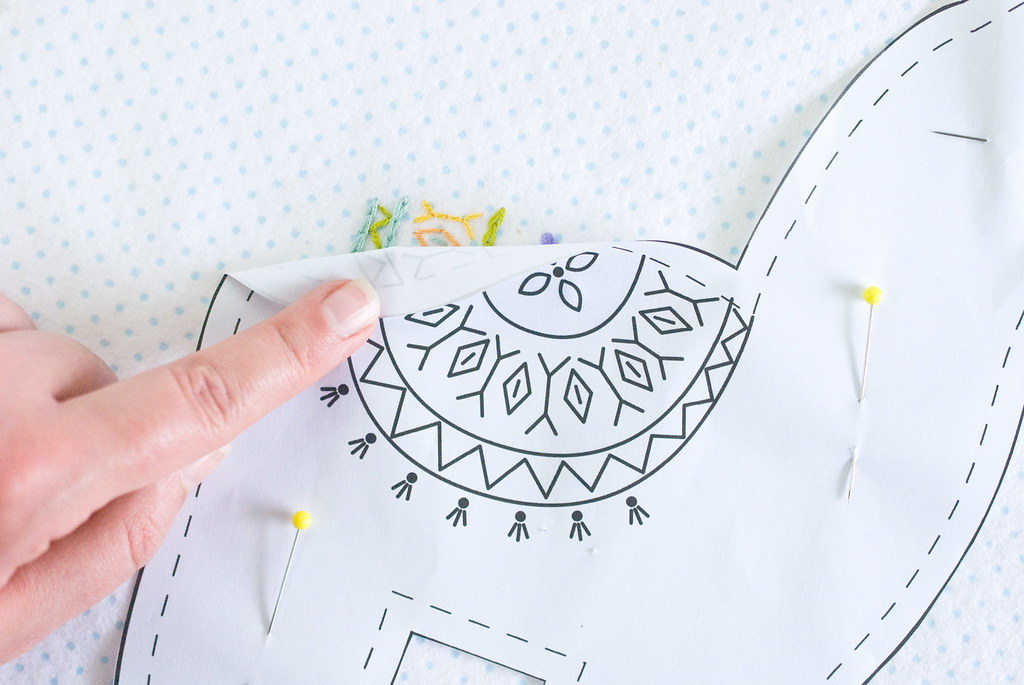
Soak the Sulky off and then let the flannel dry.
Cut out the pattern template and pin it over the embroidery so that the markings on the pattern match up with the stitching.
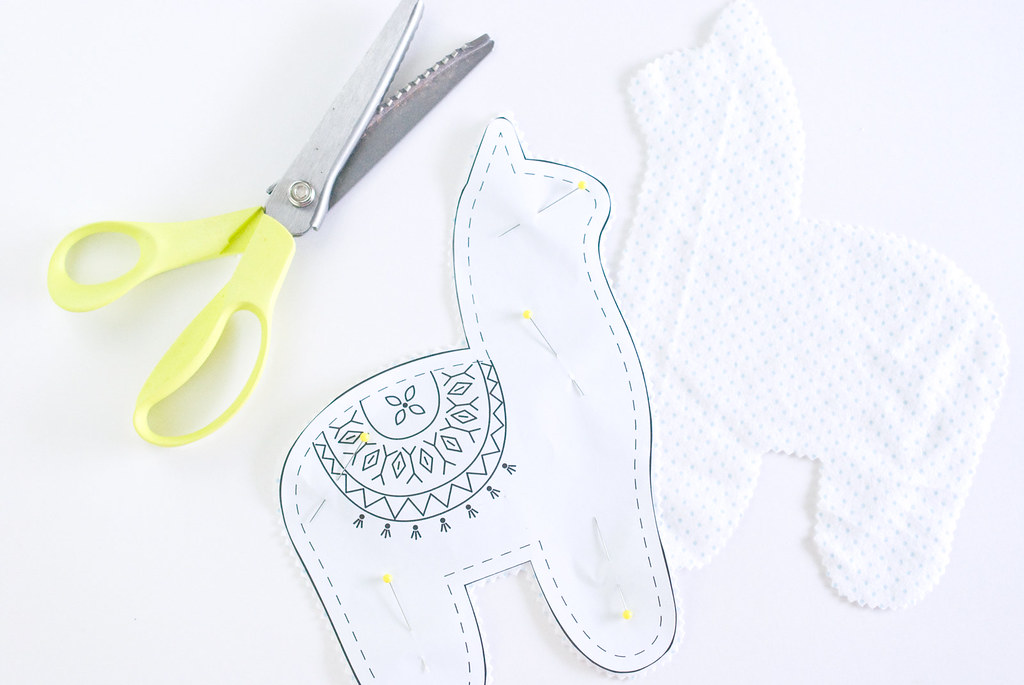
Flannel like this frays pretty easily, so it's best to cut out the pieces with pinking shears.
Cut around the embroidered front, then flip the pattern piece over and cut out the back.
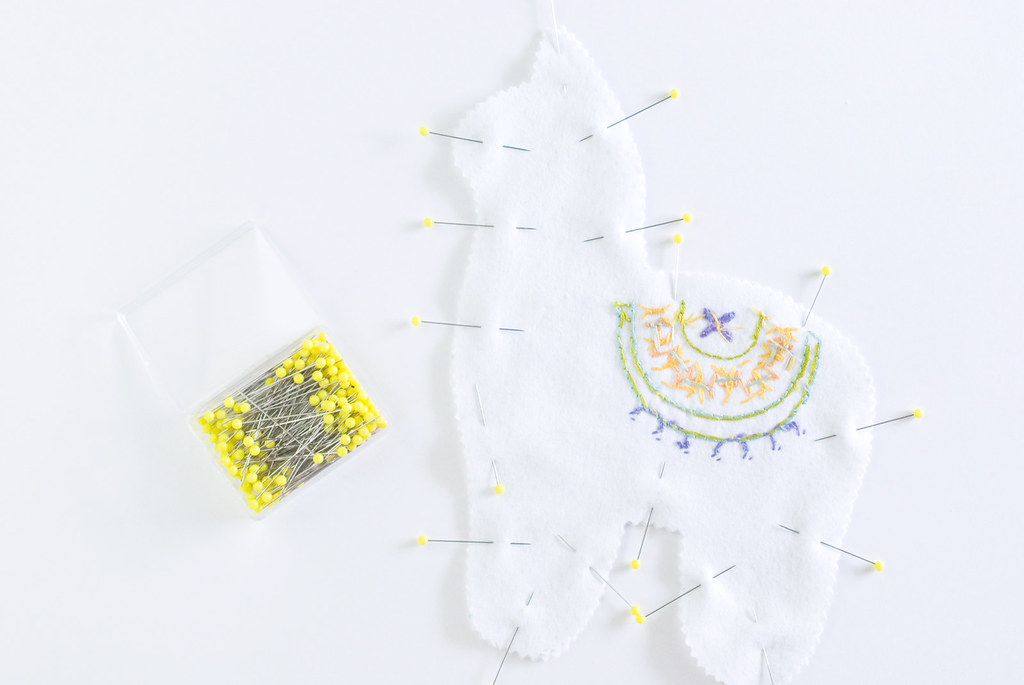
Place the front and back pieces right sides together and pin around the edge.
NOTE: a simpler way to sew this is to place the pieces wrong sides together, which will give you a softie with raw edges.
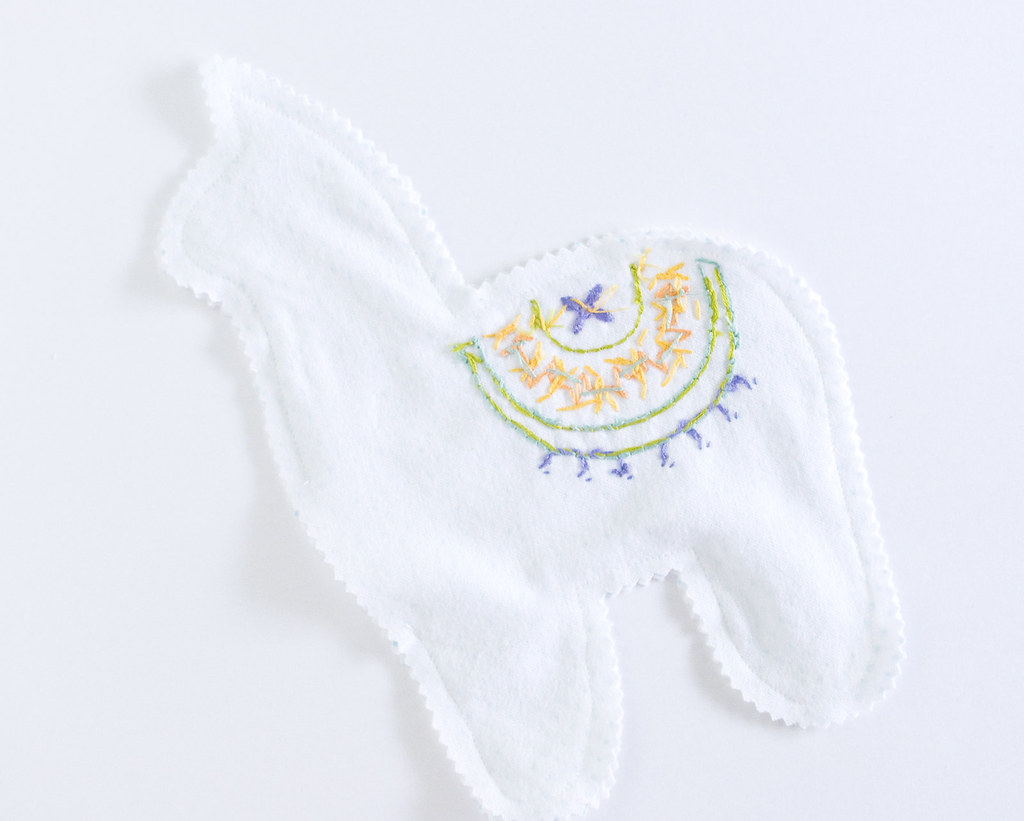
Sew around the alpaca with a 1/4in seam allowance. Leave a 2in opening for turning, and back stitch at the start and end of the sewing.
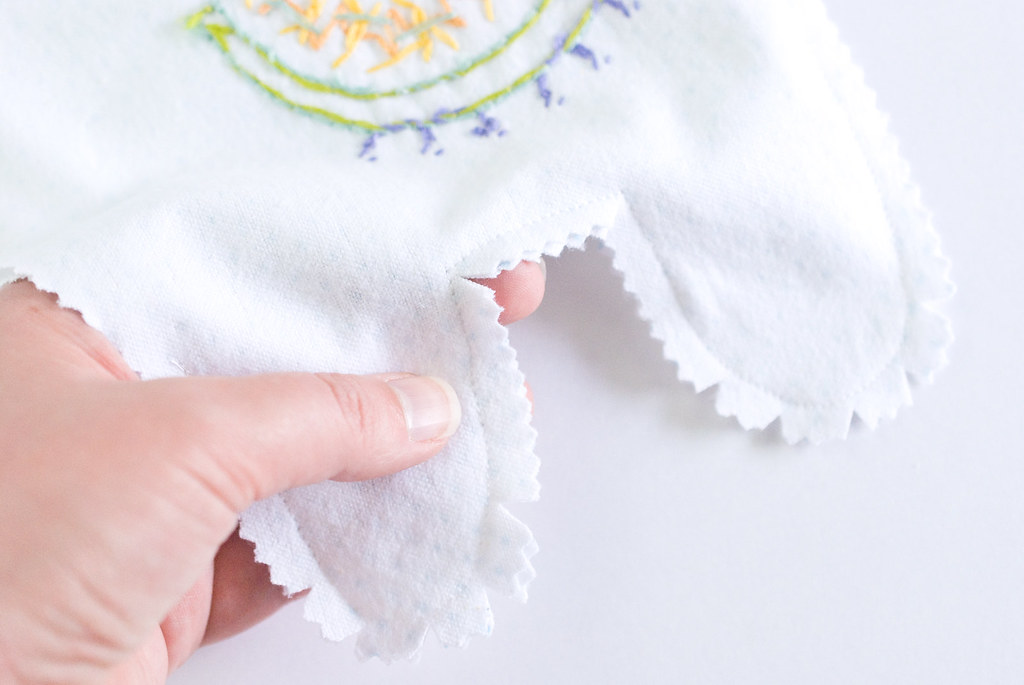
Clip the curves, trim the top of the ear, and snip the angles at the ear, base of the neck, and the top of the legs.
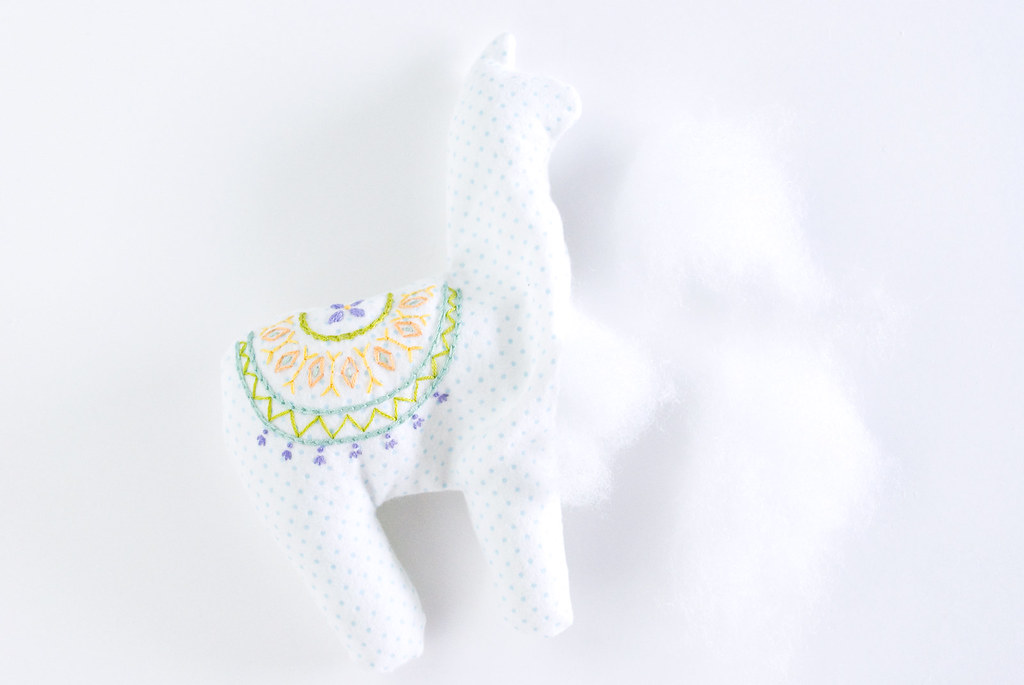
Turn the alpaca right side out. Fill it with stuffing, adding it in bits so it doesn't become lumpy. Fill in the head/neck and legs first, then fill the body. It should be soft, but full.
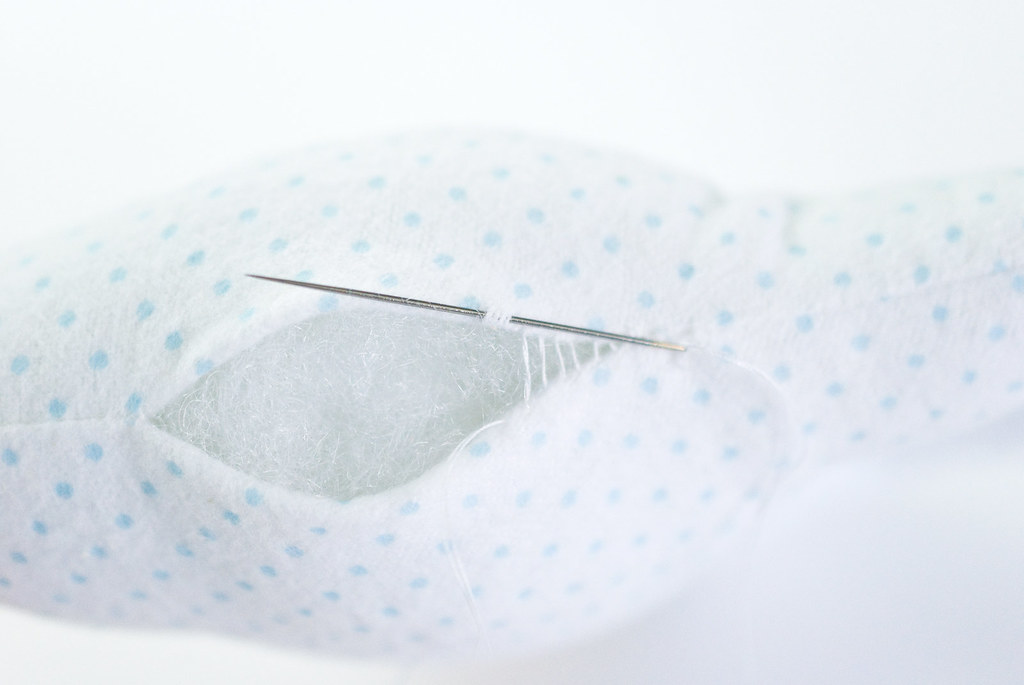
Sew the opening closed with ladder stitch.
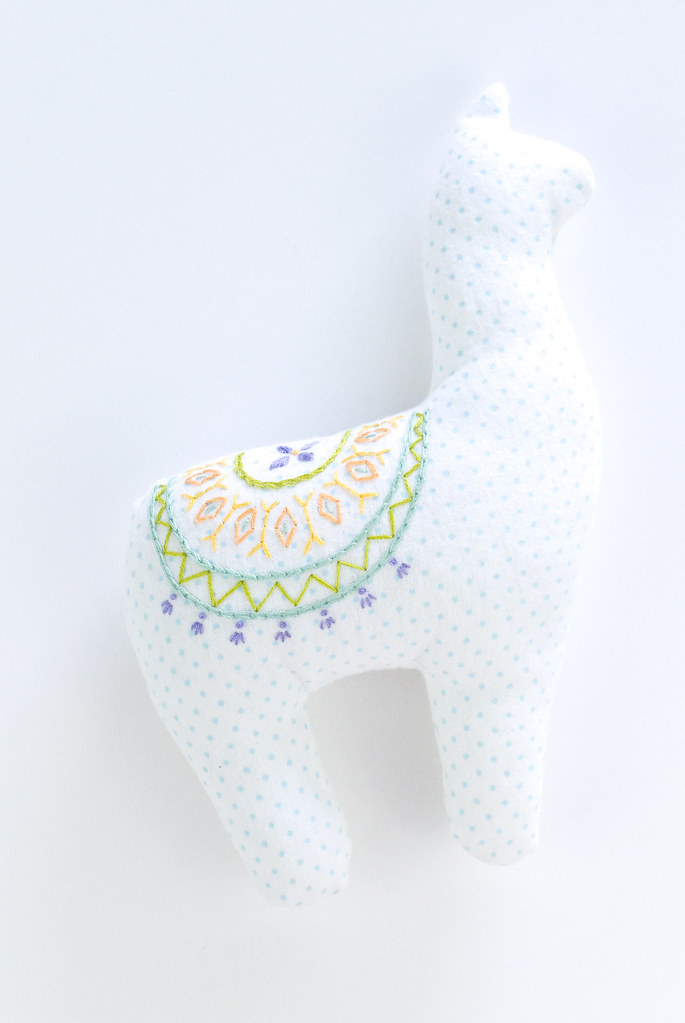
Your softie is all finished and ready for a snuggle!
A soft and cuddly alpaca like this would make a great gift for a baby. Especially if you add a rattle insert inside.
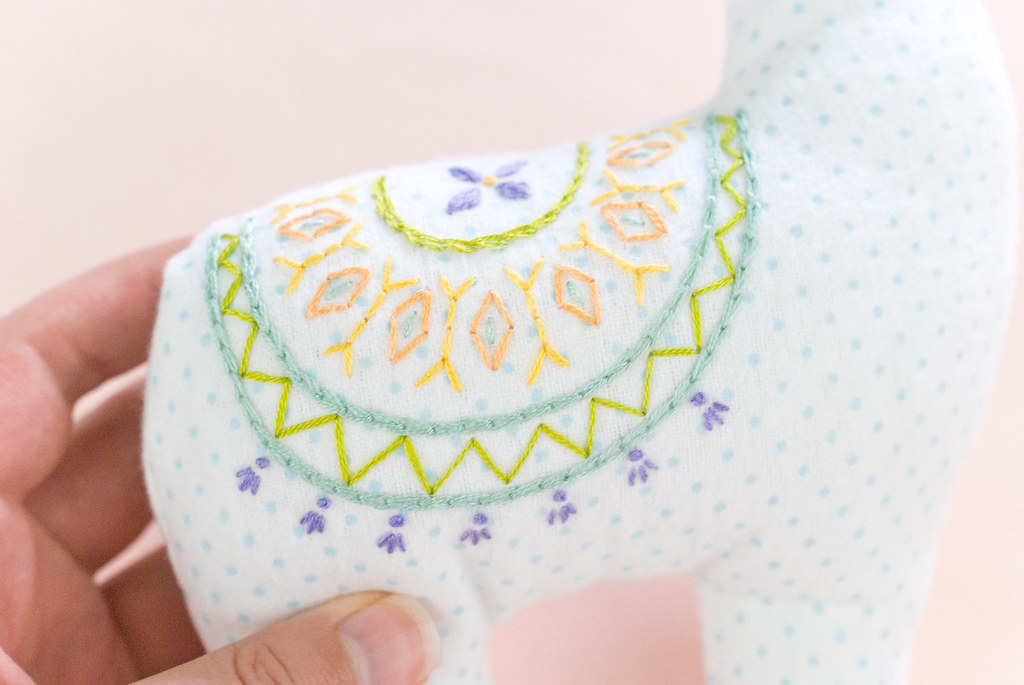
I thoroughly enjoyed working the embroidery on this and it went pretty fast. It's actually a little different for me to make a thing that doesn't have a face. Even more so when it's an animal that usually does have a face! But the embroidered blanket wanted to be the star of the show.
Happy crafting!
Hi, this is such a cute fun project...and we have alpacas just across the road...white, brown, and black ones...so cute to watch...girls will love making one of these...or more...thank you for the pattern and tutorial....
ReplyDeleteBeautiful project and choice of colours.
ReplyDeleteThat is absolutely adorable!
ReplyDeleteThank you! This is the perfect gift for the owner of my favorite yarn shop - Quillin Fiber Arts! Thank you for sharing!
ReplyDeleteSo cute! Thank you so much!
ReplyDeleteThis is really cute! :)
ReplyDeletehow adorable! i love alpacas and embroidery so this is the perfect project for me :)
ReplyDeleteAdorable, Mollie. :-)
ReplyDeleteAdorable! The embroidery pattern would look good on a softie dala horse.
ReplyDeleteMy sister actually asked if this was a dala!
DeleteNice post, I think Embroidery Digitizing can make anything more beautiful and attractive. I really appreciate it for sharing as this article is very helpful and interesting :)
ReplyDeleteJut to let you know I reduced the pattern down to 1" scale and made one for my dollhouse using fray check for stop the raveling. I used silk sewing thread for the embroidery. Now all m miniature club members want me to make them one. They are going to have to do some heavy talking!
ReplyDeleteOh my gosh, that sounds adorable! I want to see! Any chance you could share a link to a photo?
DeleteLovely thank you verry much😊💕
ReplyDeleteThis comment has been removed by the author.
ReplyDeletethis is really cute! When I make it I think I'll embroider both sides of the blanket :)
ReplyDeleteswoon
ReplyDelete