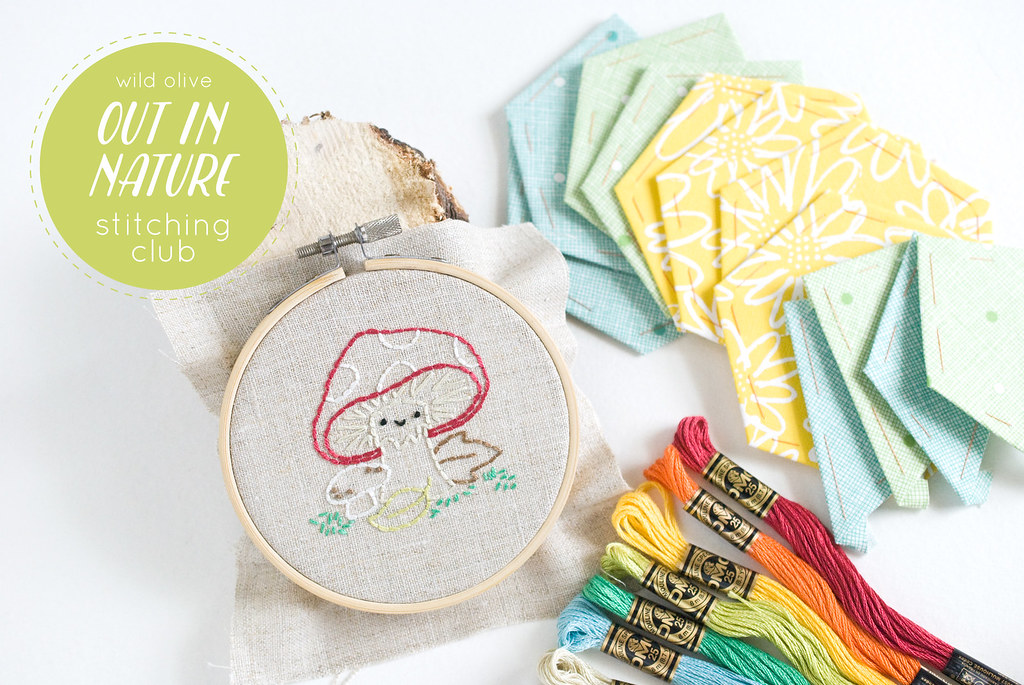
I'm so excited to announce my next big embroidery and EPP project, the Out in Nature Stitching Club! But before I get too far, let me share a little background story
Last summer I designed and ran the Around the House Stitching Club. From the very start I planned it to be part of a series of 8-week-long clubs known as the Exploring Your World Stitching Clubs. My intention was to have one run, take a few weeks off, then start the next.
The first club ended in September of last year, right as a dear family friend was losing his battle with cancer. And basically, my life was turned upside down. I could keep some things going, but I couldn't start a new club. I had sketches, but that was it, and it has taken me until now to get everything ready.
And it is ready!
Registration is now open for the Out in Nature Stitching Club, which will start on Tuesday, May 2. Now for the details...
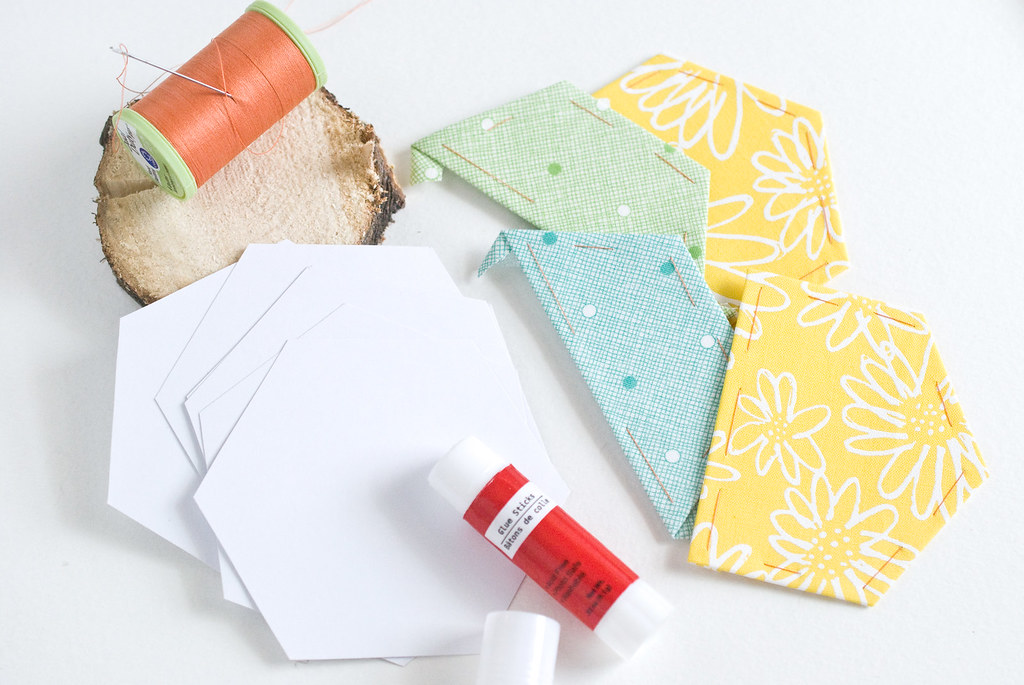
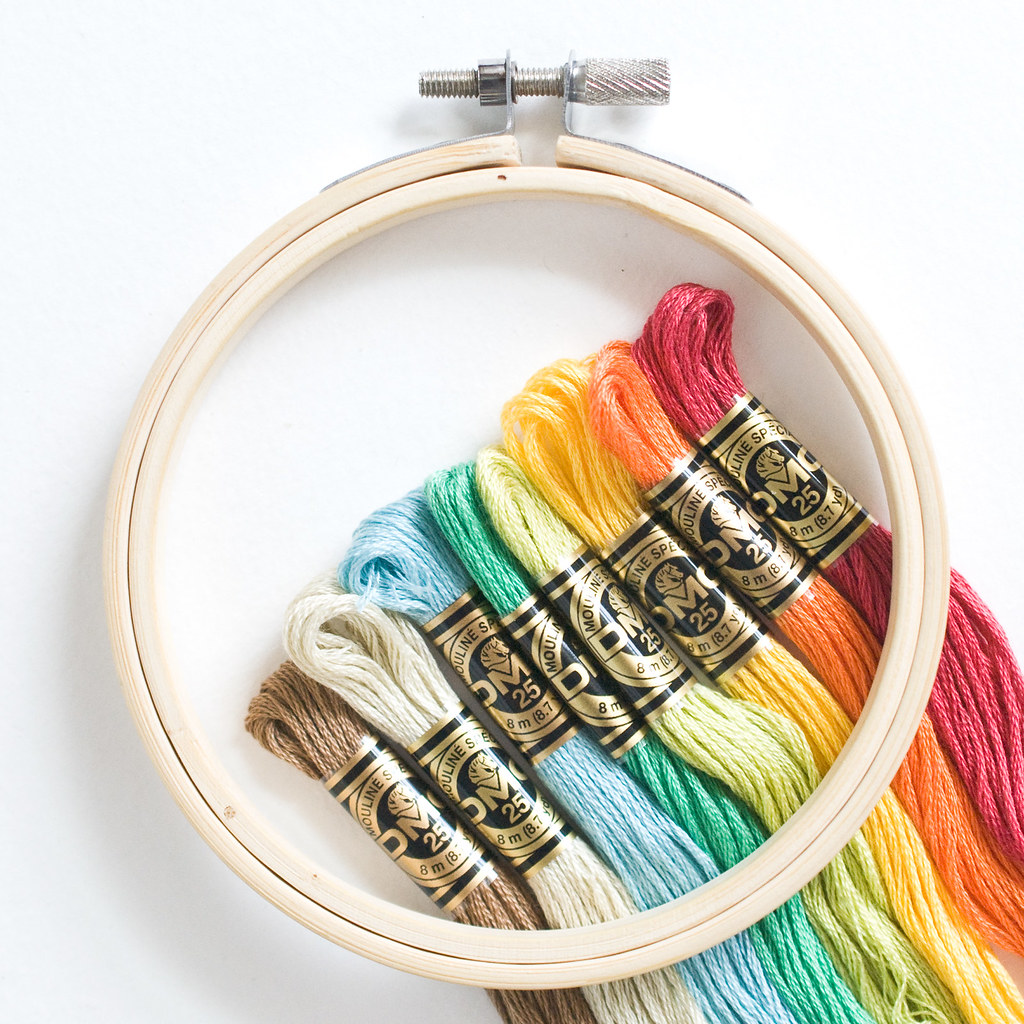
This club is part embroidery and part English paper paper piecing (EPP). The result is an embroidered mini quilt (different from the Around the House mini) that is almost entirely stitched by hand.
We start with embroidery. This project features six embroidery patterns representing different elements in nature. And I've tried to choose things that will be fairly universal, so everyone around the world will feel some connection.
Each pattern fits on a 2-inch hexagon, and that's where the English paper piecing comes in.
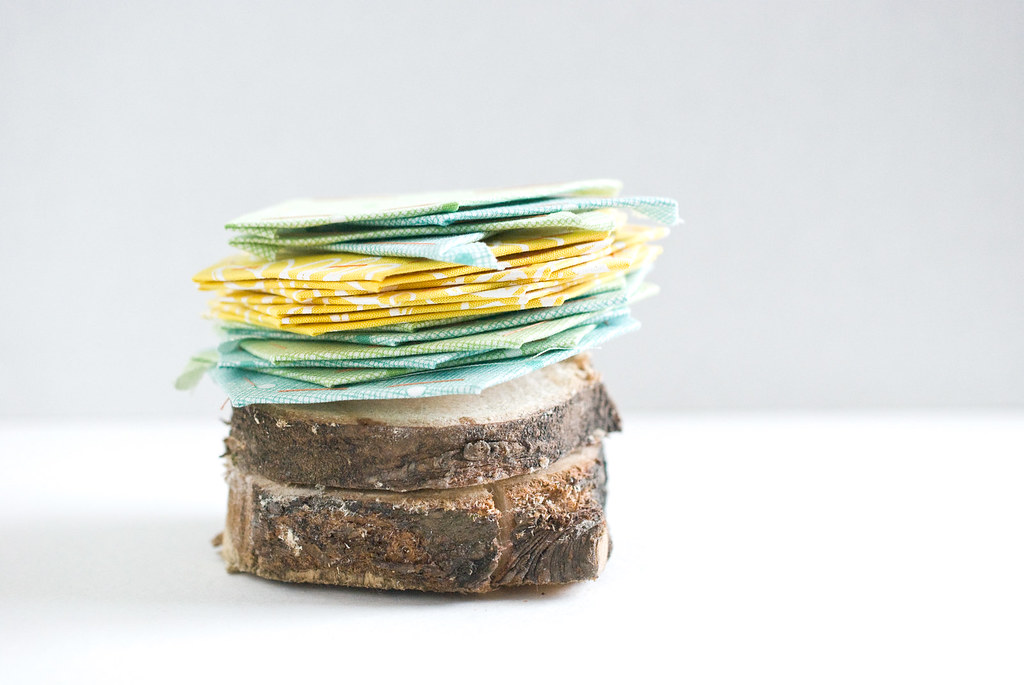
Along with the embroidered hexagons, you'll also make extra pieces and everything will fit together to make a mini quilt.
And because both embroidery and EPP are so portable, you'll actually be able to stitch out in nature!
Basic instructions for English paper piecing, quilting, and binding are included, though it's helpful to have some knowledge of embroidery. If you need assistance with this project along the way, I'm happy to help.
Plan to set aside a few hours a week for this, and you'll have a hand-embroidered, hand-pieced, and even hand-quilted mini quilt in eight weeks.
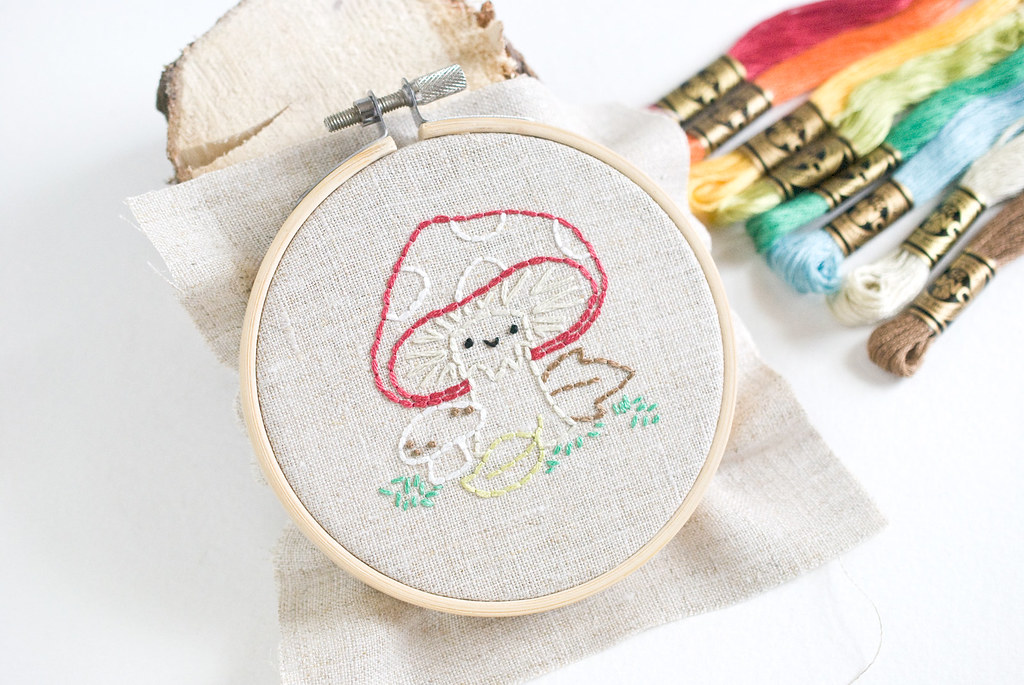
The Out in Nature Stitching Club begins on May 2, and club members will receive an email with a new pattern or set of instructions each Tuesday for the 8 weeks. If you sign up after the club starts, you'll still have access to all of the emails and files that have already been sent.
As mentioned, this is part of a series. Which means that if you end up signing up for all four parts (two more parts will still be coming!), you can combine all of the Exploring Your World patterns into one large quilt using EPP templates.
Oh, and one of my favorite parts about these stitching clubs is the connections that form between club members as we all share our progress via social media, using the hashtag #OutInNatureStitchingClub
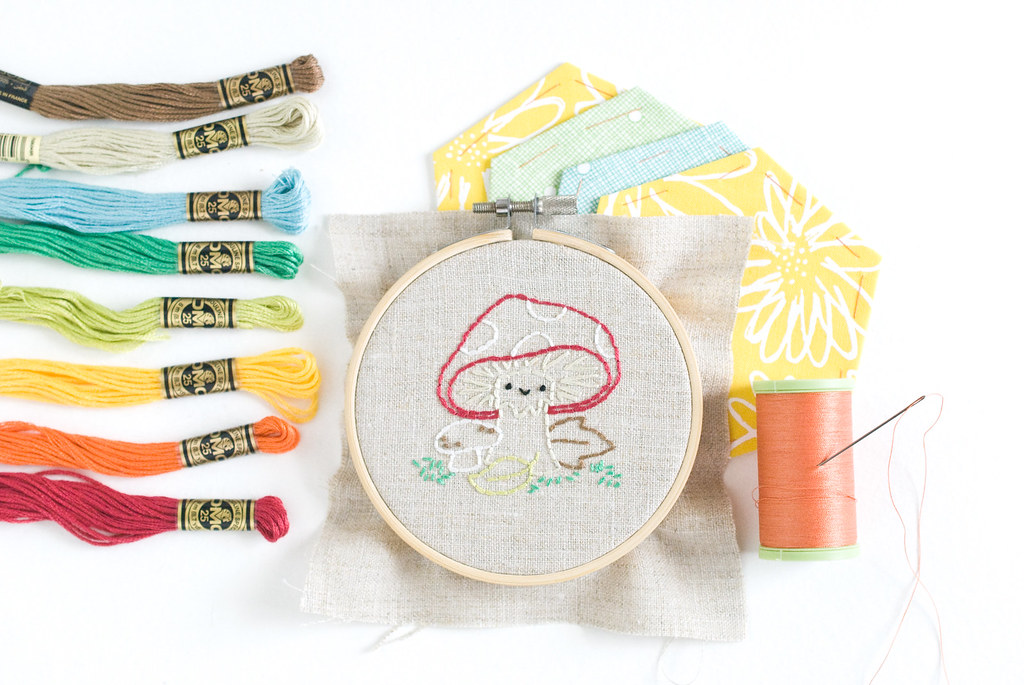
NOTE: If you are outside of the US or Canada, please visit my Etsy shop to sign up.
When you sign up you will receive a PDF containing a list of supplies, templates, and some instructions to get you started.
If you have any questions, please ask them here and I'll answer right in the comments. Or, feel free to email me (molliejohanson at gmail) or reach out via social media.
Let's stitch out in nature!


yay! I love your clubs. I don't always complete the projects in a timely manner...but getting the emails with the happy little embroideries is always a highlight of my day. :)
ReplyDeleteI've been watching for the new club and I was sad when I started to think it wasn't going to happen. I'm so so so sorry for the reason that it was late, but so excited that you're ready to start again!
ReplyDeleteThis is so cute and right up my alley, I've already joined! <3
ReplyDeleteIt's been a hot minute since I did one of your stitching clubs but I'm into this one for sure! :)
ReplyDeleteI decided to hand stitch the piecing on the 50 States, so I'm still working on that one, but I'm in for this one!
ReplyDeleteWhat a cute idea; I love the mushroom. (And I'm so sorry about your friend.)
ReplyDeleteQuestion. I printed templates at 100% but my hexies are 4". You stated that the embroidery piece will fit on a 2" hexie. I'm confused on exactly what size they are. Help please! Thx!
ReplyDeleteThe 2in measurement is for one side, which means that if you measure across the full width from point to point, it will be 4in. So, they probably are the correct size. If the 1in square measures correctly, you're all set.
DeleteSuper cute! I just bought it. First time trying EPP.
ReplyDeleteI do have a random question - so I'm looking at the pattern for the final quilt. The sections that are all the same colour, do you use the same fabric for all of those? Or just fabric of that same colour? I'm sure you can do either, I guess, but do you have a preference / recommendation? I just figured I'd start looking through my scraps to see what would work in those colours. Thanks!
Good question! There's really no right or wrong.
DeleteAll of those that are show in the tan on the diagram will be embroidered, so I'd tend to use all the same fabric for your embroidery. But that's just a matter of personal taste.
For all of the pieces shown in white, it's really anything goes. A crazy scrappy quilt would look amazing. But do you see how the jewel shapes and small hexagons form sort of like flowers? That would be another thing to play off of.
I hope that helps!
Thank you, yes! I will definitely use the same fabric for embroidery. I need to look through my fabric to check I have enough for that. :)
ReplyDeleteYes! I am so excited to get started!
ReplyDeleteI'm not an IG'er any longer, but will certainly try to keep up on my blog and/or Flickr 😉. Even if i only get to do the cute nature embroideries. So exciting!
ReplyDeleteYour ideas are always so fun and creative, Mollie!
ReplyDeleteI don't have instagram, but I did upload a photo to Flickr. :)
ReplyDeleteHi Mollie, I'm trying to figure out how to print the patterns as they come without using a whole sheet of SSFS for each one. I know you've mentioned being *thrifty* before, and maybe I just missed somewhere where you had a tip for this, but if you have a suggestion, it would be much appreciated.
ReplyDeleteI think the tip that I posted here on the blog was a different way that I try to save on SSFS.
DeleteBut for these, what you can do is first print the pattern page on regular paper. Then, cut a piece of SSFS that will fit the pattern (with a little extra room around the edges).
Tape the SSFS down over the pattern area, then run it through the printer again. Just make sure the paper is facing the correct direction!
I finished the mini quilt today!
ReplyDeletehttps://www.flickr.com/photos/englishrose/34958028873/
First time doing EPP and it was easier than I expected. Already signed up for the About Town one. :)