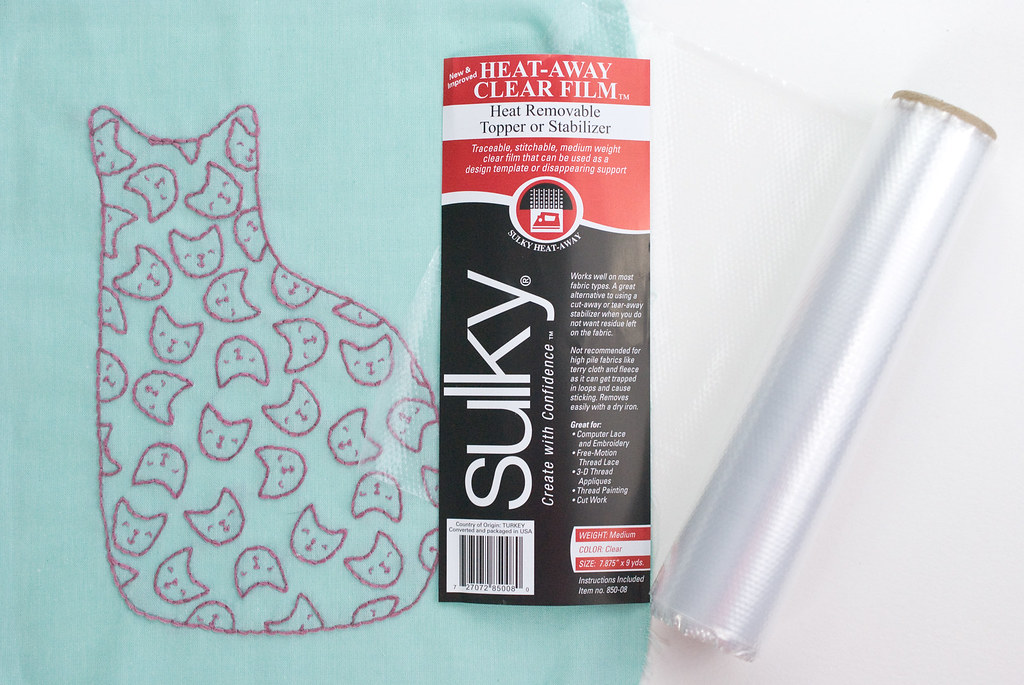
Whenever I have the chance to try out an embroidery product, I jump on it. You never know when you might find something helpful or just fun. I'm especially always on the lookout for ways to make the pattern transfer process simpler. Which is why I was very excited when I saw someone working with a product called "Heat Away."
This clear film stabilizer is made by Sulky, the same folks who make Fabri-Solvy, which I love and use all the time. The difference between Fabri-Solvy and Heat Away is that one soaks away and the other melts away. And I really liked the idea of not needing to soak my work and wait for it to dry.
It's intended use is with machine embroidery, but the person I saw using it was doing hand embroidery. So I contacted Sulky and they generously sent me a roll to test.
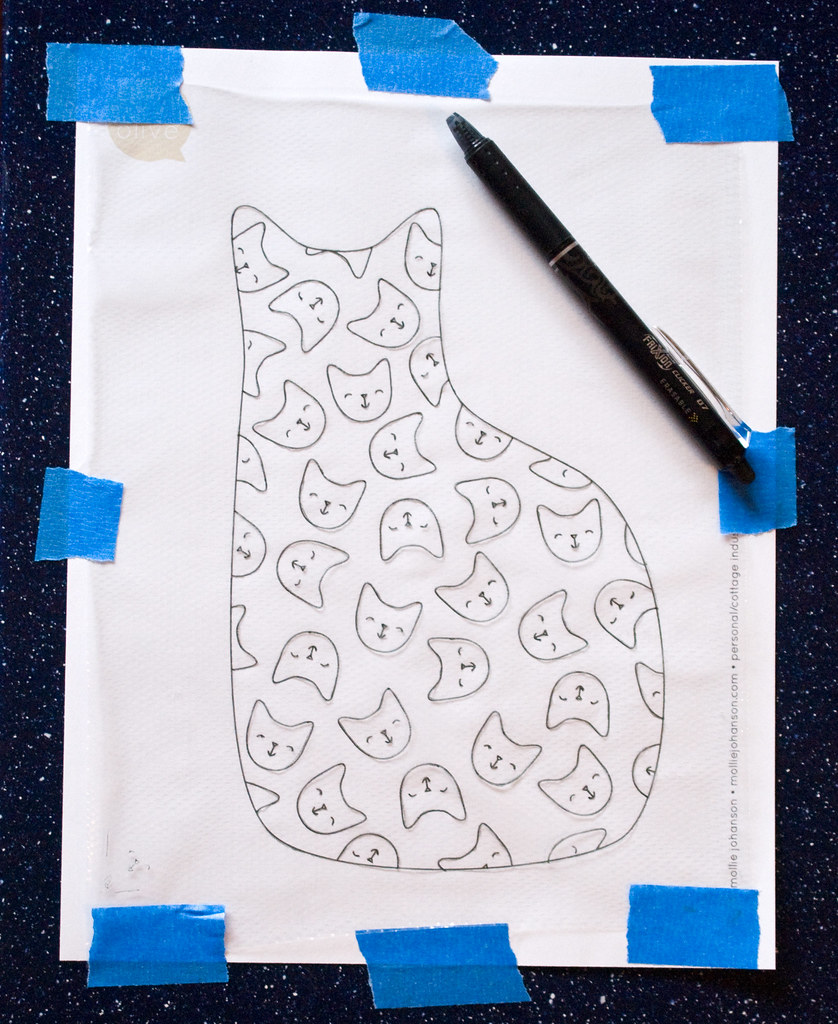
The "film" feels similar in weight to a lightweight zip-top plastic bag, but it has a slight texture to it.
They recommend tracing the pattern on with a Xyron pen, and that was what I used. Permanent marker is NOT recommended, and other pens didn't show up so well. The Xyron didn't trace perfectly, but it worked.
By the way, the pattern for this kitty full of kitty faces will be coming soon to ye old blog.

With the pattern traced, I basted the film onto my fabric. Heat Away is fairly slippery, so there were moments when this felt like a challenge, but I got it on there. It felt loose, so I basted through the center as well as around the edges.

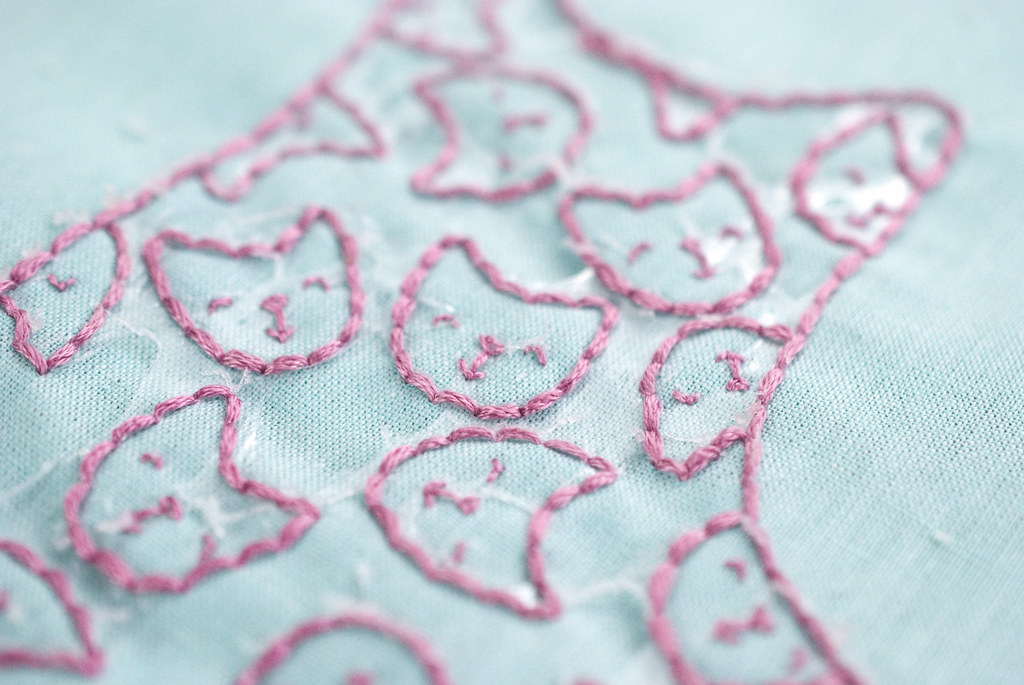
Stitching through the Heat Away was SUPER easy. I worried that there would be some shifting or pulling, but that didn't happen at all. You can see that there's a bit of plastic "puff" around the stitching, but that didn't affect the embroidery results at all.
To remove the plastic film, you iron it. That sounded so scary to me, and it was. I used an old iron to be safe, but I needn't have worried about the iron.
So I started running the iron back and for across the embroidery, as the instructions said. At this point I had this moment of going, wait...you really shouldn't iron embroidery this way! Too late. There would be much more ironing to go.
As you can see, the plastic melts and pulls away and yes it really is scary to do this. Plus it smells of melting plastic! But I pressed on. (Ha! Get it?)
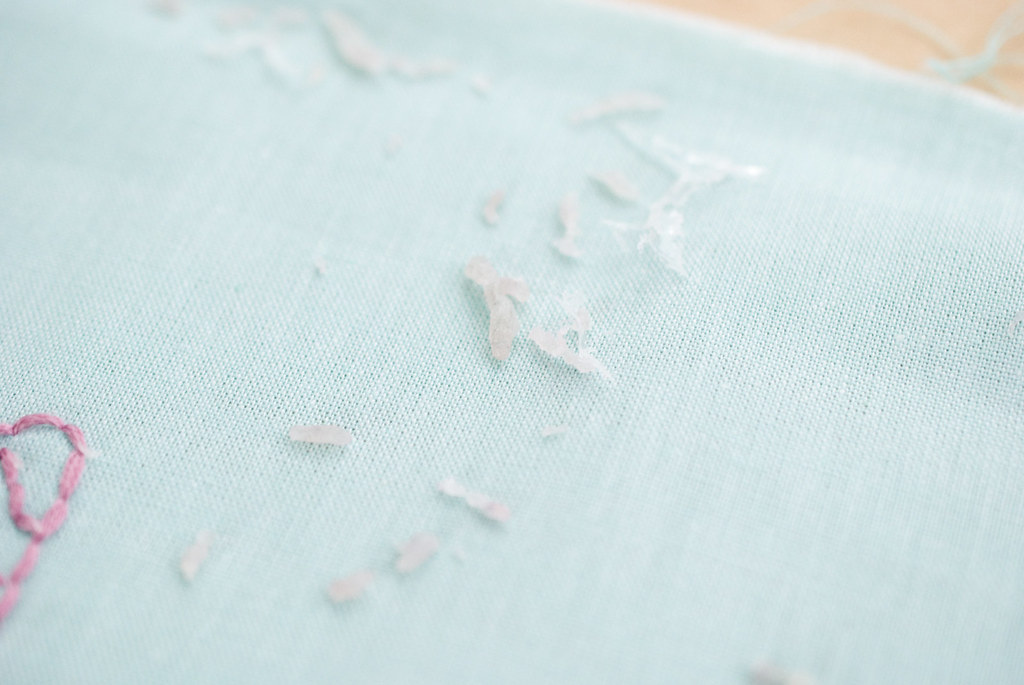
The more you iron and melt it, the more it starts to clump into these little beads of plastic. That's what's supposed to happen so you can then brush them away.
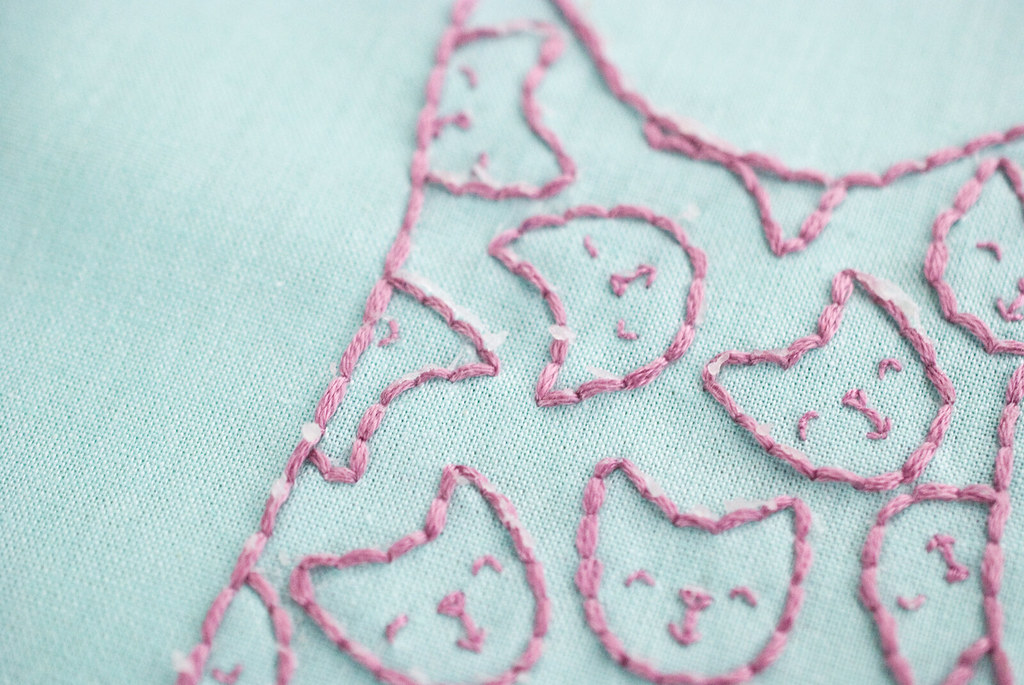
Here's after more ironing and with most of the beads removed. Some wanted to hang on.
I tried pulling them off, but they were pulling the threads. Not just the stitches, but the floss, and I didn't want that, so I ironed some more. By this point I didn't even care about how flat my stitches would end up. And honestly, they came back to life well enough.
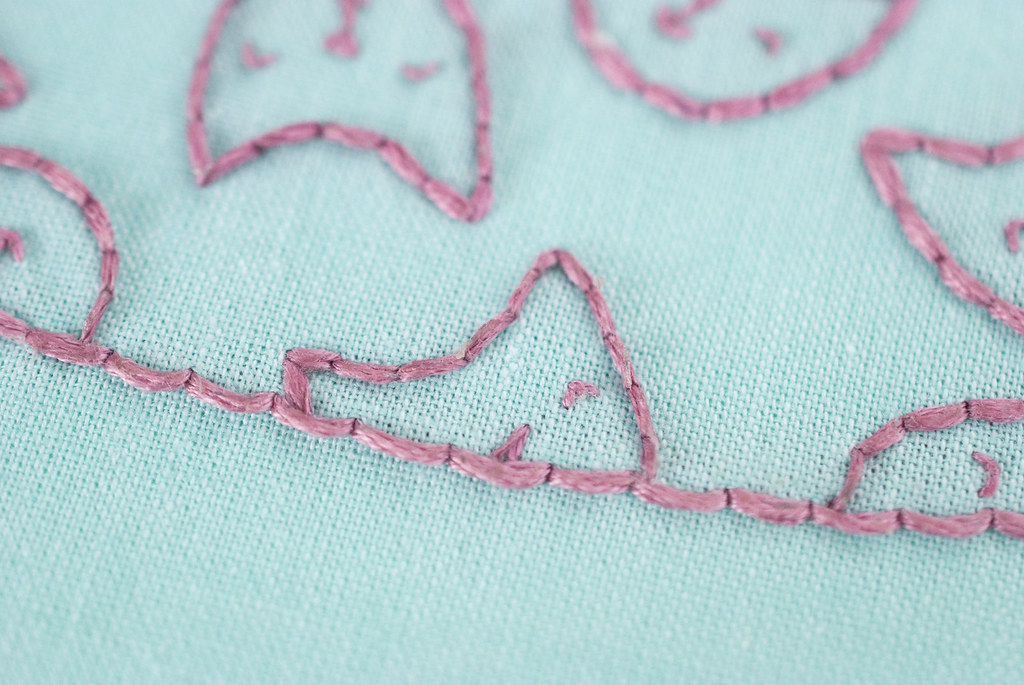
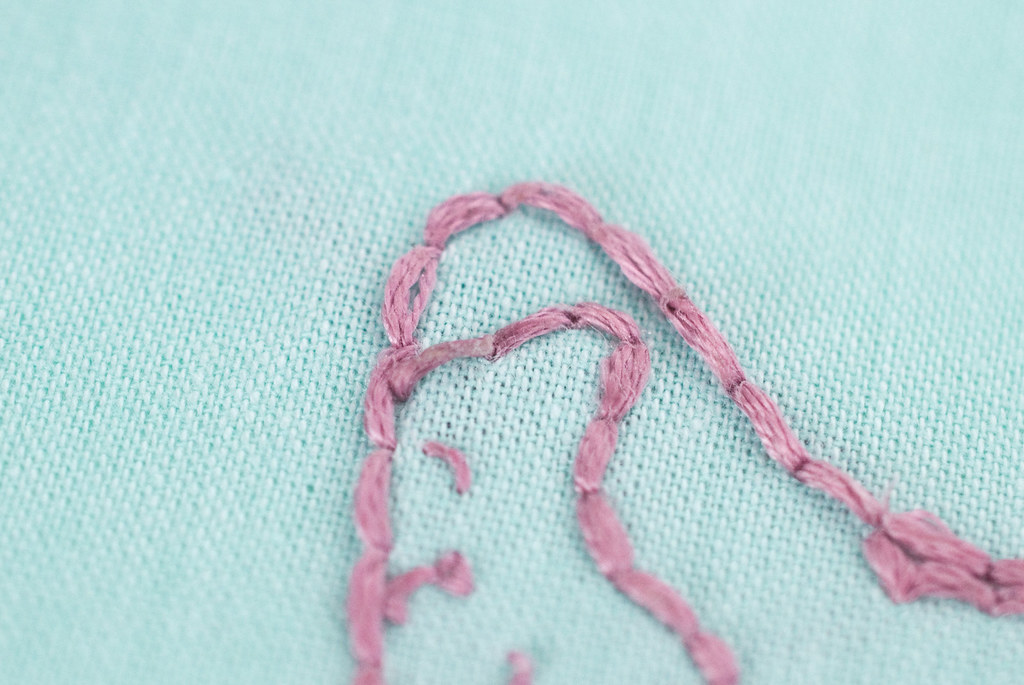
Here's the problem I really had. When it looked like most of the Heat Away was gone, I ran my hand over the stitches and I could still feel it. The stitched felt like they had a slight plastic coating on them. Because...they did.
Upon closer inspection, there are a few spots where you can see that the film sort of fused with the floss. Sigh.
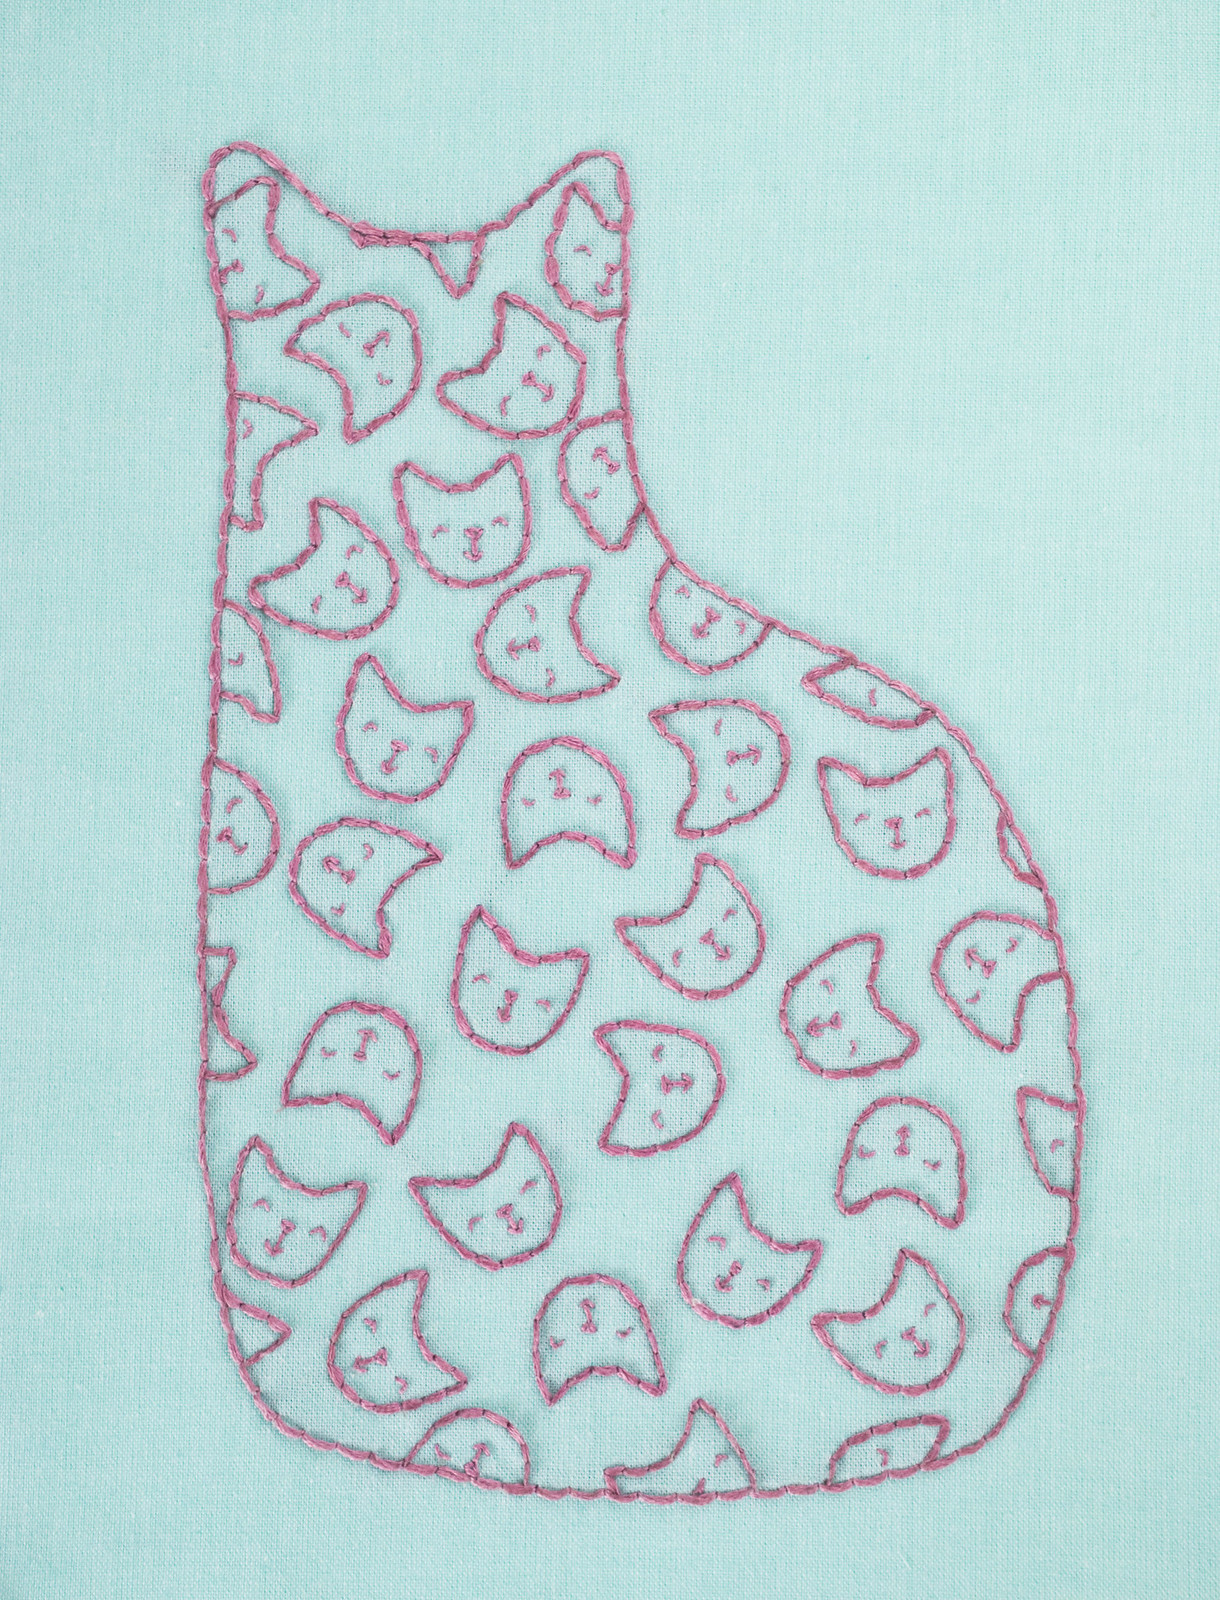
I took a risk trying something new with a larger embroidered piece like this. Thankfully, you really can't see the areas that are a bit goobed.
Soooo...I wouldn't recommend Heat Away for hand embroidery. After all, it's not designed for this! I was just hopeful.
My guess is that the type of stitching and threads used for machine embroidery play nicer with the heat and plastic. Machine stitches are finer and tighter to the fabric, whereas I used six strands of cotton floss with back stitch. As it was melting, I think the film found its way right into the stitches.
I'm going to stick to Sulky Sticky Fabri-Solvy. Even though it requires soaking and drying time, it's helpful to be able to print directly on it (no tracing!) and to peel and stick it flat on the fabric (no basting!).
Bottom line: Sulky makes great embroidery products, but it's important to choose the right item for the job.
Hi Mollie! Thanks so much for testing this and sharing the results! I just wanted to jump in and comment on the note about waiting for the piece to dry after you soak away the Sulky Sticky Fabri-solvy. If it's felt, you just have to wait - but if I embroidered on cotton I'll often iron it dry and I get the cleanest, crispest results that way. Plus - no waiting. :-) I showed my process in this video. http://www.shinyhappyworld.com/2013/08/video-iron-embroidery.html
ReplyDeleteWell, it's always good to try something new. I've always just used dressmakers carbon to trace right on the fabric.
ReplyDeleteDebbi
Well, it's always good to try something new. I've always just used dressmakers carbon to trace right on the fabric.
ReplyDeleteDebbi
I use the solvy kind and it works. Thank you for taking the risk and doing it, for the rest of us ;)
ReplyDeleteMay be this will trigger the maker to come up something that can work with heat for hand embroidery. I have a question for you, what would you use on silk? I am scared of washing silk and afraid of the sulky leaving residues on the silk fabric. Any ideas?
I've never tried it, but Mary Corbett recommends the pouncing method for silk:
Deletehttp://www.needlenthread.com/2012/11/favorite-transfer-methods-for-embroidery-designs.html
Thanks for trying this for us. There are so many methods and it's hard to know, which to trust and try.
ReplyDeleteGreat review of this product. I love your embroidered cat.
ReplyDeleteThank you so much for such an honest review.
ReplyDeleteThank you for such an informative and well written review! The cat is adorable!
ReplyDeleteThis comment has been removed by the author.
ReplyDelete