


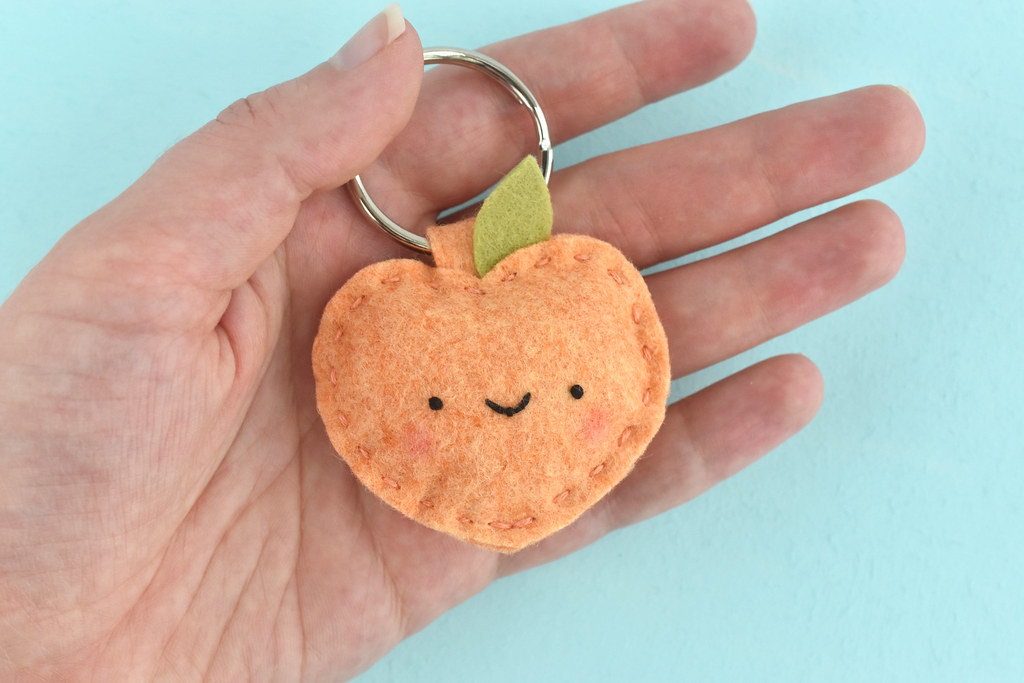
Know what would be perfectly peachy? Adorning your keychain with a fuzzy felt peach! Since this month's Jam of the Month is peach jam, I thought it would be fun to make a little felt peach with a kawaii face. And a keyring seemed the perfect way to use this fruity friend!
Now, I know that in the world of emojis, a peach can be, um...questionable. But I'm choosing to make this a very sweet and innocent peach. Your own keyring can represent whatever you choose. Ha!
You might also be thinking that felt for a keychain could be a bad choice. You'd be wrong, just like I was years ago. I bought the book Cute Stuff by Aronzi Aronzo, and it showed how to make felt keychains. I figured I was making an item that wouldn't last long, but it was cute for now. No joke, my mom used that embroidered felt keychain for YEARS. Yes, it looked worn, but it held on. So don't be afraid to make this little gal.
Now, be a peach and grab some felt so you can get started!

Here's what you need:
Wool Blend Felt in Peach and Green
Scissors
Peach and Black Embroidery Floss
Pink or Red Crayons
Needle
Keyring
Stuffing
DOWNLOAD THE PEACH KEY RING PATTERN PDF
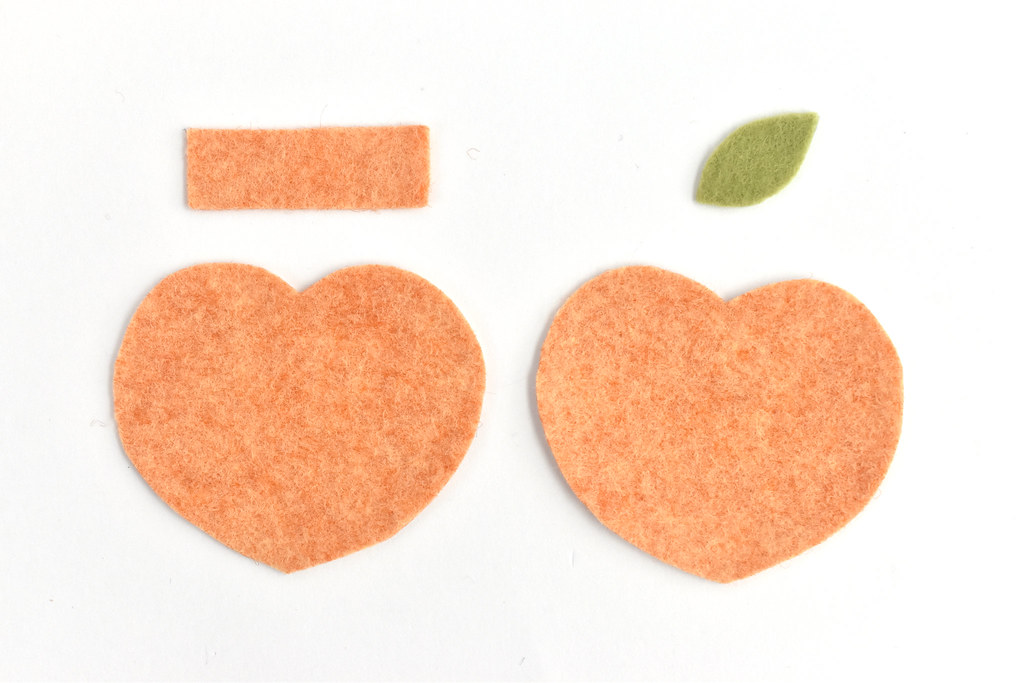
Use the pattern to cut out two peach pieces and a rectangle from peach felt. Cut out one leaf from green felt.
I like to use freezer paper to accurately cut out my pieces, but you can use a regular paper pattern.

Use three strands of black embroidery floss to stitch the face on one peach shape. You can freehand this if you want, or trace the face on tracing paper (or the freezer paper), then stitch through the paper and tear it away when you're done.

Use a crayon to lightly add peachy cheeks if you want to make your peach extra kawaii. Be sure to test this on a scrap of peach felt first.
I didn't love the way the pink looked on its own, so I added a bit of red over it.

Place the two peach pieces together and stitch around the outside, starting near the bottom. Use three strands of peach embroidery floss.

When you get near the top, pause your peach stitching. Fold the felt rectangle over the keyring and place it between the layers. Place the leaf over that. Be sure that they are tucked down between the layers enough to catch them when you continue stitching.
Stitch through all the layers at the top of the peach. Try to get several stitches through the leaf and the tab of felt. If you need to, you can even go back and add stitches in between the running stitches.
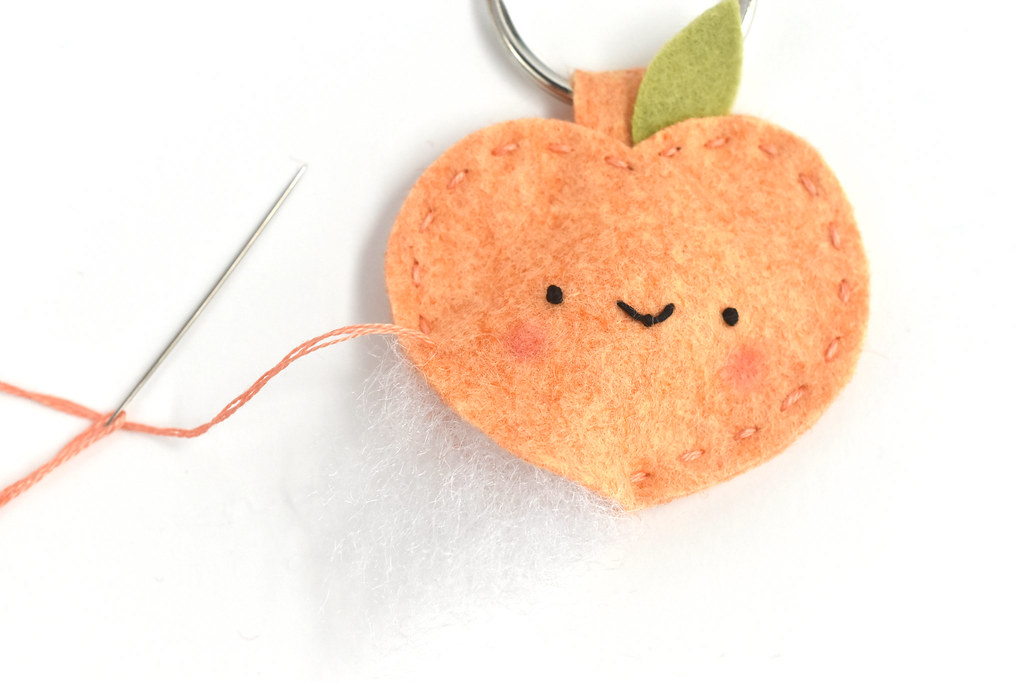
When you get near the bottom, pause again. This time add a tiny bit of stuffing in the peach. It doesn't take much!
Finish stitching to close it up, and you're done!

This little peach is ready to hold your keys or just hang out on a zipper pull or tote bag handle. You could even add a tiny crown to make it a princess peach (any Mario fans reading this?)!

I also just had a realization. You could use this to hold your spare key. That way it would help you get out of a peach jam!
This is just darling!
ReplyDelete