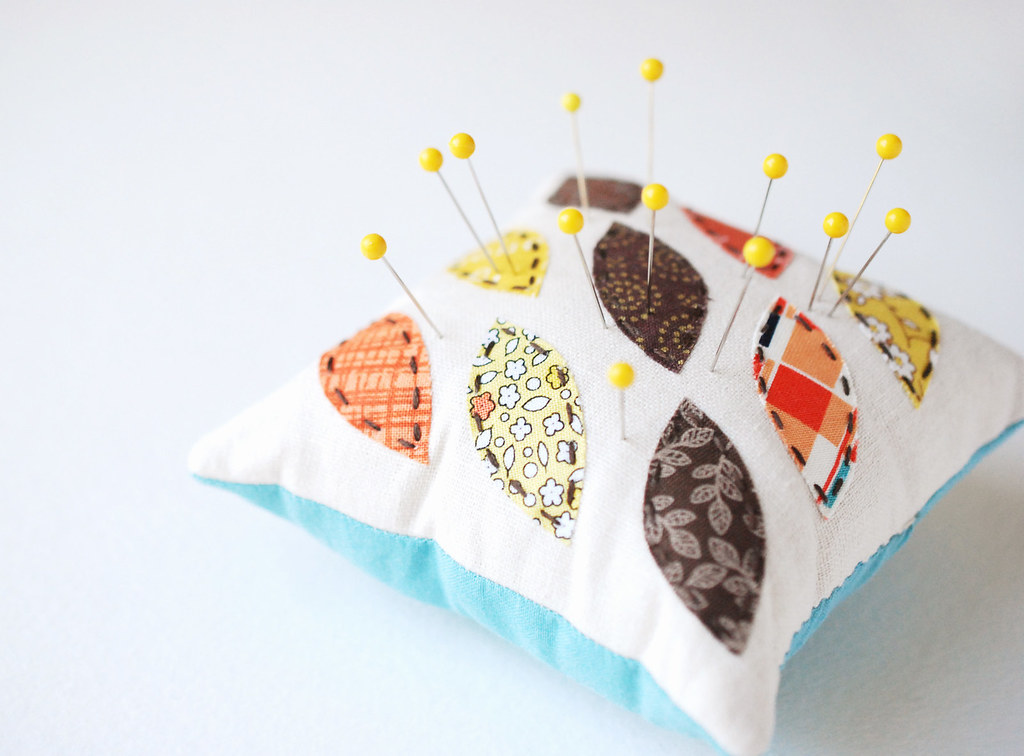

I really didn't need another pincushion. In fact, I made another one earlier this year, so I REALLY didn't need another. But I had this idea to make one that would fit in my travel case. It would look like what you see in the photos, but smaller.
In case you haven't guessed, mid-project I forgot about why I was going to make it smaller, and ended up with a pincushion that won't fit in my travel case. Oops! I guess I'll have to make another.
But I do love this one. Even with the hand-stitched details, it's quick to make and perfect for the season. Want to make your own? Here's how!
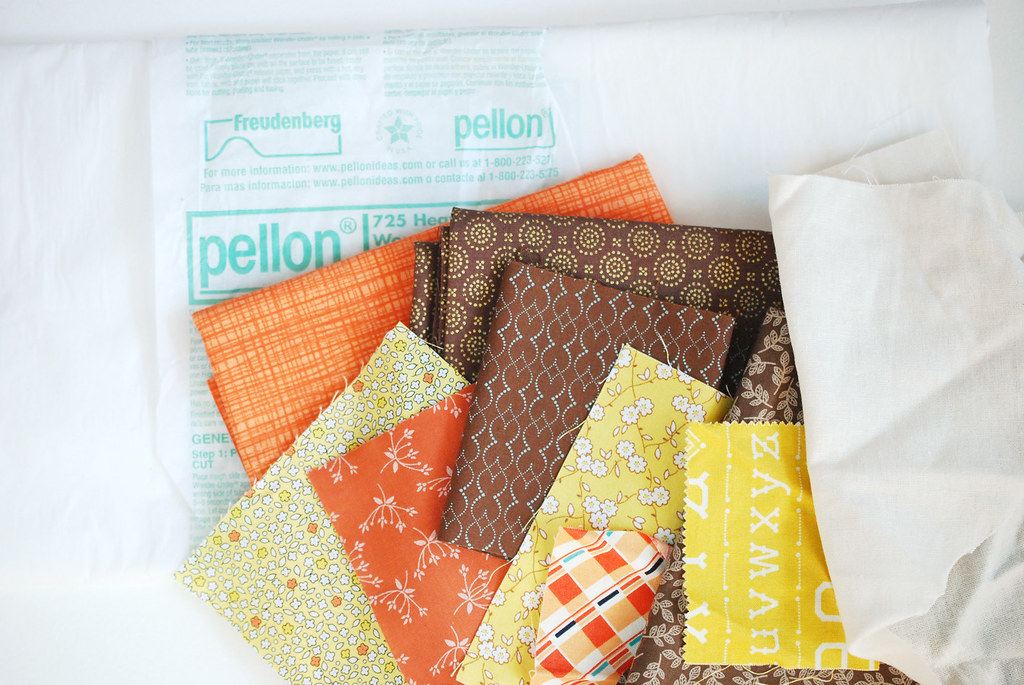
You will need:
Fabric
- Nine scraps for leaves
- Linen (at least 5 1/2" square)
- Quilting cotton (at least 5 1/2 x 11")
Fusible web like Wonder Under
Batting (at least 5 1/2" square)
Embroidery floss
Pincushion filler of your choice (I used fiberfil and walnut shells)
Scissors
Iron
Rotary cutter, mat, and ruler
Pins
Needle
Sewing machine
Leaf Template
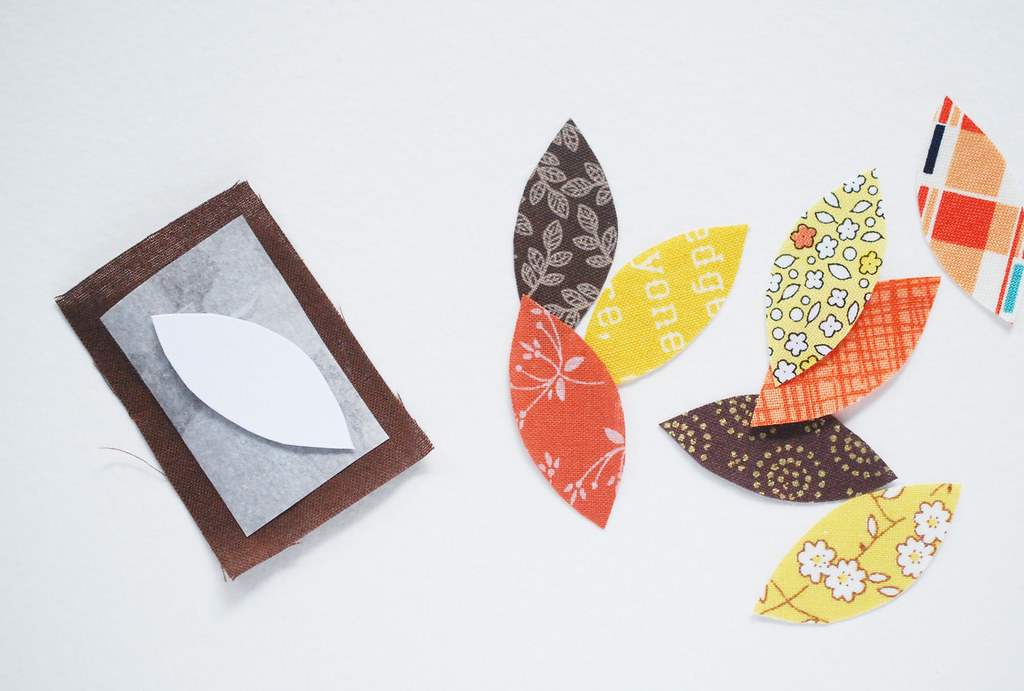
Iron pieces of the fusible web on to the back of the fabric scraps, then cut them out using the leaf template. You will need nine leaves.
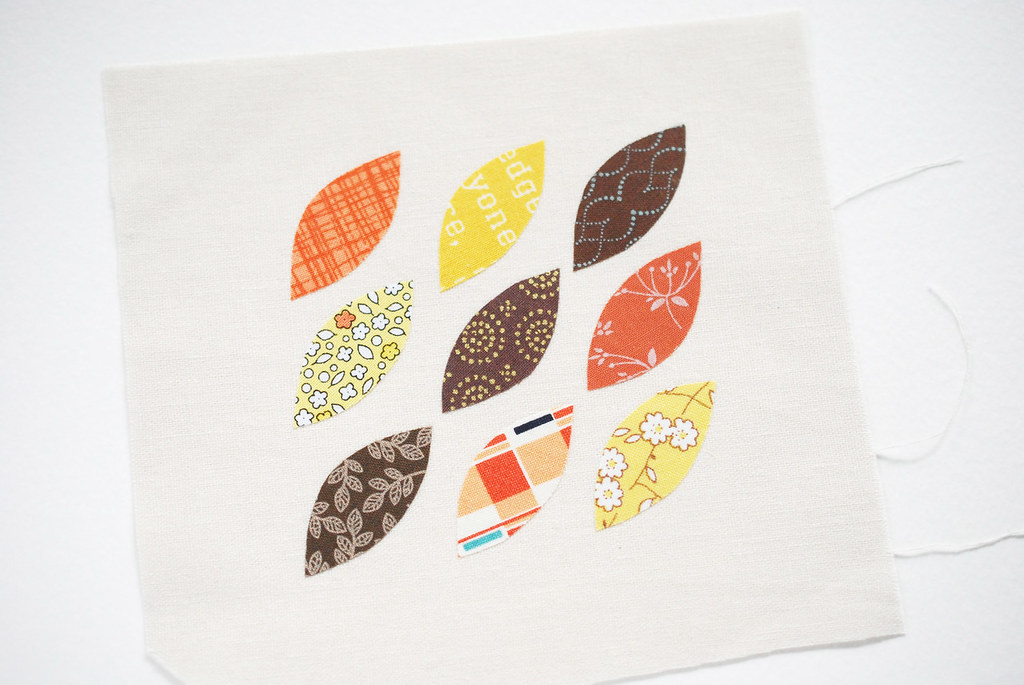
Remove the paper backing from the leaves and arrange them on the linen however you like. I pulled out my ruler and tried to get the layout as straight as possible, without actually marking the fabric. I failed. But close enough is, well, close enough.
When you are satisfied with how they look, iron them down.
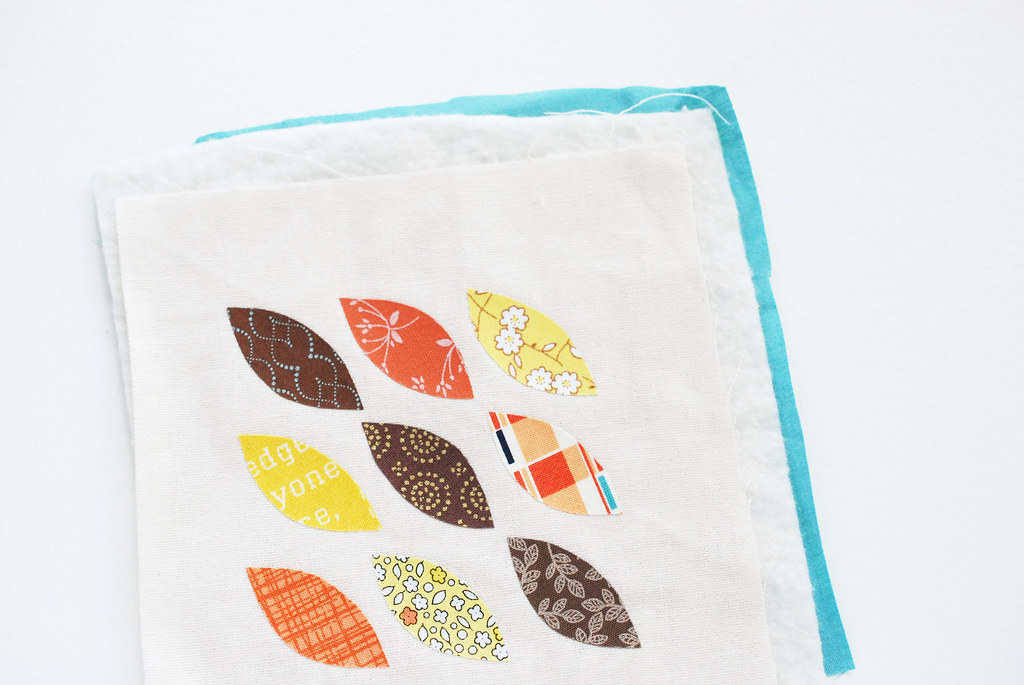
Layer the leaf piece, batting, and a square of the quilting cotton to make a mini quilt sandwich. Pin the layers together.
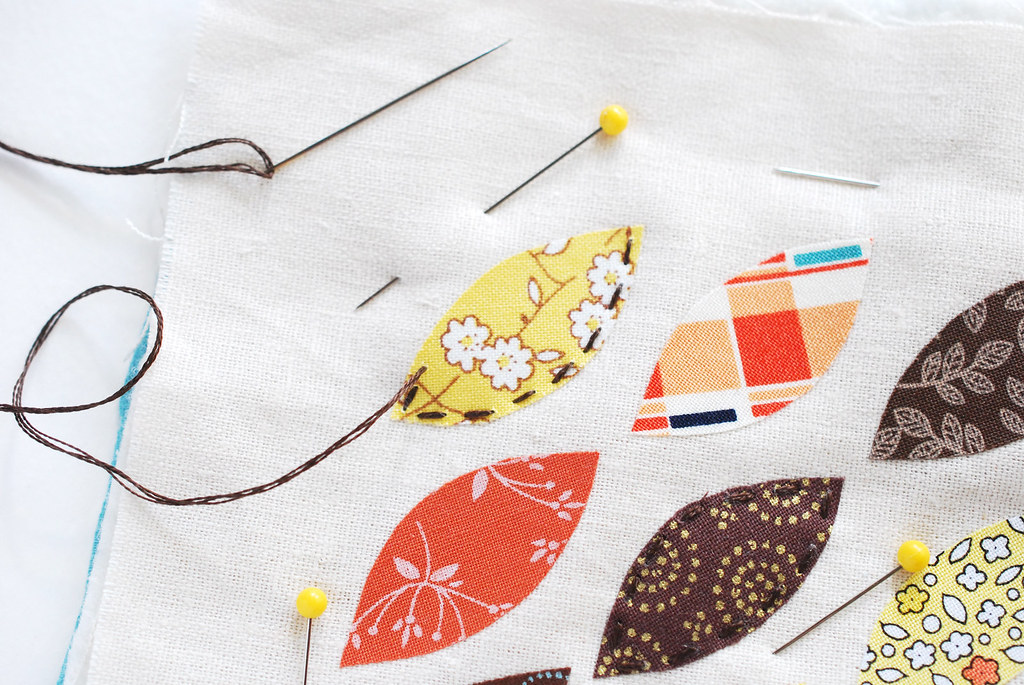
With three strands of embroidery floss, stitch around each leaf with running stitch. This will quilt the top a little, while securing those leaves and adding a pretty detail (three functions for one bit of stitching? nice!).
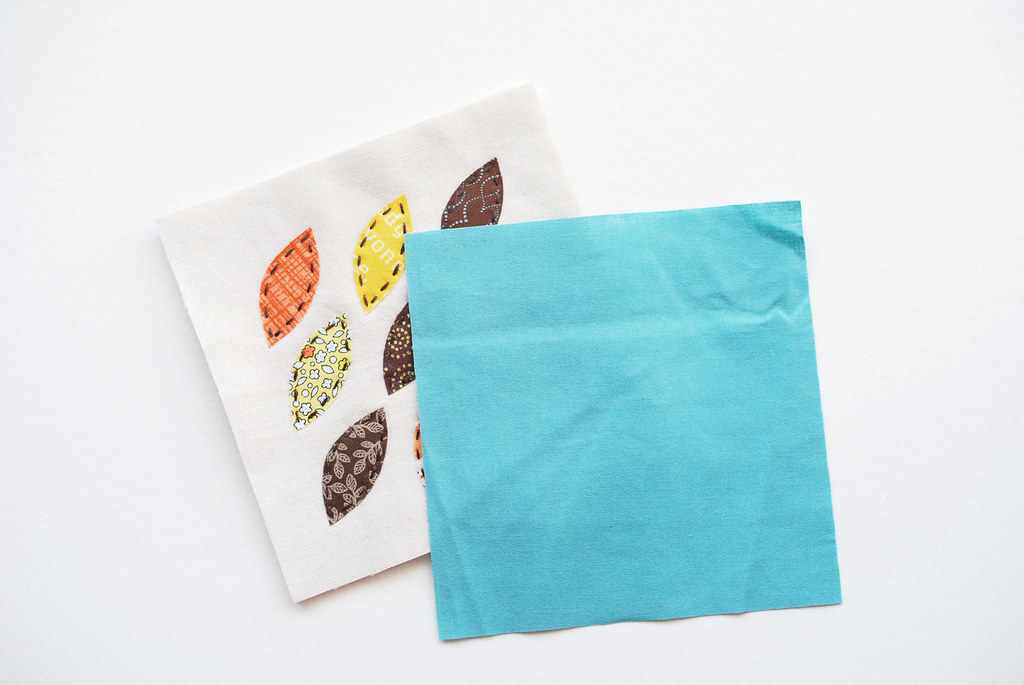
Trim down the top and a second piece of quilting cotton for the backing. They should both be a 5-inch square.
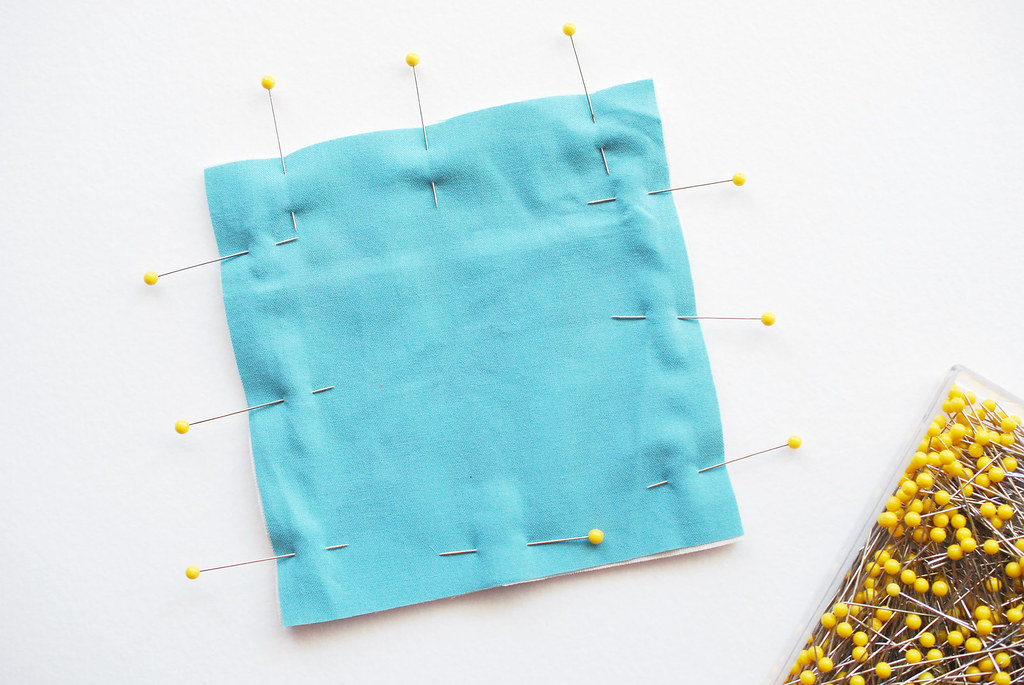
Place the backing on the quilted piece, right sides together. Pin around the sides. My sideways pin is where the opening will be.
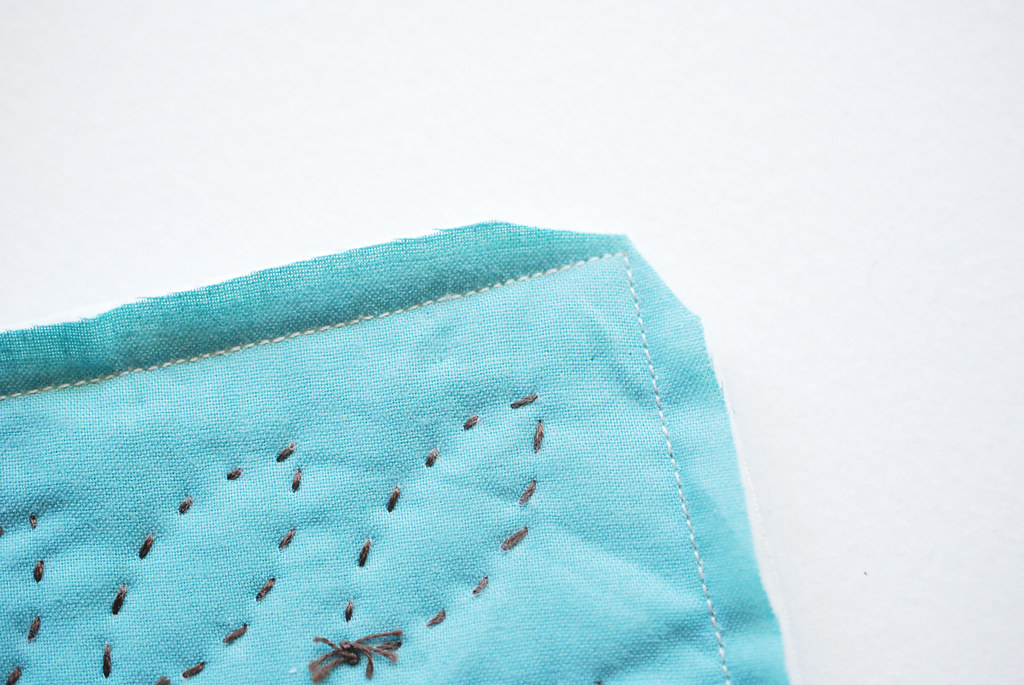
Sew around the sides, and back stitching on each side of a 2-inch opening. Trim the corners as shown.
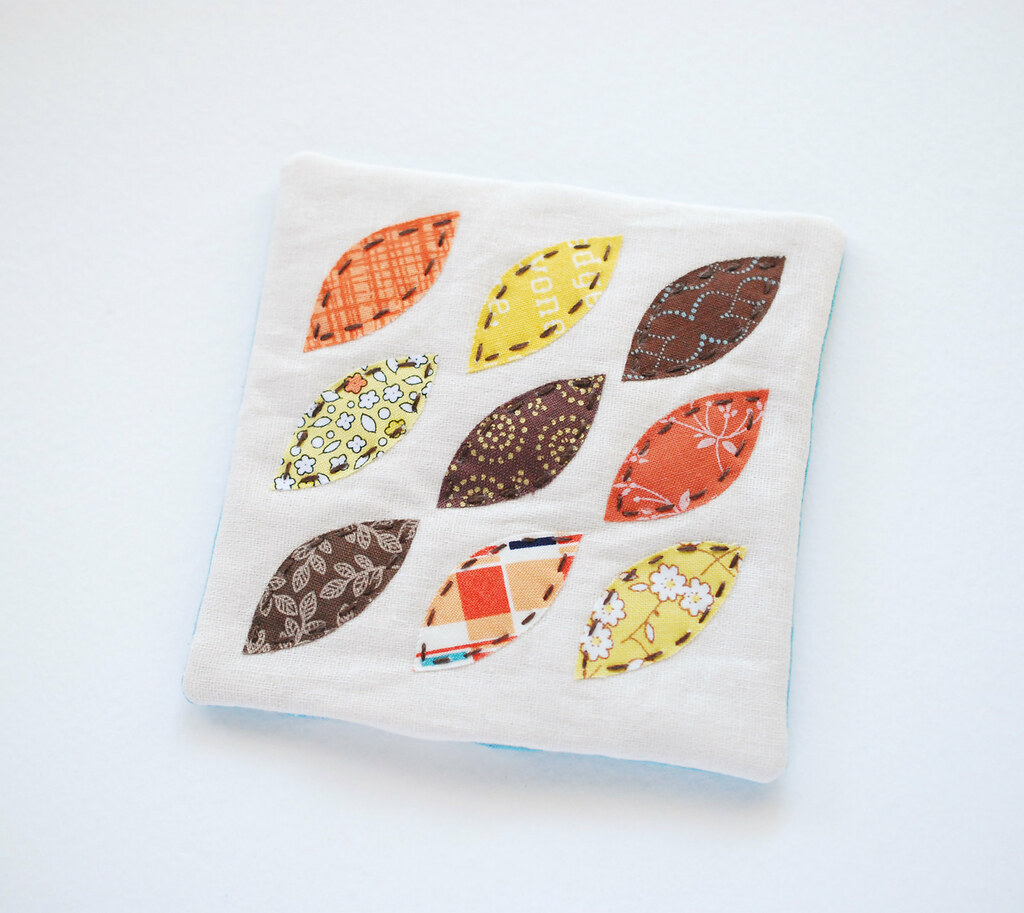
Turn the pincushion right side out and poke the corners so they look pretty. Lately I've been using the handle of a little paintbrush for this!
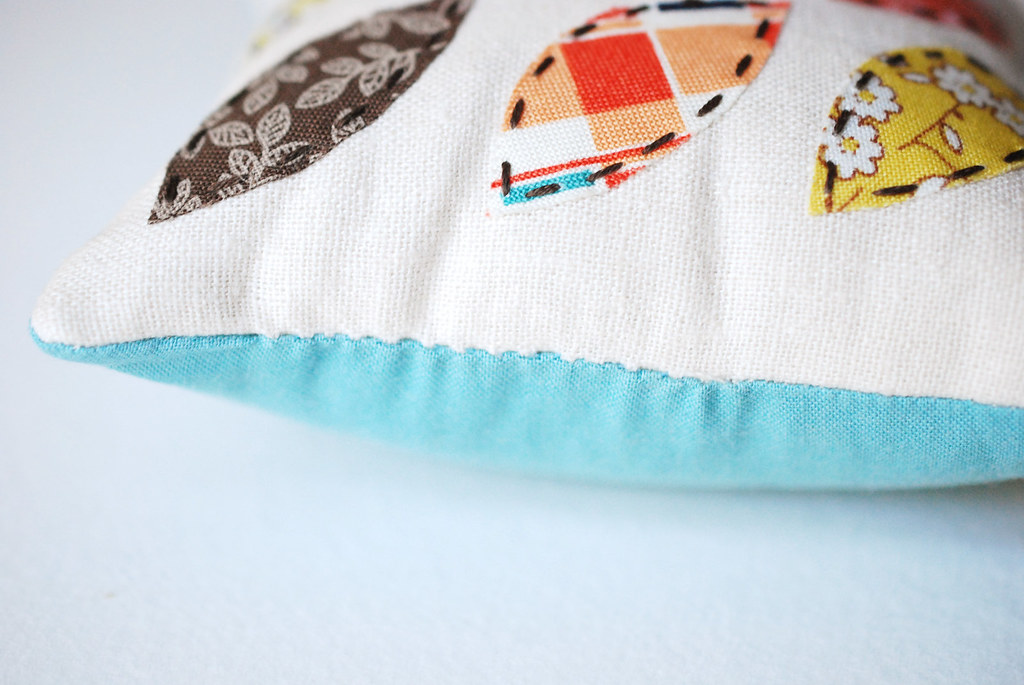
Fill the pincushion with your favorite filler. There are lots of options for this! Since this is a good sized cushion, I did a combination so it was solid, but not overly heavy. My friend Ellen suggested alternating walnut shells and fiberfil and that worked great! (We have no nut allergies around here, so I'm good with the walnuts.)
Stitch the opening closed with ladder stitch.
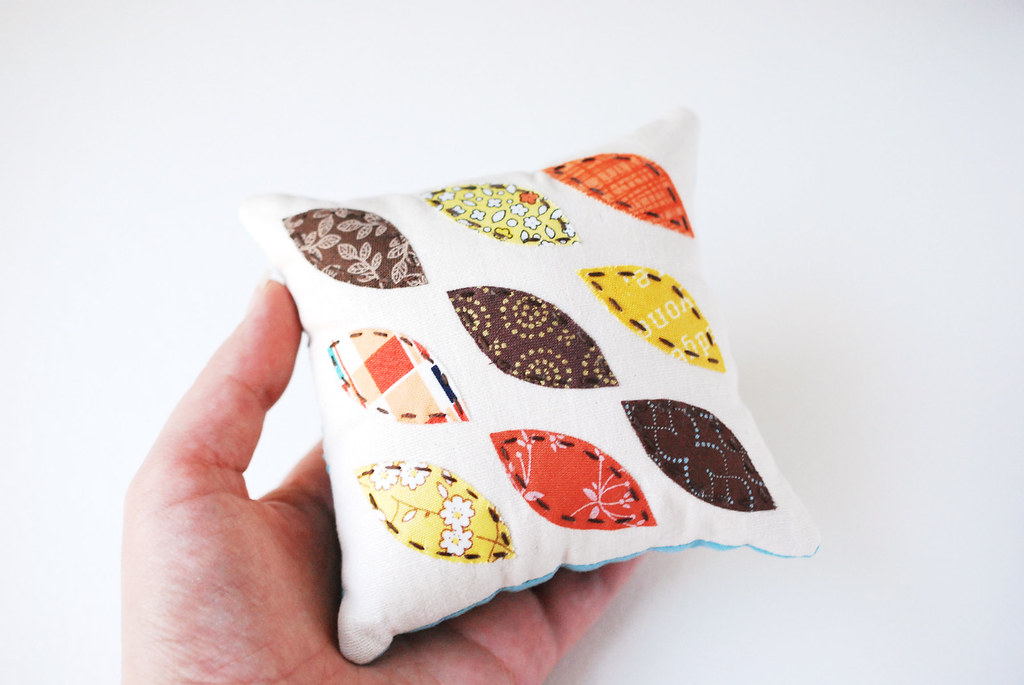
You're finished, so get your pins ready to jump in these leaves!
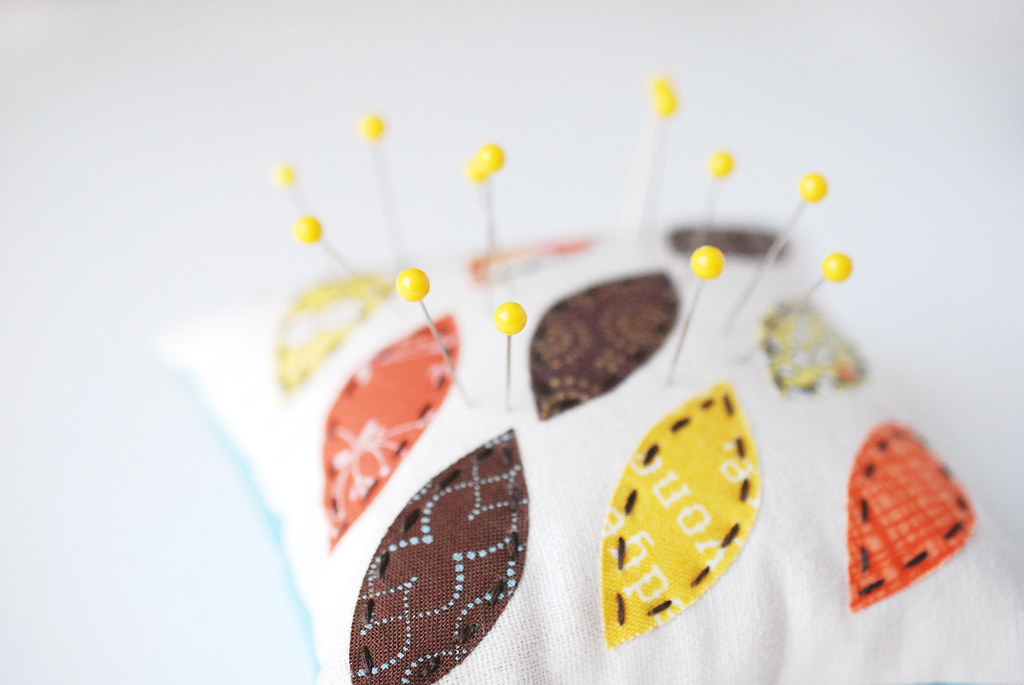
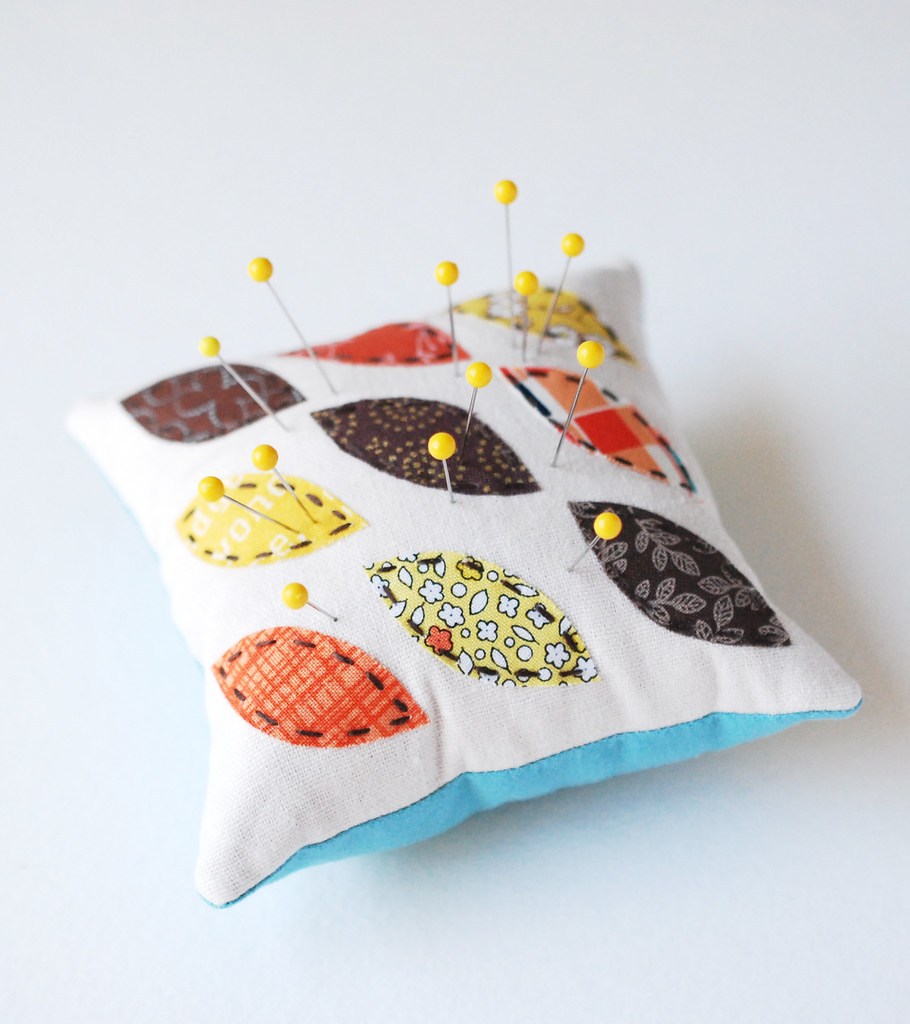
This cushion would be a wonderful fall gift for a sewing friend...or a gift for yourself! And you don't need to limit it to fall colors. Make it in springy greens and yellows, or all in one color, or a whole rainbow!
Do you need a new pincushion? I bet you do now!
Very cute (and useful, too)!
ReplyDeleteThat pincushion is so sweet!!
ReplyDeletehow cute. Love this pin cushion. need to make one.
ReplyDeleteI love this so much! I always wonder about pin cushions for sale in stores - who buys those? Don't the people who need pin cushions know how to make them? :)
ReplyDelete