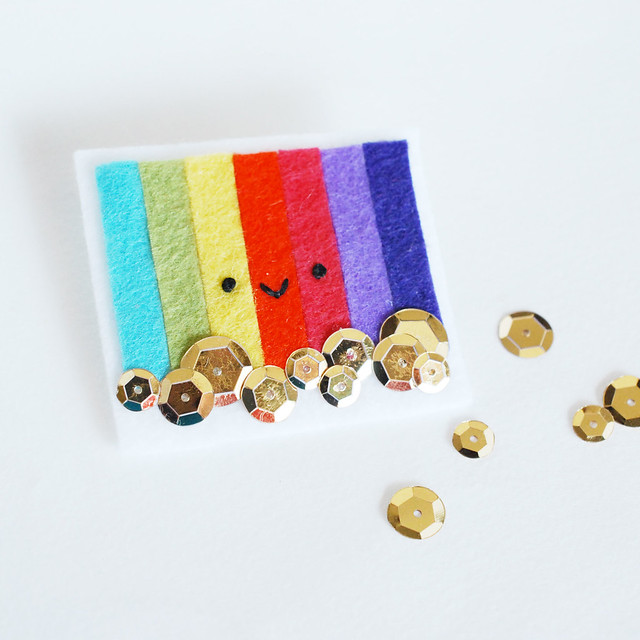

May I start this little project with a confession? I planned this pin entirely because I wanted to use sequins again. In fact, last month when I was making a sequiny (sequinie?) garland, I knew that I needed to make a gold coin sequin something.
And who can resist putting felt strips into rainbow order? Thus, the "Gold at the End of the Rainbow Pin" was born.
This little pin (or brooch if you want to be fancy) is perfect for St. Patrick's Day, or really, any day. Because rainbows and sequins. So grab your supplies and let's make something kawaii-cute!
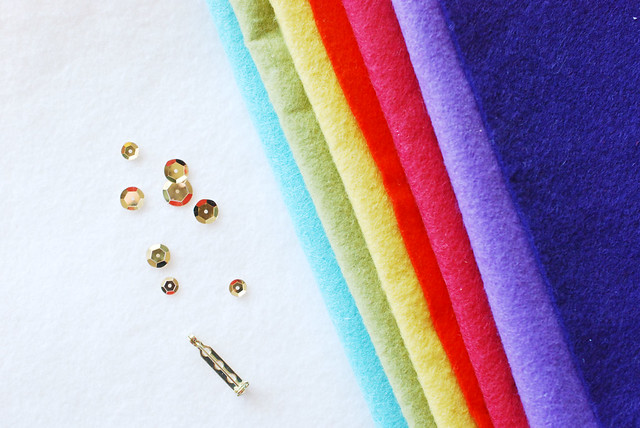
You will need:
A rainbow of felt (scraps are fine)
White felt (or another color for backing)
Gold sequins
Bar-style pinback
Fabric or craft glue
Black embroidery floss
Scissors
Needle
The colors of felt I used for my rainbow are: Swan, Fern, Ochre, Orange, Strawberry, Lavender, and Purple, all from Benzie.
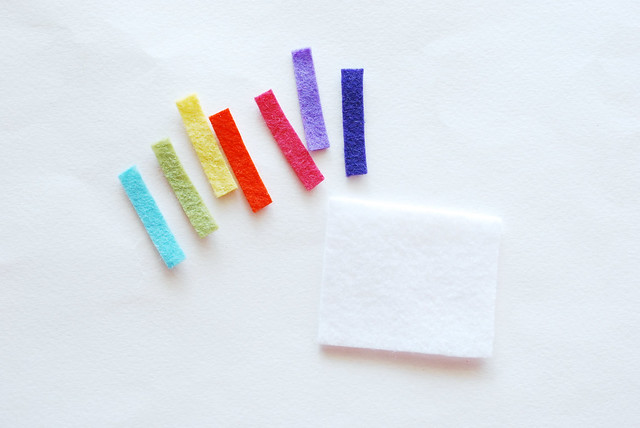
Cut a 1/4'' x 1-1/8'' strip of felt from each rainbow color. Cut a 1-1/2'' x 2'' piece of white felt.
These measurements don't need to be exact. Just be sure that each rainbow strip is the same, and that they fit on your white backing piece. You can adjust the size/shape as much as you like.
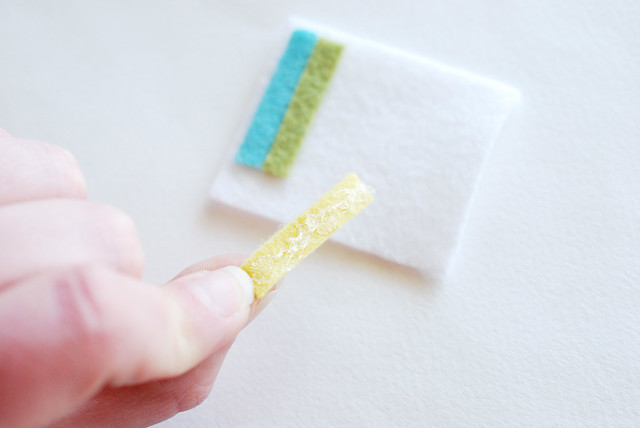
Glue the strips to the backing in rainbow order, leaving a larger white area at the bottom. This is where the sequins go.
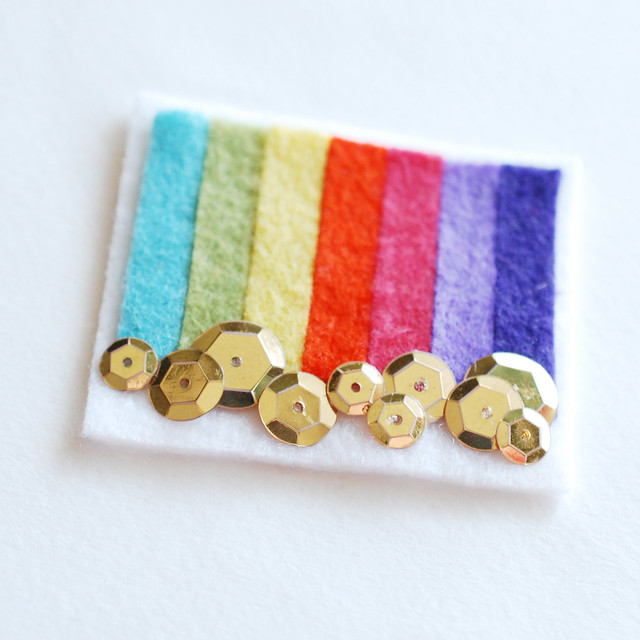
Glue the sequins on so they overlap with the rainbow and each other. Watch out for glue that will try to come through the holes...you don't want that to goop up the front of the sequins!
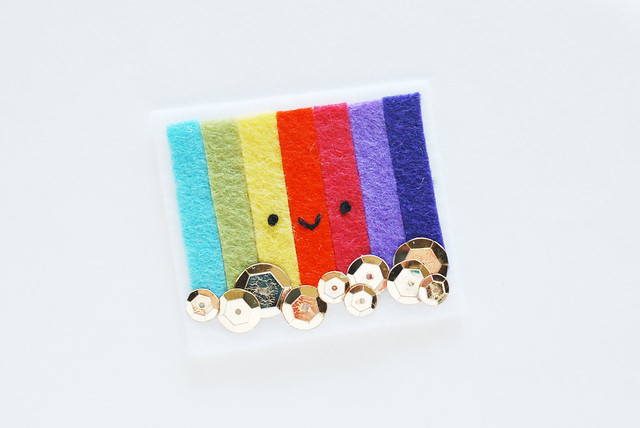
After the glue has had a chance to dry, thread the needle with three strands of black embroidery floss. Stitch the face with knot stitches for eyes and a scallop stitch for the mouth. It's pretty easy to get it in the right place, because the bands of color divide the space for you!
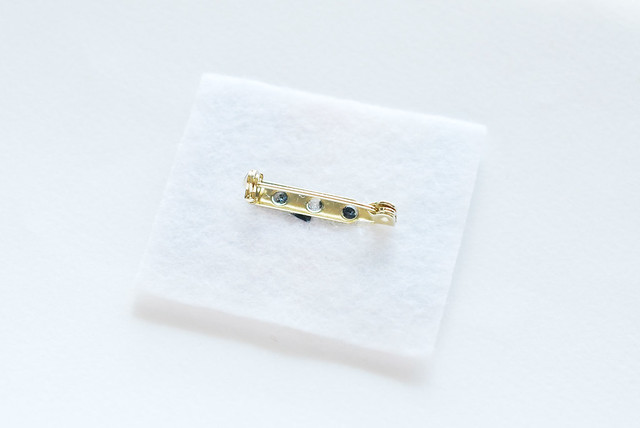
Glue the pin to the back. You should be able to cover up the stitches at the same time. Handy, right?

After the glue is dry, your pin is ready to wear! There's a bit of green in there too, so no pinching on March 17th!
By the way, I considered skipping the face, and stitching the colors down with running stitch. I think that would look pretty awesome too, but the face was too important, right? Right.
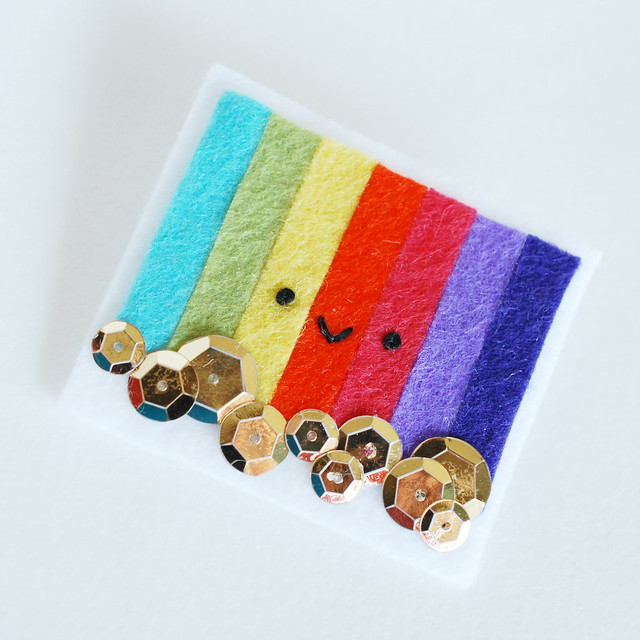
Bottom line: Rainbow Felt + Gold Sequins = Yes.
What a happy face! I love this pin, so cheery xx
ReplyDeletevery adorable
ReplyDeleteEmbrace the sequins--don't apologize :) I'm always extra happy when I find another reason to use sequins. Super cute pin--it wouldn't be Wild Olive without the face! Thanks for sharing!
ReplyDeleteThat is so cute! The sequins work perfectly for little pieces of gold. :)
ReplyDeleteVegetarian Courtesy
When I saw the title of this one I knew it would be a cute project, as always. But I must say, I giggled with delight at this adorable perfection! Thank you for sharing.
ReplyDeleteSo cute! I love it. I'm totally going to have to make a paper one for my scrapbook.
ReplyDeleteAh this is so cute! And a great way to make a brooch too!
ReplyDeleteso cute mollie
ReplyDeleteI love the idea but why not put the colours of the rainbow in the correct order!? A good way to remember is the sentence Richard Of York Gave Battle In Vain
ReplyDeleteRed Orange Yellow Green Blue Indigo Violet
I'm definitely a ROY G. BIV kinda gal, but I didn't like the way my blue and indigo looked next to each other, so I switched it around on this.
DeleteCutest thing ever!!!!!
ReplyDelete