


Last summer I was working on a pillowcase project for a book contribution, and my little sister was quite sad that I had to mail the project away. Ever since then I've been thinking that I needed to make a special pillowcase that she could use and keep and never mail to a publisher.
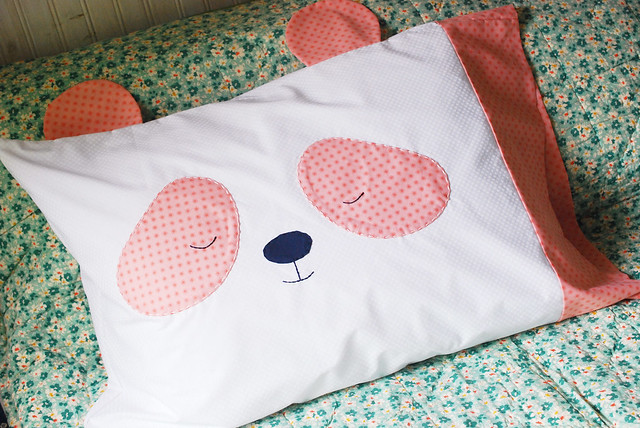
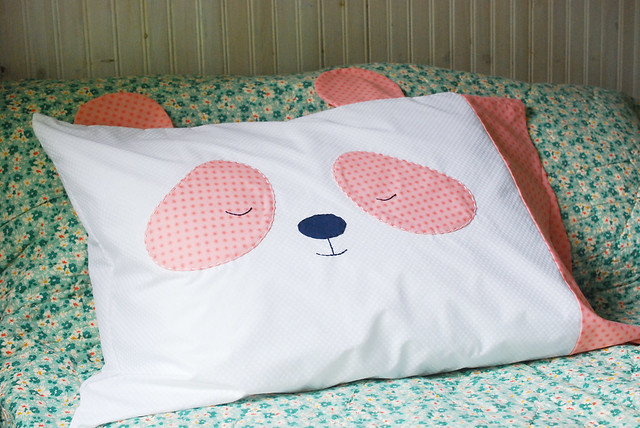
Then, a couple weeks ago she told me that she thought I should make a pillow with a face. Like, just a pillow. But that has a face. The girl knows me, because of course that would be the kind of thing I would make! So I figured I would just make a pillowcase and embroider one of my very Wild Olive faces on there, just scaled up. But a thought came to me, and instead of just a regular face, I decided to try a panda face! And well, it came out pretty cute, if I do say so myself.
If you'd like a panda pillowcase for yourself or a panda fan in your life, it's really easy to fully customize your pillowcase! I'll show you how to make a basic pillowcase with trim that matches the panda, but you could make this with a purchased pillowcase.
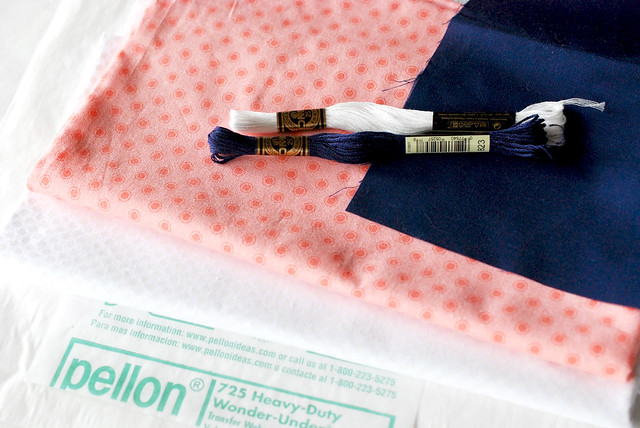
Here's what you need:
3/4 yard white fabric (or something similar)
1/2 yard pink fabric (or another color!)
Scrap of black or navy fabric
Paper-backed fusible web
White and black or navy embroidery floss
Tools: Scissors, Pins, Sewing Machine, Iron, Needle, Water-soluble Pen
Panda Pillowcase Face Templates PDF
Here's what you do:
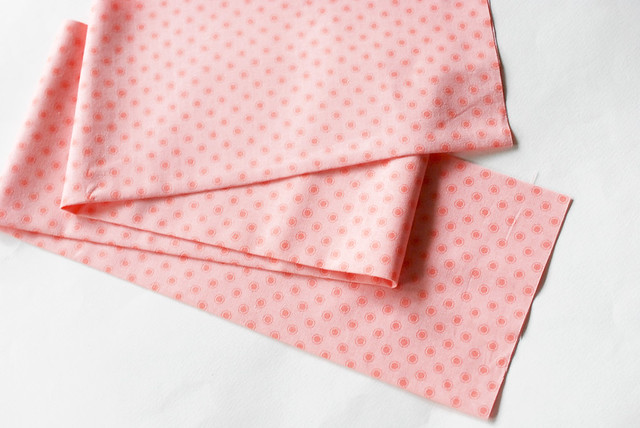
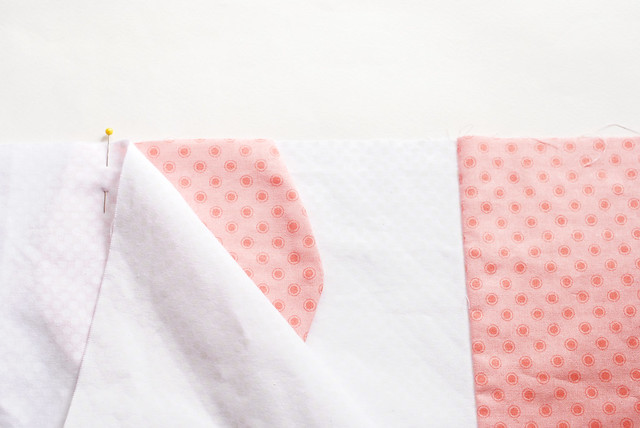
Cut the white fabric to 26 x 44 inches (or the width of fabric if narrower) and cut the pink fabric to 11 x 44 inches (or the width of fabric if narrower). Iron the pink fabric strip in half the long way, wrong sides facing, so you have a 5-1/2" wide piece.
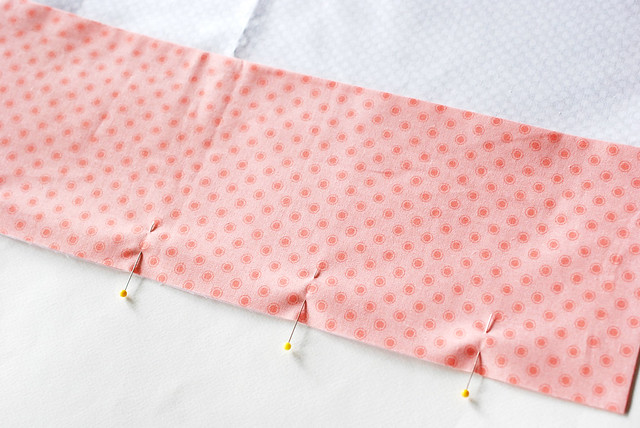
Pin the folded strip to the white fabric, along the 44-inch side, right sides together, and with the raw edges of the folded strip matching up with the raw edge of the white fabric. Obviously the folded piece has two right sides, but do make sure you have it pinned to the right side of the other piece. Yes, I did do this the wrong way the first time, and I blame the white on white print.
For the record, I like how this white polka dot fabric looks, but it was starting to show wear just from my working with it to put this together. It's from JoAnn, and I'm usually pretty happy with what I find there, but this is not a good one. Moving on...

Sew the strip in place, then you may want to pink the seam allowance to reduce fraying. But if you don't have a pinking shears, it's not a big deal.
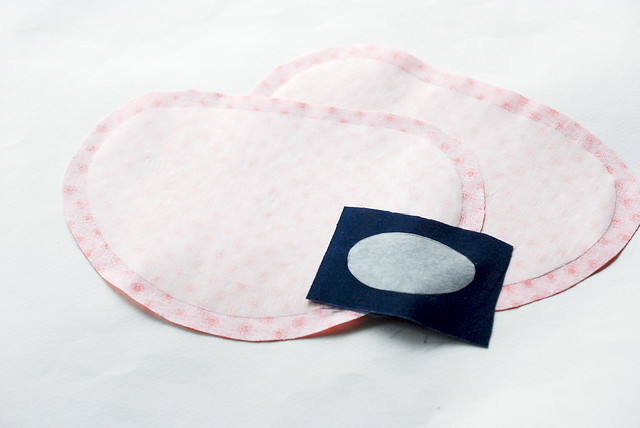
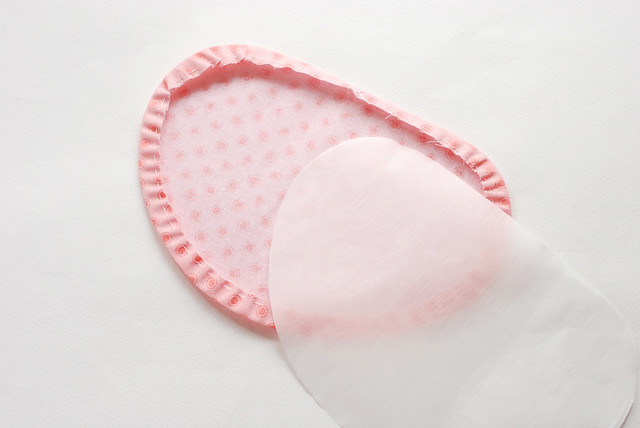
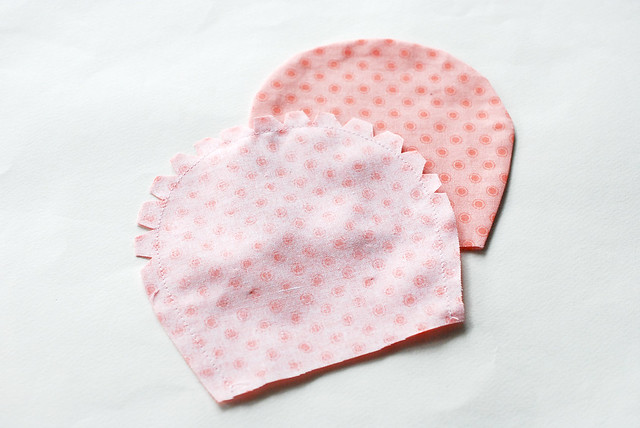
Trace the nose and eye pieces onto the paper side of the fusible web. You'll need to trace the eye piece twice, with one of them flipped. Cut the pieces out and iron the eye pieces onto the pink fabric and the nose piece onto the black or navy fabric. Trim around these pieces, leaving a seam allowance of about 1/4".
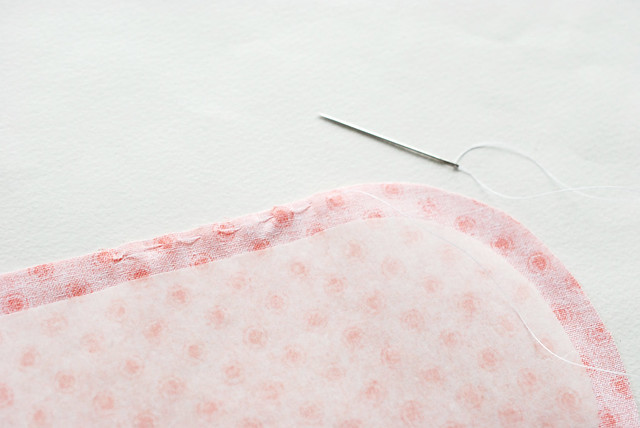
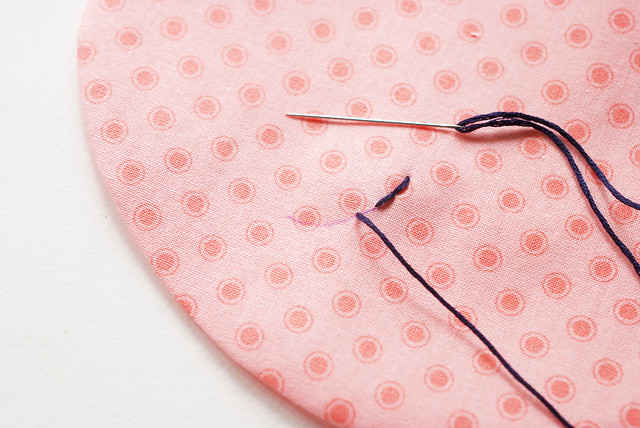
Thread a needle with regular thread and tie a knot in one end. Stitch around the first eye piece on the seam allowance with running stitch.
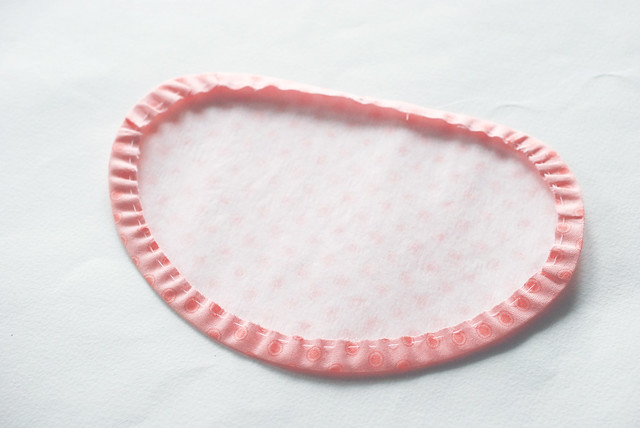
About half way around, pull the thread to gather the fabric around the template (which is also the fusible web). Lightly press the gathered seam allowance with an iron to help hold it, then continue stitching and gathering, pressing to hold its shape. Repeat this for the nose and other eye piece.
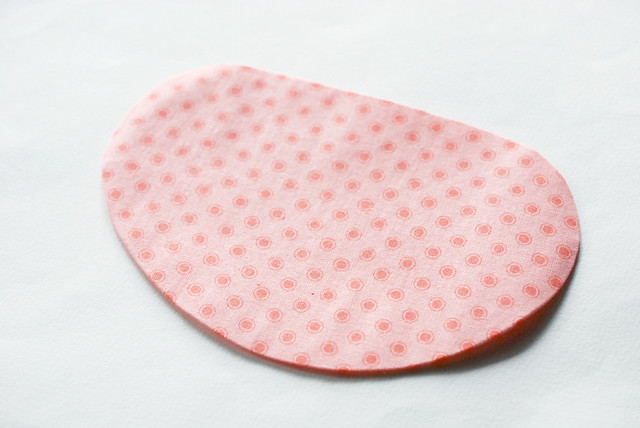
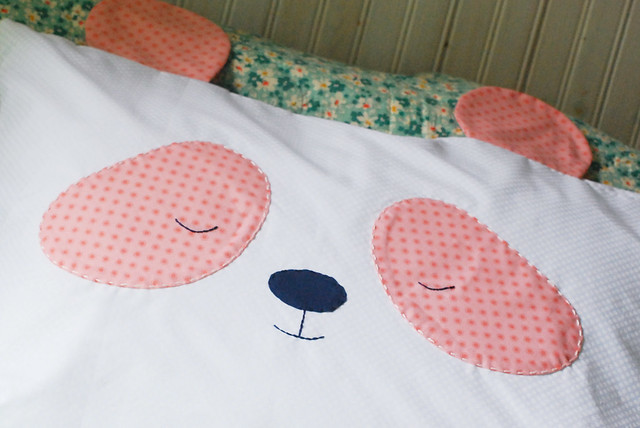
Carefully peel the paper out of the facial features. Trace the lines for the sleepy eyes onto the pink patches, then embroider them with back stitch using three strands of floss.
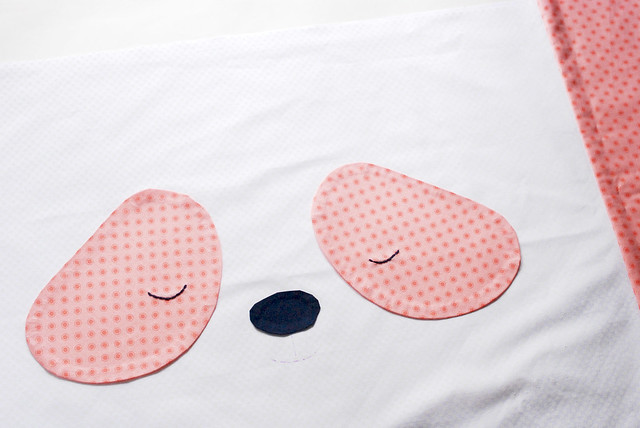
Go back to your prepared pillowcase piece. Fold it half with wrong sides together and with the open edge at the top. This is really important because it's where you'll add the ears. Arrange the face so it is centered on the white area, then when you're satisfied, iron the pieces in place.
Note: If you're using a purchased pillowcase, you won't be able to sew the ears into the seam, but you could applique them on like the other facial features. You'll just need to shrink the ears slightly on a scanner or copier, then follow the same process as for the eyes.
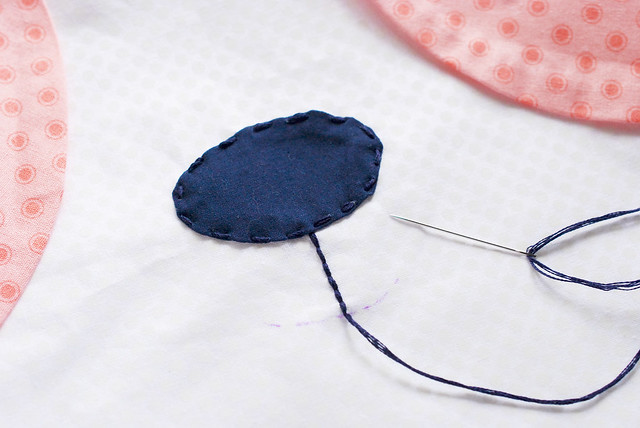
Stitch around the eyes and nose with running stitch. I used white for the eyes and matching floss for the nose. Trace the mouth onto the fabric under the nose, then embroider that with back stitch.
Cut out four ear pieces from pink fabric (cut two with the fabric doubled so they match up), then with right sides together, sew around the curved edges of the ears. Clip the curves, then turn the ears right side out.
Fold the pillowcase piece in half, this time with right sides together, and matching up the seams on the side trim piece. Place the ears facing in, between the layers of fabric. Pin the two sides, then sew them up and trim with pinking shears.
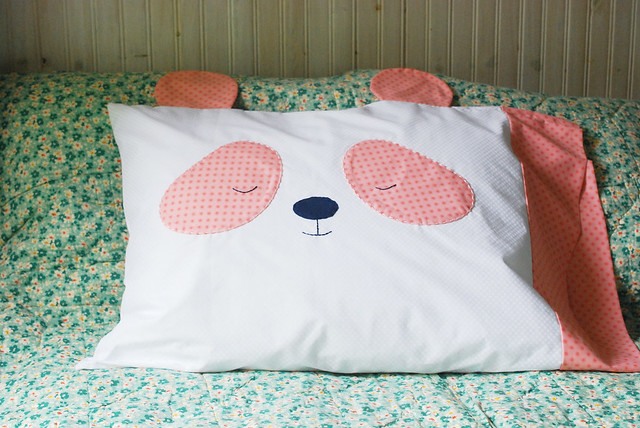
Add a pillow, and you're all ready to rest your head on the sweetest panda you'll ever meet!
The ears are a little floppy, and I'm thinking some interfacing would help that. But when I showed this to my little sister, she didn't mind those floppy ears. In fact, she took one look at this, and said something along these lines: "A panda pillow! *gasp!* And it has EARS!"
So, it was a hit.
Wow Mollie, the panda pillow is so beautiful! Thanks for the inspiration, you really made my day :)
ReplyDeleteHugs, Jessa
Adorable!!!!!!!
ReplyDeletethis is such a cute project, Iam gonna try it!
ReplyDeleteThis is so super cute! I am loving all of the adorable panda projects you've been posting recently. Thanks for sharing!
ReplyDeleteAw such a sweet pillow!
ReplyDeleteThis is honestly the sweetest pillow case I've seen in a long time. I'm so inspired to make one! When I was travelling in Sth Korea last year I picked up a few pillow cases of a similar flavour here - but I think yours is better!
ReplyDeleteClaire xx
Argh!!! That's SO CUTE!!! Thanks for sharing! :)
ReplyDeleteWonderful idea, and it turned out so cute!!!! I love it! Thank you, Mollie!
ReplyDeleteAdorable!
ReplyDeleteThat's so cute! This is going to be the next on my list of things to make!
ReplyDeleteJamie
greyskysaturday.wordpress.com
Such a cute project, it looks great! x
ReplyDeleteDear Mollie, I've been reading your blog for a while, but this is the first time I am leaving a comment. My name is Paola and I'm from Italy. Nice to meet you!
ReplyDeleteI love all your projects, because the animals and objects with cute faces you draw have such a gentle and joyful touch that makes me feel happy everytime I look at them. But, this "Goodnight Panda Pillowcase" is maybe my favourite of all time!
I am going to make some of this during Summer Holidays, for me and my friends. I will give one to my Chinese roommate, who I am sure will especially love a Chinese Pastel Panda!
Thank you so much for sharing such a special project with all of us. And it is even more special because you made it with love your little sister.
May you and your family have a nice Summer!
Paola
Thank you very much, Paola! Your kind words and encouragement mean so much!
Delete