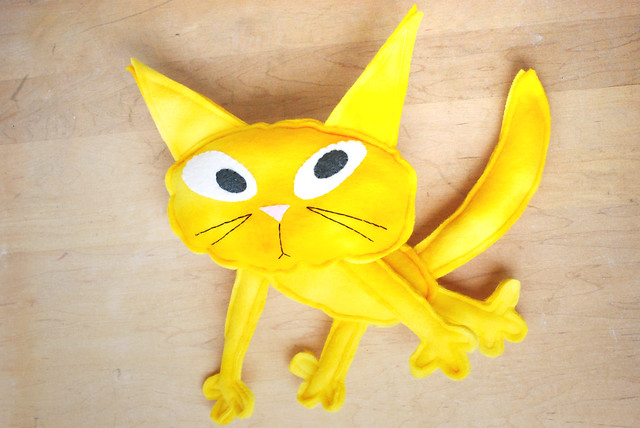

It's nearly the end of May, which means it's nearly the end of the cat posts I've been sharing, but I had to fit in just one more. This wacky looking cat plush is based on artwork by Lauren Child, the creator of the book series and show Charlie and Lola. We're fans of the show around here, and bringing this little kitty to life was such fun.
In Charlie and Lola, they are fans of a show and comic book called Bat Cat, and my youngest brother zeroed in on those very short segments. He was so disappointed that you couldn't find Bat Cat items for sale, so a few years ago I made him a stuffed Bat Cat, which you'll see at the end of this post. The wacky kitten I'm sharing today is one of the "citizens" that Bat Cat rescues.
Here's a look at the original art and my plush version. That's a print out of a screen capture from one of the episodes, where the kitten is onscreen for like, 5 seconds. And yet, when my brother saw me working on him, he instantly knew who I was making!
But whether you're a fan of Bat Cat, Charlie and Lola, or Lauren Child, I hope you enjoy having a wacky cat in your life!
Here's what you need:
Fleece (I found tie-dye yellow/orange at JoAnn)
Felt in white, black and pink
Disappearing ink marker
Embroidery floss
Stuffing
Chop stick or unsharpened pencil
Sewing machine
Needle and thread
Wacky Cat Plush Pattern PDF
(Note, because this is based on someone else's artwork, I recommend keeping this for non-commercial, personal use only...we're making fan art here!)
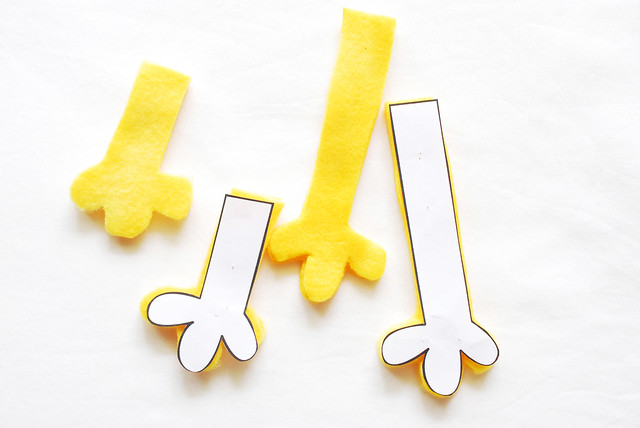
With the fleece doubled, and paying attention to the stretch (there are stretch arrows on the pattern), cut out the head, ears, body, tail and limbs. Cut two sets of arms and legs. Cutting the toes with any kind of precision is difficult, but guess what? It doesn't matter. Just cut them as close as you can.
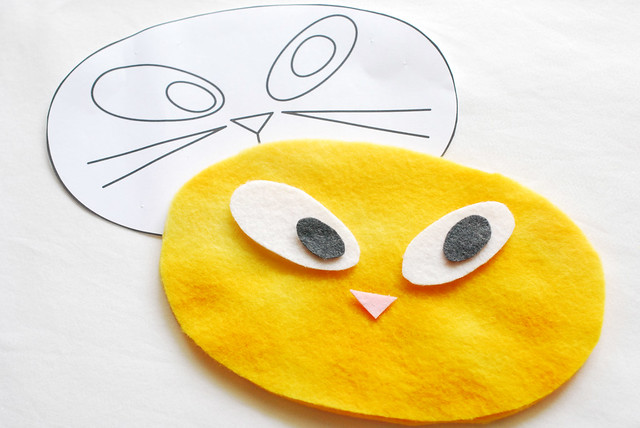
From felt, cut out the eyes and nose. Use the head pattern as a guide for placement, then stitch the pieces on with an applique stitch and matching embroidery floss.
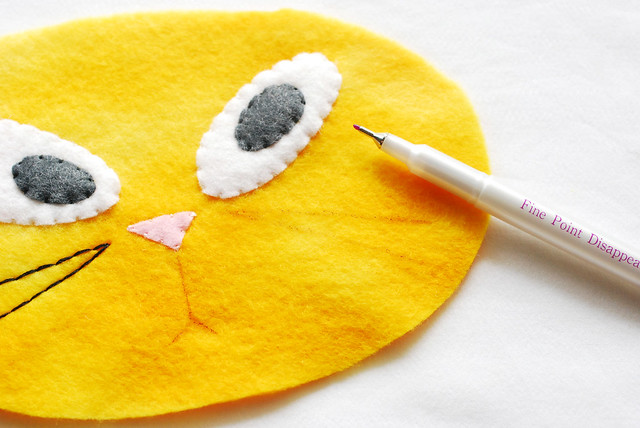
Draw the whiskers and mouth on to the face with a disappearing ink marker. Because these are pretty simple lines, I didn't trace, but just free-handed them and you can too! You could even just stitch these without marking them first.
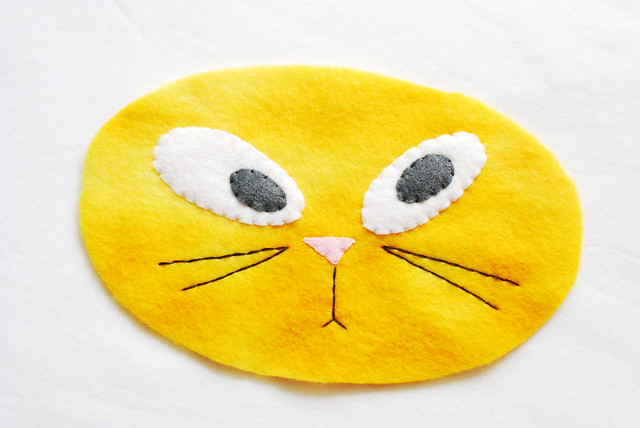
Embroider the whiskers and mouth with back stitch. Oh, and this little kitty is looking scared because he's caught in traffic, waiting for Bat Cat to rescue him...but you could turn that frown into a smile if you'd like!
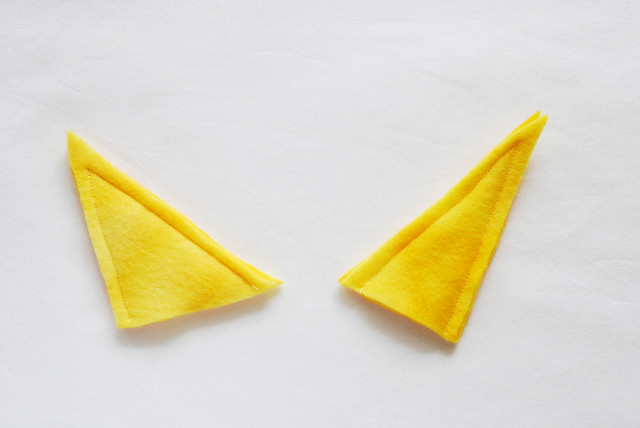
It's time to start sewing! Use a roughly 1/8 or 3/16-inch seam allowance.
Pin and sew the ear pieces with right sides out, and leave them without any stuffing. You won't be turning any of the pieces of the cat...everything here has raw edges.
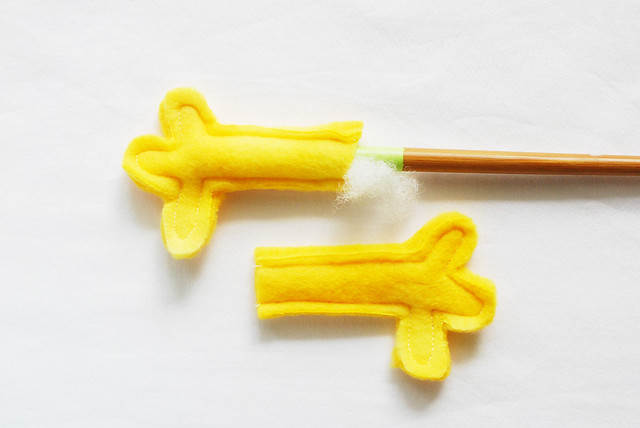
Pin and sew the limbs and tail. Those hands can be tricky, so take the curves on the paws slowly and with the needle down, lift the presser foot to make the turns when you need to. Again, precision isn't super important, just make sure that you catch both pieces of fabric.
Stuff the limbs and tail with a bit of stuffing, using a chop stick to poke the stuffing in there.
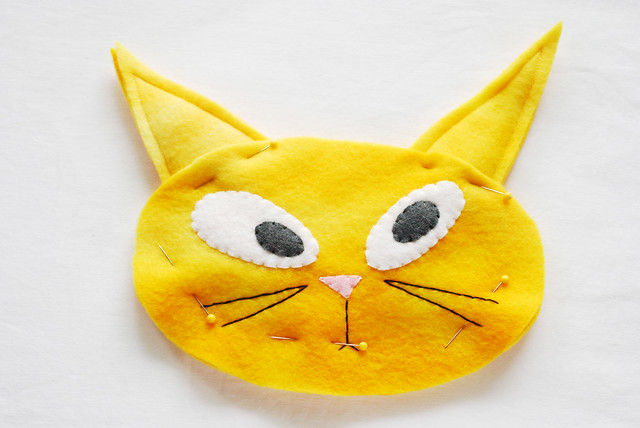
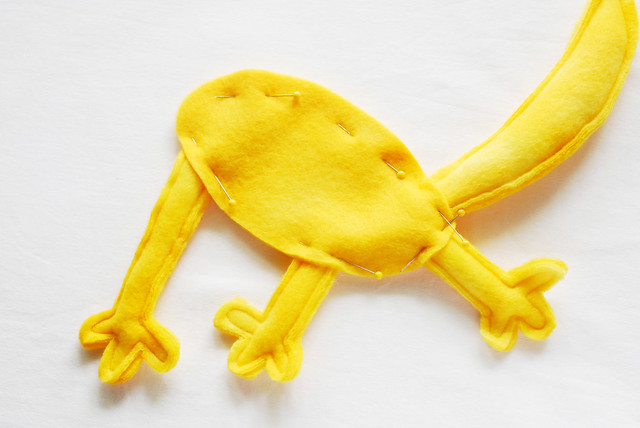
Position the ears between the two layers of the face and pin around the edge. Position the tail, two short legs, and one long leg between the two body pieces, as shown. This looks a little odd, but trust me. Or...arrange your kitty however you'd like! There are lots of ways you can do this.
Sew around the head and body, making sure that the extra pieces all get caught in the seam, and be sure to leave a small opening for stuffing these pieces.
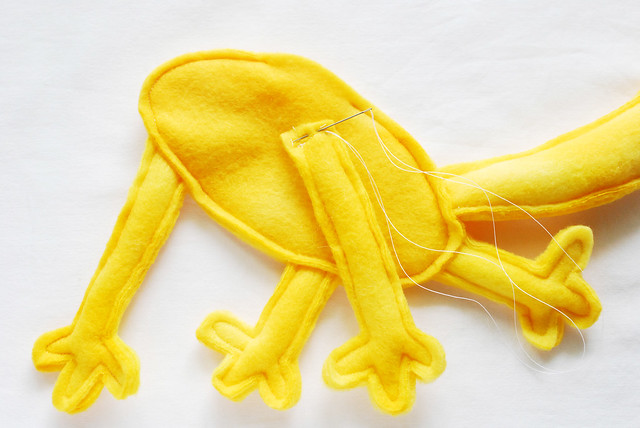
Grab the remaining long leg and hand sew it on to the front of the body, as shown. Make sure that it's stitched securely, and that you only sew through the front layer of the body.
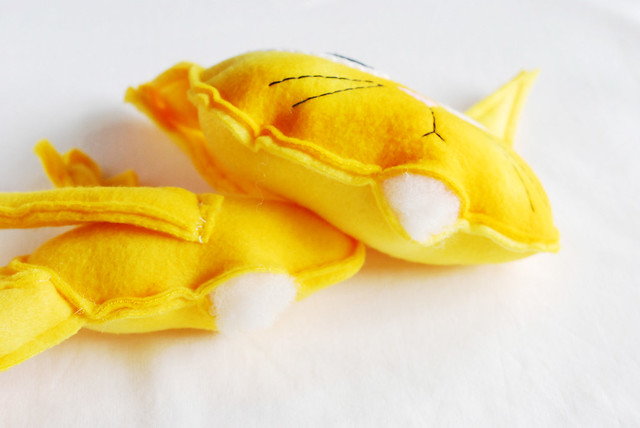
Stuff the head and the body so they are full, but not too plump. These characters have a flatness to them, so I like to preserve that a bit with the plush.
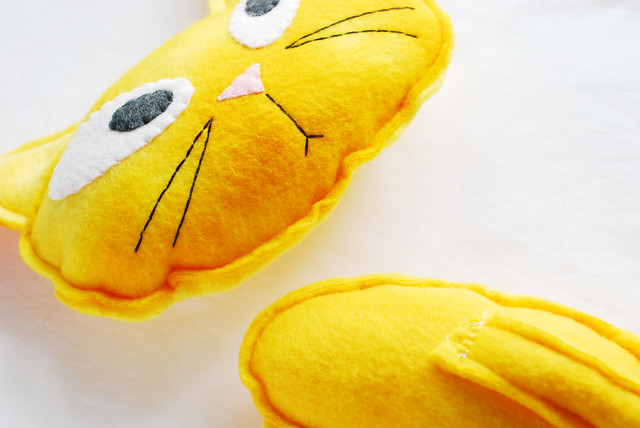
Sew the openings closed. Because the pieces aren't too full, you should be able to do this on the sewing machine. Start and stop right on your existing line of stitching and you'll hardly notice where the opening was!
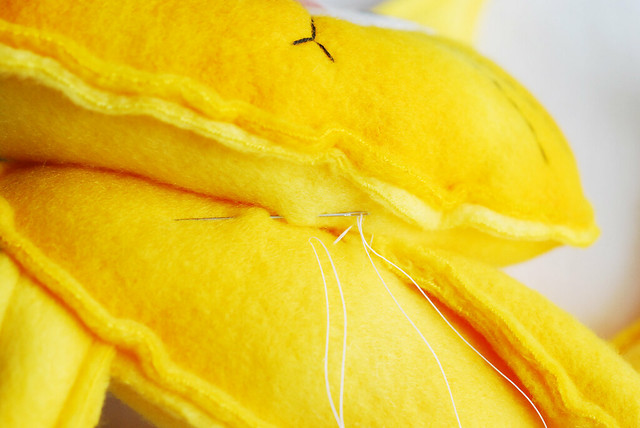
Hold the head on top of the body right where you want it placed, then using a needle and thread, sew the head onto the body. I use a sort of ladder stitch, going back and forth between the head and body, and I make an oval of stitches to keep it secure.
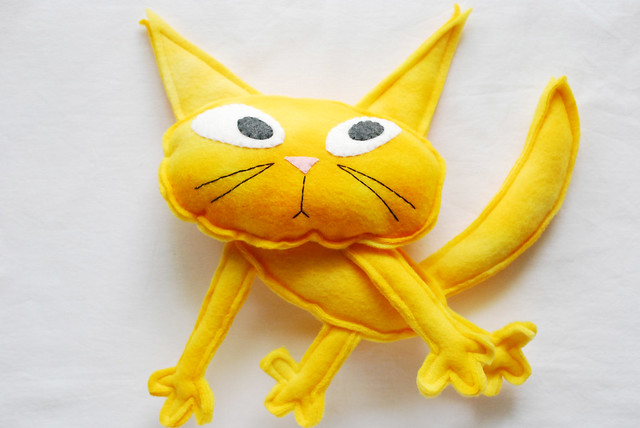
Once you've tied off your thread with a good knot (it'll be hidden behind the head!), your wacky cat is ready to be rescued!
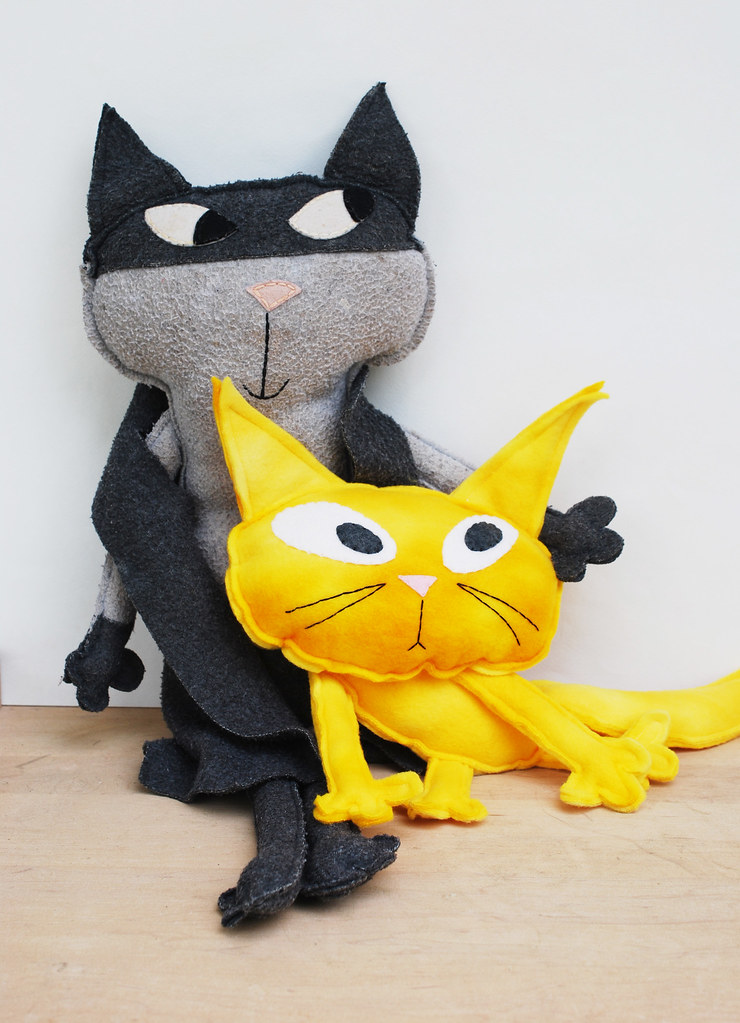
Thankfully, Bat Cat swooped in to save our kitten friend and offer some comfort too. Can you tell how well-loved Bat Cat is?
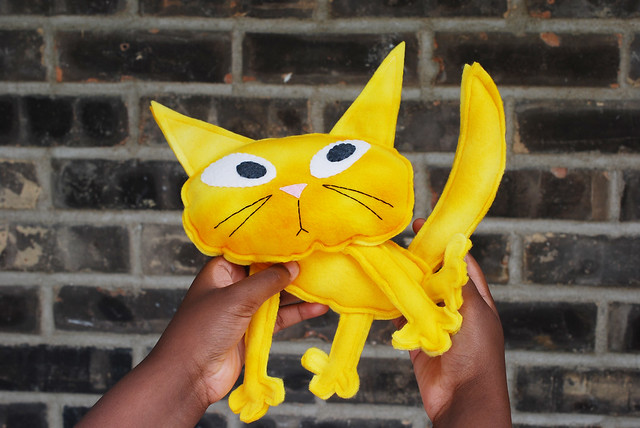
And now the wacky cat is in the hands of my brother who, despite being 12 and loving video games, still treasures toys like this.

Oh. My. Help.
ReplyDeleteI must make this for all my cat loving friends. Thanks you so very, very much Mollie!
This is so cute! Evie really likes Charlie and Lola but I don't think we've encountered Bat Cat or Wacky Cat! But now I want to watch more! I love how you captured the illustration style!
ReplyDeleteAdorable! I so want to make this.
ReplyDeleteOH So wacky and wonderfull ! I love him, hes almost ninja looking
ReplyDeletethanks for the pattern share............must make myself one of these........!!
Wow, sooooo fun!!!! Lovely work!!
ReplyDeleteSmiles, Saskia :)
Great work, and what fun!
ReplyDeleteThis is awesome! Unfortunately I am totally bad at sewing :)
ReplyDelete