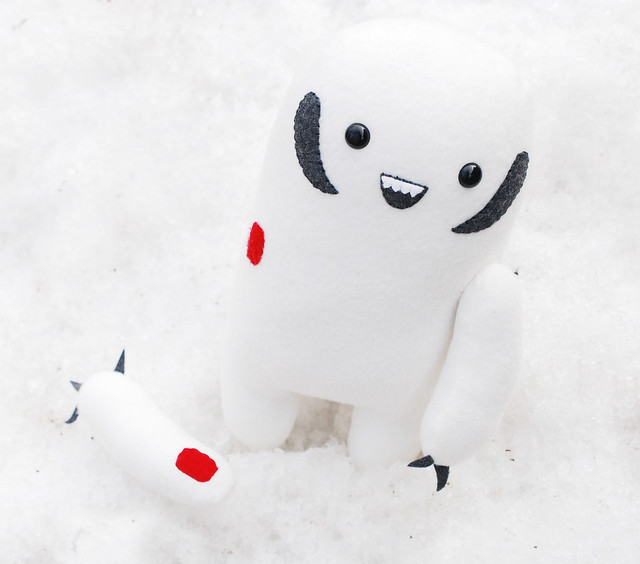

Without a doubt, my favorite Star Wars movie is Empire Strikes Back. There's just so much awesome in that one! My 20-year-old brother loves Star Wars everything too, which is why I made him a Chewbacca a few years ago, using Draw, Pilgrim!'s pattern. Since then, he's been asking me to make more characters for him, and at last, this year for his birthday I made him a wampa.
If you don't remember the wampa, he's an abominable snowman kind of creature who lives on Hoth. In the Empire Strikes Back, Luke is captured by a wampa, but then slices off the creature's arm. The poor thing. George Lucas' vision of this guy was pretty mean, but I went with soft, smiling, and ready for a cuddle!
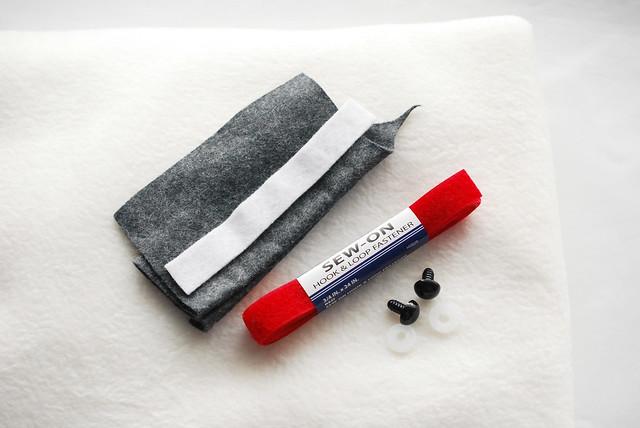
Here's what you need:
White or cream fleece
Red hook & loop fastener (for an appropriate amount of gore)
Charcoal grey or black felt
White felt
Black safety eyes
Embroidery floss
Stuffing
Scissors
Needle and thread
Sewing Machine
Pins
Wampa Plush Pattern PDF
Cut out the pattern pieces and join the two body sections so the Xs match up on the sides. With the fleece doubled, cut out the body and two arms. Be sure to pay attention to the arrows on the pattern pieces that show which direction the fleece should stretch!
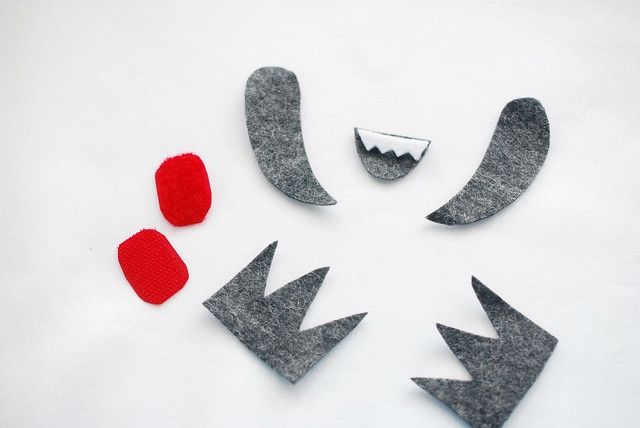
Cut out two horns, two claws, and a mouth from the dark felt. Cut out the teeth from white felt. Cut off a 1-inch piece of red hook & loop fastener, then round the corners.
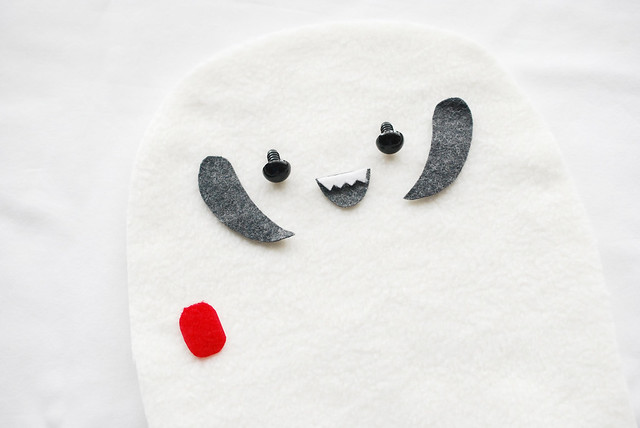
Lay the facial features and one side of the fastener on one of the wampa pieces. This is your chance to get the placement you want for these items. Oh, and if you prefer to have a more fierce wampa, simply turn the mouth upside down!
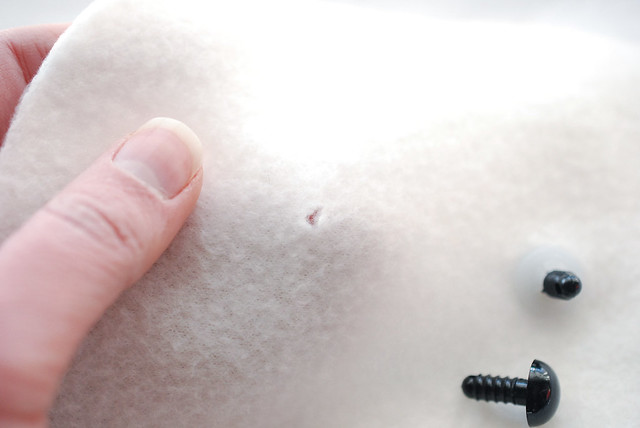
To attach each eye, make a small hole in the fleece, push the post of the eye through (the fabric will stretch around it), and then press the washer onto the back.
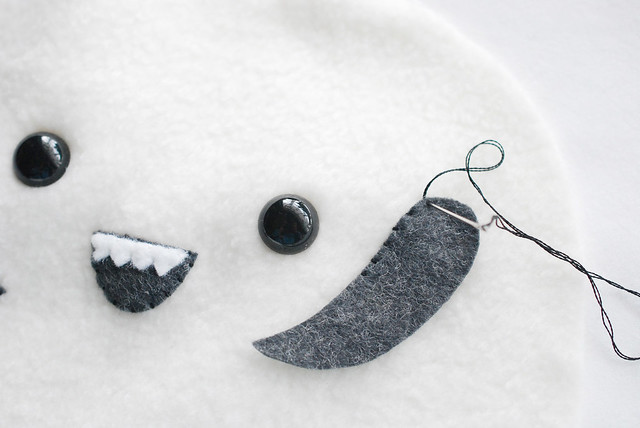
Use two strands of embroidery floss to applique the features onto the face. Sew the fastener onto the body using lots of machine stitching, back stitching, criss-crossing, etc. Oh, and the closer you sew to the edge of the fastener, the better.
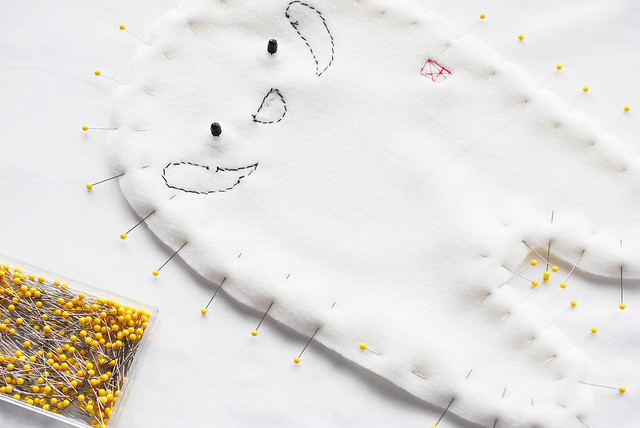
Pin the two body pieces together, right sides facing. I go overboard with pins so that nothing stretches weirdly, or shifts in ways I don't like. Sew around the outside with a 1/4-inch seam allowance, leaving an opening for turning.
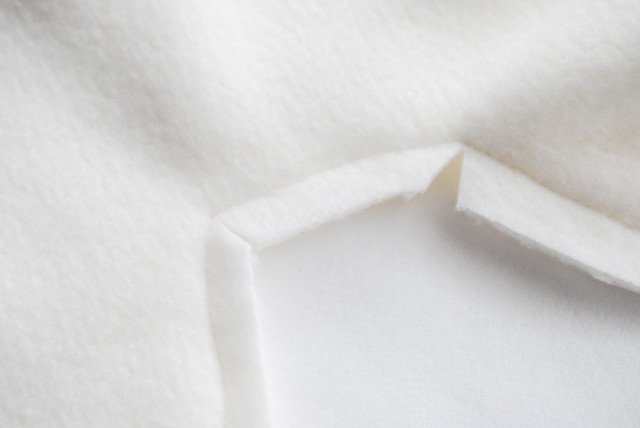
Carefully clip the inside corners of the wampa's legs.
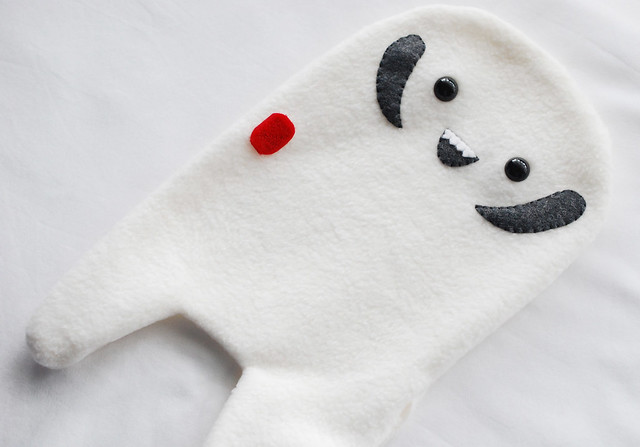
Turn the wampa right side out...and he looks a little funny without arms. We'll get there! First, stuff the body so it's nice and firm, then sew the opening closed using ladder stitch.
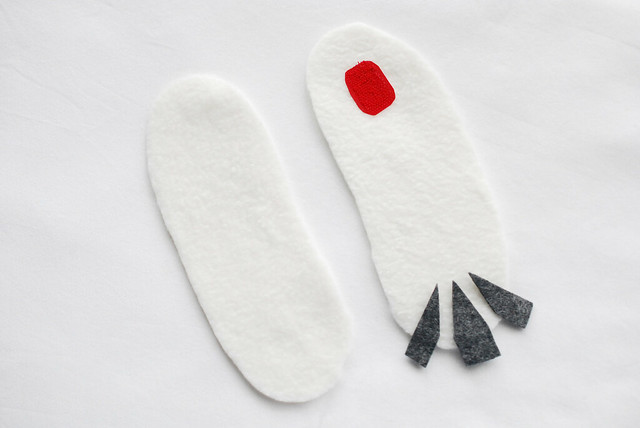
Cut the claws into three pieces, then arrange them at the end of each arm. Mine ended up being a little far apart for my liking, so maybe try putting yours closer together, but still pointing in like this.
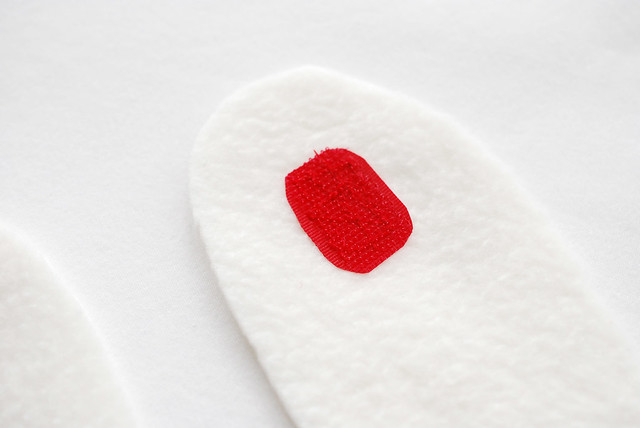
On one of the arm pieces, be sure to sew the other half of the hook and loop fastener on at the end opposite from the claws. Again, sew it very securely (you'll be ripping this thing off the wampa!), and sew close to the edge.
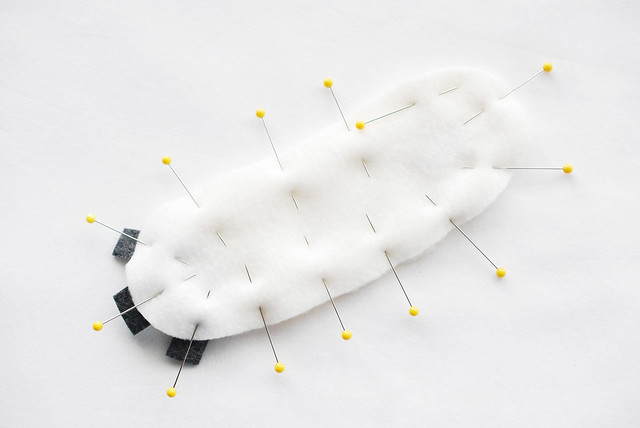
Pin the other arm piece with right sides together, then sew around the edges, leaving an opening for turning.
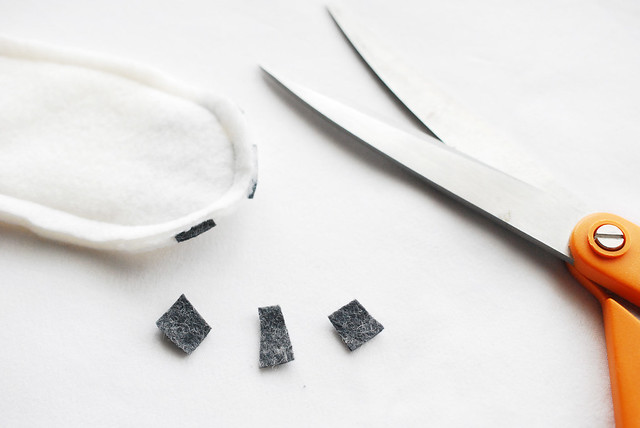
Leaving some of the claw pieces poking out guaranteed that they'd get sewn into the seam, but this extra isn't needed anymore. Cut it off.
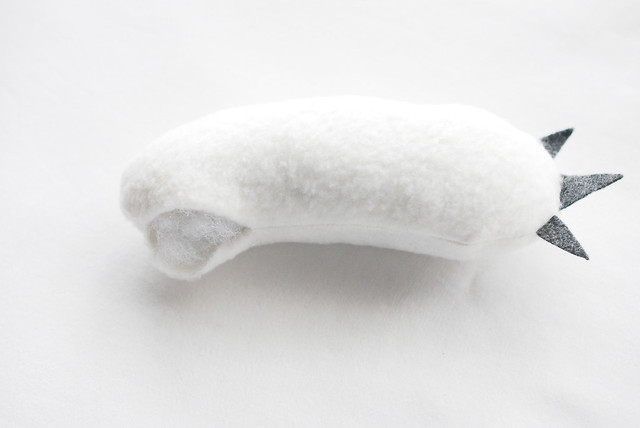
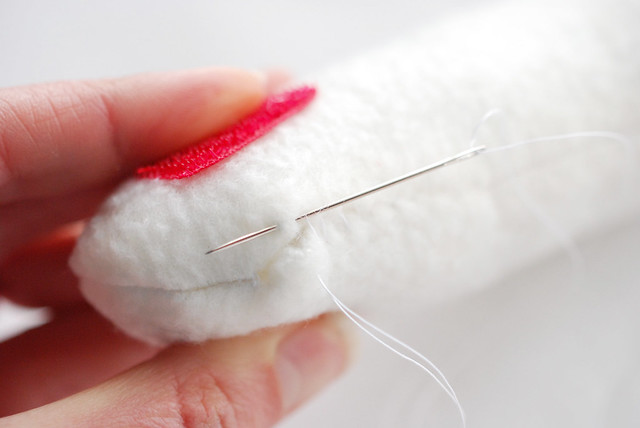
Turn the arms right side out, stuff them so they are firm, then sew the openings closed with ladder stitch.
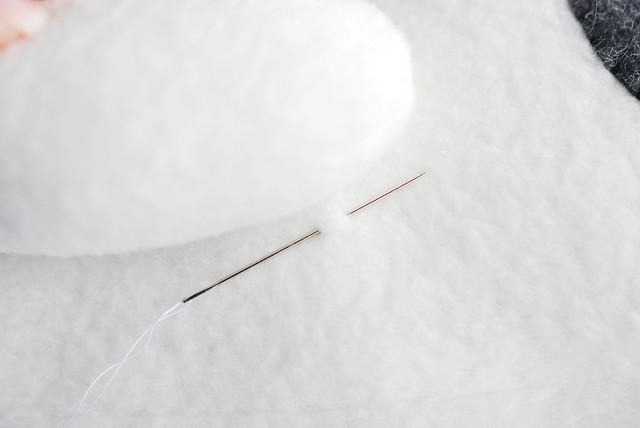
Set aside the arm with the blood...er...fake Velcro. Grab the other arm and lay it on the wampa body in the place you want it to be sewn. With a needle and white thread, take a stitch through the body.
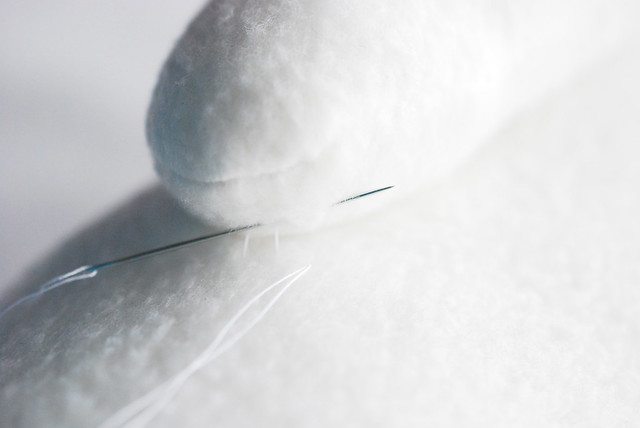
Take a stitch through the back of the arm (that's pressed against the body) right above your first stitch. Go down and take a stitch through the body, and again through the arm. Basically, you are attaching these two pieces together with ladder stitch. Keep stitching until it feels secure, forming a circle of stitches. Knot the thread off really good, and the first arm is in place.
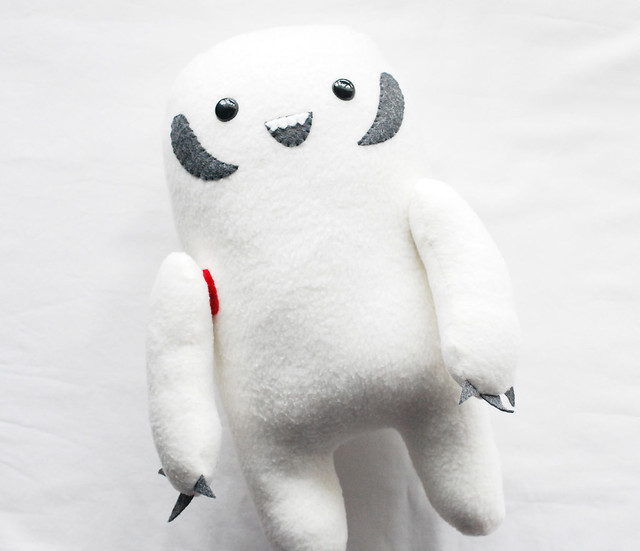
The second arm is much easier...just stick it on!
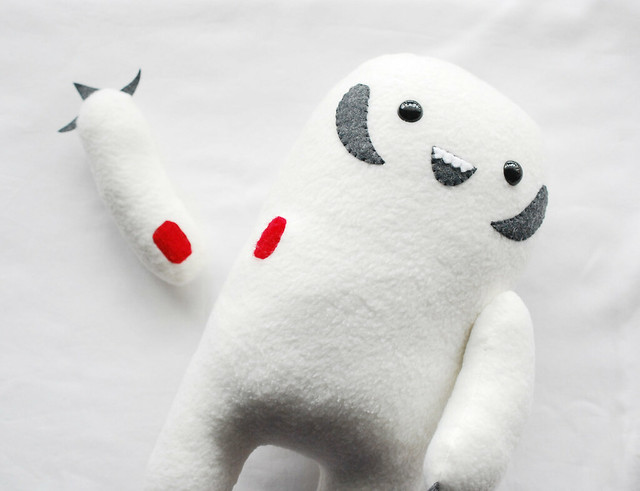
Of course, you'll want to tear it off again right away, because it's just so much fun.
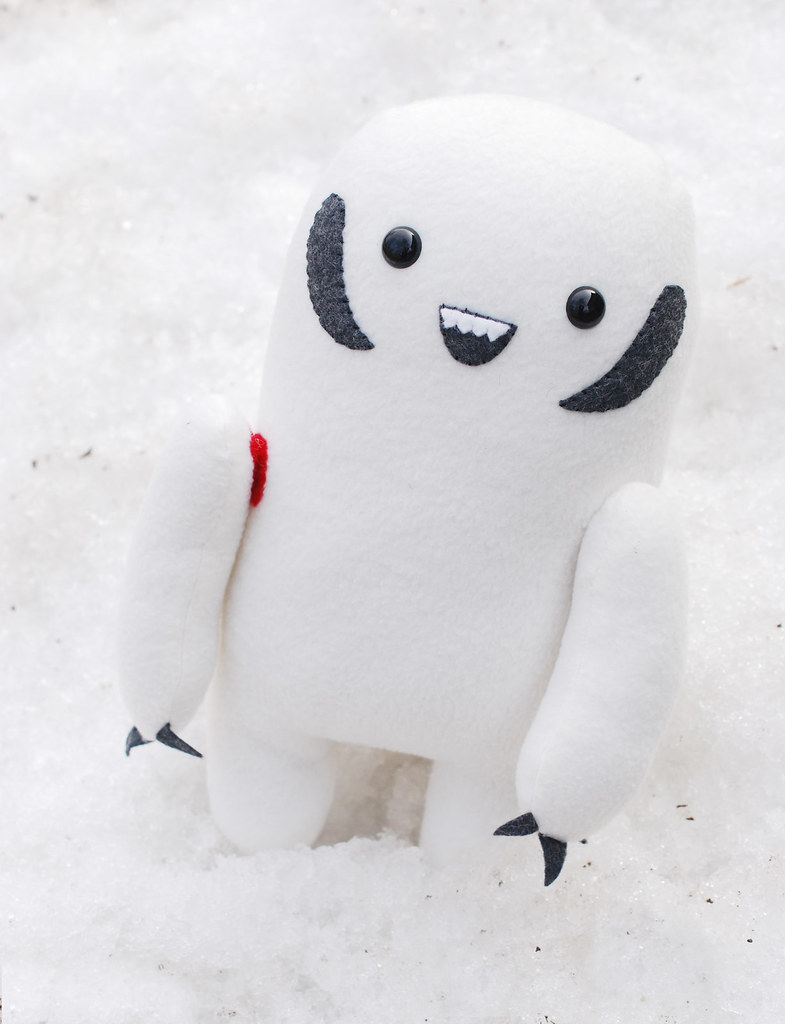
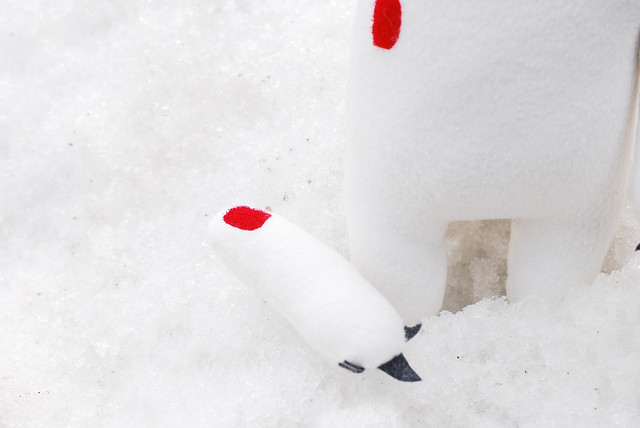
Being from Hoth, wampas prefer the snow, which is why I had to plan ahead and get these photos of him looking like he's in his natural habitat. Or maybe I actually went to Hoth for a quick photo shoot...I'll never tell!
But whether you have snow or sand or something in between, I hope you and your new friend have fun together on Star Wars Day! May the fourth be with you!
This is so cute and perfect! Will definitely need to give it a shot for my little monster
ReplyDeleteX, Pixelhazard | Bright Green Laces |
OMG this is the cutest wampa ever!
ReplyDeleteThis is AMAZING!
ReplyDeleteI was always scared of the wampa when I was a kid. But I couldn't be scared of this cutie :)
ReplyDeleteAwesome!
ReplyDeleteoh boy this is a great tutorial! I'd love to make one for a little one.
ReplyDeleteBuckets & Spades
Oh my goodness! I love this so much! It's so tiny and detailed and just perfect!!
ReplyDeleteThat's hilarious! I have to make this for my Star Wars-loving husbo! :D
ReplyDeleteHave you ever seen Chubbs The Wampug on Facebook? Ohhh, you should!
ReplyDeleteI made one yesterday. He turned out pretty good, although I did his eyes and mouth too far apart, but he's still cute. I used magnets on the inside of the body and arm because I didn't have any velcro, and it worked pretty well. I put a photo on twitter and mentioned you, so hopefully you can find that! Not the best photos, but I thought you'd like to see.
ReplyDeleteAdorable!
ReplyDeleteHilarious and still very sweet. Love your wampa...
ReplyDelete